
6 Best Sewing Gauges For Hem Measurements To Own
Achieve professional results with these 6 essential sewing gauges. Discover the best tools for precise hem measurements and perfect, uniform finishes every time.
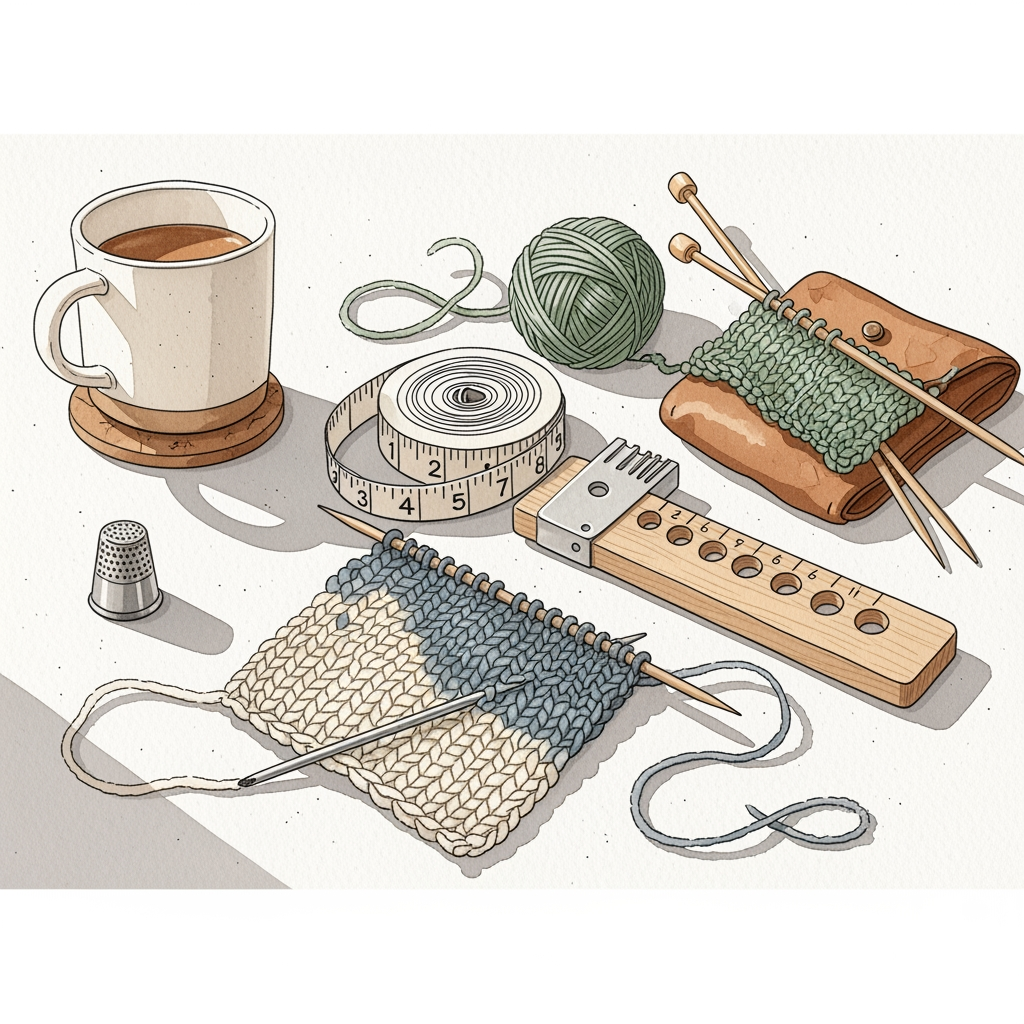
Achieving a crisp, professional hem is the difference between a garment that looks homemade and one that looks boutique-bought. While many knitters focus solely on stitch count and tension, the finishing work—specifically the hem—is where the structure of your fabric truly shines. Having the right measuring tool in your sewing kit ensures your hems are consistent, preventing that dreaded "wavy" look on finished edges. Here are the six best gauges to help you master the art of the perfect hem.
Dritz Ezy-Hem Gauge: The Best Overall Choice
This tool is a staple for a reason, acting as a reliable bridge between your sewing machine and your iron. Its heat-resistant surface allows you to fold your fabric directly over the gauge, making it an essential companion for pressing hems on both woven and knit-stabilized edges.
For the knitter who occasionally sews linings or adds woven facings to cardigans, this gauge is incredibly intuitive. The markings are clear, and the rigid edge provides the perfect leverage to create a sharp fold that won’t shift while you’re prepping for a final stitch.
The primary trade-off is the material thickness; it’s slightly bulkier than a thin metal ruler. However, for most garment construction, the stability it provides far outweighs its size. If you want one tool that handles 90% of your pressing tasks, this is the one to reach for.
Clover Sewing Gauge: Best for Quick Hems

Clover is synonymous with precision in the fiber arts world, and their sewing gauge is no exception. It features a sliding marker that stays put, allowing you to set a specific measurement and repeat it dozens of times without having to re-measure.
If you are hemming a wide skirt or a long pair of trousers, this tool saves an immense amount of time. You simply set the slider to your desired hem depth, move along the edge, and press as you go.
Some find the plastic construction feels a bit light, but it’s designed to be gentle on delicate fabrics. It won’t snag your yarn or snagged fibers if you happen to be working on a mixed-media project. It’s a reliable, no-fuss tool for those who value speed and consistency.
Collins Sliding Gauge: Best for Precision

When you are working with intricate hems or narrow seam allowances, precision is non-negotiable. The Collins sliding gauge is built for those moments when a millimeter makes a difference in how a garment hangs on the body.
The sliding mechanism on this gauge is tighter than most, meaning it won’t accidentally slip while you are moving it around your workstation. For knitters who are detail-oriented and prefer to measure twice and stitch once, this provides a level of security that cheaper plastic versions lack.
It is particularly useful when you are folding up a hem on a sweater that has been stabilized with interfacing. Because it is rigid, it helps you maintain a perfectly straight line, which is vital for preventing the hem from twisting or pulling.
Singer Sewing Gauge: Best Budget Selection
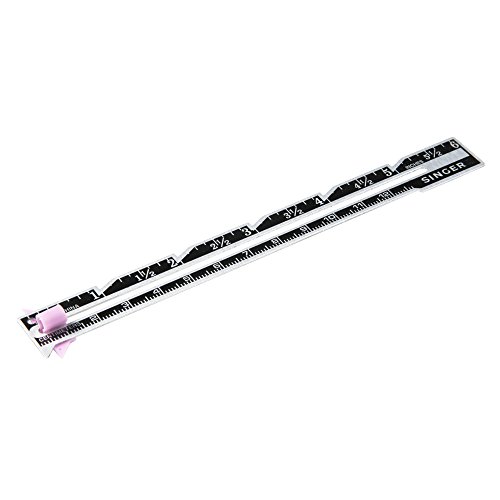
You don’t need to break the bank to get professional results, and the Singer sewing gauge proves that simplicity is often the best path. This is a classic metal tool that has been a mainstay in sewing kits for generations.
It is lightweight, slim, and fits easily into any notions bag or knitting project tote. If you’re a beginner who isn’t sure which features you’ll use most, starting here is a smart, low-risk investment.
While it lacks some of the bells and whistles of high-end gauges, it performs the core task perfectly. Just be aware that because it is metal, it can get warm if you leave it too close to your steam iron, so handle it with care.
Quilter’s Rule 6-Inch Gauge: Best for Quilting
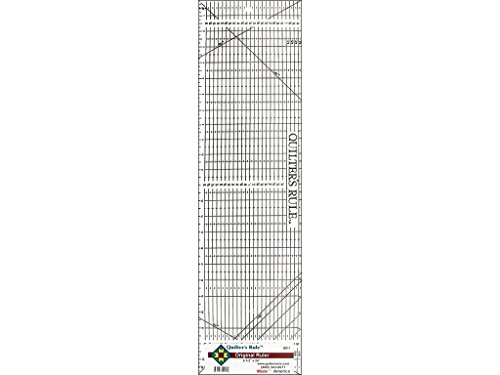
While designed for quilters, this gauge is a secret weapon for knitters who need to measure short, specific distances. Its transparent design allows you to see the fabric underneath, which is incredibly helpful when you are aligning a hem with a specific row of knitting.
The grid lines are printed with high contrast, making them easy to read even in low-light conditions. If you are working with dark yarns or fabrics, this clarity is a game-changer for your eyes.
It’s also surprisingly durable despite its thin profile. Use this when you are measuring small turned-up cuffs on sleeves or the hem of a baby garment where space is limited and accuracy is paramount.
LDH Scissors Pressing Gauge: Best for Ironing
This gauge is designed specifically for the heat-intensive process of pressing hems. If you are a knitter who frequently works with wool and requires steam to set your seams, this tool is built to withstand the heat without warping.
It’s heavy enough to stay in place on your ironing board, acting as a third hand while you manipulate the fabric. It’s a specialized tool, but for those who take garment finishing seriously, it offers a level of professional utility that standard gauges cannot match.

While it is an investment, the quality of the finish you get on your hems will be noticeably higher. It is perfect for those who want to ensure their hand-knits look as polished as a high-end designer piece.
How to Choose the Right Gauge for Your Projects
Choosing the right gauge depends entirely on your project’s material and the frequency of your hemming. If you are working with delicate, slippery fibers, a gauge with a non-slip backing or a firmer grip is essential.
Think about the weight of your fabric as well. A heavy wool tweed requires a sturdy, rigid gauge to handle the bulk, while a fine silk or cotton knit needs something lightweight that won’t distort the drape of the fabric.
- Consider the material: Metal for durability, plastic for lightness.
- Evaluate the scale: Do you need fractional inches or metric?
- Check the slider: Does it lock securely, or does it drift?
Always test your gauge on a scrap piece of fabric first. This helps you understand how the tool interacts with your specific yarn or fabric weight before you commit to the actual garment.
Metal vs. Plastic Gauges: Which Material Lasts?
Metal gauges are the workhorses of the sewing world. They are resistant to heat, don’t warp over time, and provide a sharp edge that is excellent for scoring a crease.
Plastic gauges, conversely, are often more affordable and come in a wider variety of shapes and sizes. They are also much gentler on delicate fibers, as they don’t have the sharp, potentially snagging edges that some metal tools might possess.
If you are prone to dropping your tools, a high-quality, heavy-duty plastic might actually last longer than a thin metal gauge that can bend. Choose based on your environment; if you have a dedicated sewing room with a hot iron, metal is superior. If you are a nomadic knitter who works on the couch, a flexible plastic gauge is often more practical.
Essential Tips for Achieving Perfectly Even Hems
The secret to a perfect hem isn’t just the gauge—it’s the preparation. Always press your fabric before you start measuring to ensure there is no hidden shrinkage or distortion in the weave.
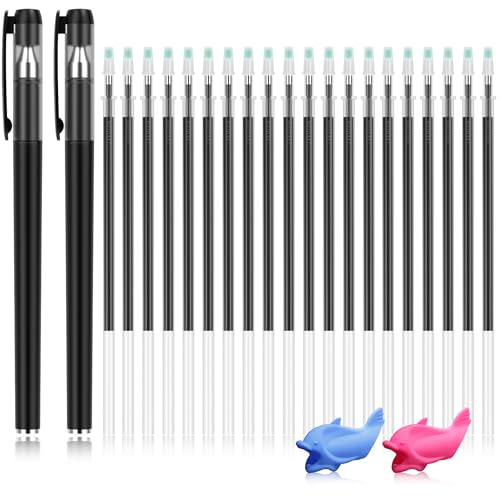
Use your gauge to mark the hem line with tailor’s chalk or a disappearing ink pen rather than relying on your eye. Precision in the marking stage eliminates the need to "fudge" the fit later.
- Steam is your friend: Use a pressing cloth to protect your yarn fibers.
- Work in small sections: Don’t try to pin the entire hem at once; move around the garment carefully.
- Check your tension: Ensure the fabric isn’t being pulled or stretched as you measure.
Remember that knit fabric has memory; if you stretch it while measuring, it will eventually snap back, potentially ruining your hem line. Always let the fabric rest after pressing before you perform your final stitch.
Frequently Asked Questions About Hem Gauges
Do I really need a dedicated gauge, or can I use a standard ruler? While a ruler works in a pinch, a hem gauge is designed with a sliding marker that allows for consistent, repeated measurements. This consistency is what prevents the "wavy hem" syndrome.
Can I use a metal gauge with a steam iron? Yes, but be careful. Metal conducts heat, so the gauge can become hot to the touch very quickly. Always use a heat-resistant mat or handle the gauge by the edges.
How do I clean my gauge? Most gauges can be wiped down with a damp cloth. Avoid using harsh chemicals or abrasive sponges, which can rub off the measurement markings over time.
Investing in a quality hem gauge is a small step that yields massive improvements in the professional appearance of your knitwear. By choosing a tool that fits your specific needs—whether it’s the durability of metal or the versatility of a sliding marker—you are setting yourself up for success. Take your time with your finishing work, and remember that these tools are there to support your craft, not complicate it. Happy making!
