
6 Best Diffusion Panels For Minimizing Harsh Light On Textiles
Stop harsh glare from ruining your photos. Discover the 6 best diffusion panels for minimizing harsh light on textiles and improve your product shots today.
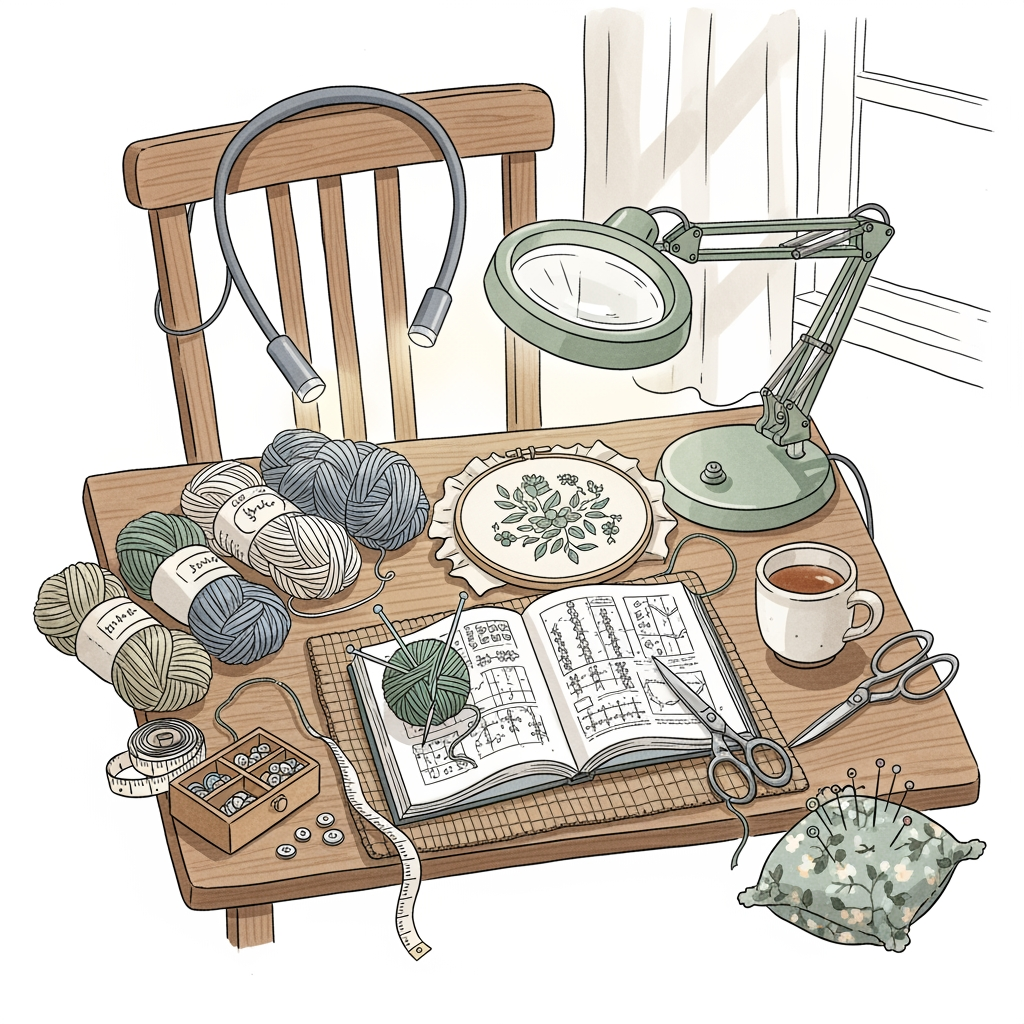
Capturing the intricate beauty of a finished hand-knit sweater or a hand-dyed skein of yarn often proves more difficult than the knitting itself. Harsh sunlight creates deep shadows that obscure stitch definition and make subtle color shifts appear muddy or washed out. A quality diffusion panel acts as a filter, turning aggressive, direct light into a soft, flattering glow that highlights fiber texture. Choosing the right tool allows every stitch, cable, and yarn-over to stand out with professional clarity.
Neewer 43″ 5-in-1 Reflector: Best Overall
This versatile disc is the Swiss Army knife of fiber arts photography. Because it includes a translucent white diffusion layer, it effectively softens sunlight hitting a delicate lace shawl or a dense, cabled cardigan.
The 43-inch diameter provides enough surface area to cover most mid-sized projects without becoming cumbersome in a small crafting space. It offers the flexibility to bounce light as well as diffuse it, which helps illuminate the shadowed side of a garment during a flat-lay shoot.
- Gold/Silver/White/Black covers: Essential for adjusting color temperature or adding contrast.
- Collapsible frame: Folds down into a small bag, making it ideal for knitters with limited storage.
Ultimately, this is the most practical choice for those who need one reliable tool that handles everything from macro shots of yarn twists to full-body garment portraits.
Godox Collapsible Panel: For Large Garments

If the goal is to photograph a floor-length cabled coat or a large-scale afghan, a standard circular reflector often fails to cover the entire frame. The Godox panel provides a rectangular surface, which matches the natural geometry of larger textiles much better than a circle.
Rectangular light sources are superior for even coverage on long, vertical projects. A wider panel ensures that the light wraps around the fabric, preventing the dreaded “hot spot” where light hits only the center of the piece.
- Sturdy frame: Keeps the fabric taut, so it does not sag or catch the wind during outdoor shoots.
- Large surface area: Eliminates the need to reposition the light constantly while documenting complex stitch patterns.
For makers who produce blankets, ponchos, or heavy outerwear, this panel is an investment in professional presentation. It provides the consistent, broad lighting necessary to showcase the entirety of a large project.
Westcott Scrim Jim Cine: Pro-Level Diffusion
For those who treat photography with the same precision as a complex stranded colorwork project, the Scrim Jim Cine is the gold standard. It features a modular, rigid frame that creates a perfectly flat, wrinkle-free diffusion surface.
Unlike collapsible fabric discs, this system does not sag or fold at the edges. This rigidity is critical when shooting fine-gauge projects where every single loop needs to be crisp and clear.
- Modular design: Allows for custom sizing by swapping frame rods.
- High-quality fabric: Offers superior light transmission that does not shift the color of the yarn, ensuring the true shade of hand-dyed wool is captured accurately.
The price tag reflects its professional status, but for a dedicated fiber artist building a permanent studio setup, it is unmatched. It represents the difference between a casual snapshot and a high-end publication photograph.
Lastolite HaloCompact: Most Portable Diffuser
Portability is the greatest challenge when traveling to knitting retreats or visiting local sheep farms. The HaloCompact solves this with a clever, tension-based frame that breaks down into tiny, lightweight components.
Many knitters find standard reflectors too bulky to carry in a project bag. This system fits easily into a backpack, ensuring that natural, diffused light is available even in remote or unconventional settings.
- Rapid assembly: Requires minimal effort to set up, leaving more time for the actual photography.
- High-quality diffusion fabric: Softens harsh outdoor midday light, which is often the most unflattering for delicate mohair or high-sheen silk.
This is the preferred tool for the mobile maker who refuses to compromise on quality while on the go. It ensures that projects photographed in the field look just as polished as those shot in a dedicated studio.
Fotodiox 22″ Disc: For Close-Up Texture Shots
Small, handheld discs are perfect for highlighting the intricate architecture of a single stitch or the distinct plies of a yarn strand. At 22 inches, this disc is easy to maneuver with one hand while holding a camera with the other.
Close-up shots require precise lighting to emphasize the “halo” of wool or the twist of a plying process. A smaller panel allows for more aggressive angling, which helps emphasize depth and texture in cables or brioche stitches.
- Lightweight: Minimizes hand fatigue during long shooting sessions.
- Portability: Ideal for documenting progress shots of a project currently on the needles.
When the focus is on detail, go small. This tool allows for the intimate control needed to bring out the tactile personality of every fiber.
Impact Collapsible Reflector: Best Budget Pick

Not every knitter needs a high-end, studio-grade setup to get great results. The Impact series offers a balance of durability and price, making it an excellent starting point for those who are just beginning to photograph their work.
These reflectors are durable enough to handle frequent folding and unfolding, a process that eventually destroys cheaper alternatives. They provide consistent diffusion that dramatically improves upon raw, direct sunlight.
- Affordable price point: Allows for more budget to be directed toward high-quality yarn or needle sets.
- Standard functionality: Provides the exact features needed to learn the basics of lighting.
A budget reflector is a smart entry point. It demonstrates the profound impact of light modification without requiring a significant financial commitment.
How to Pick the Right Size Diffusion Panel
Choosing the size of a diffusion panel follows a similar logic to choosing needle size based on yarn weight. A larger panel is generally safer and more versatile, while smaller panels are specialized tools for detail work.
Use this framework to guide the decision: * Small (under 24″): Best for close-ups of stitches, yarn labels, or gauge swatches. * Medium (30″-40″): The sweet spot for sweaters, shawls, and accessories like hats or mittens. * Large (over 40″): Required for full-length garments, large blankets, or staging multiple items together.
Remember that the light source needs to be larger than the subject to create the softest possible shadows. If the project is a wide, oversized sweater, a small disc will likely create uneven light distribution.
Positioning Your Panel for Soft, Even Light
Placement is just as important as the gear itself. Never place the diffusion panel directly against the subject; instead, position it between the light source and the garment to create a buffer zone.
For the most natural results, place the diffuser at a 45-degree angle to the light source. This mimics the soft, directional light of a north-facing window, which is widely considered the best environment for photographing textiles.
- Distance matters: Moving the diffuser closer to the subject makes the light softer but limits the area covered.
- Angle of incidence: Changing the angle can either accentuate or diminish the perceived texture of the stitches.
Experiment with subtle adjustments. A shift of just a few inches can make a significant difference in how a delicate lace pattern pops against the background.
DIY Diffusion: Household Items That Also Work
In a pinch, household items can serve as effective, if temporary, diffusion tools. A thin white bedsheet or a sheer curtain can act as an excellent light filter when placed in front of a bright window.
White foam board from a craft store is another essential tool for any home studio. It serves as a white bounce card to fill in the shadows on the underside of a garment or to brighten up dark yarn colors that usually swallow light.
- Shower curtains: Opaque, white plastic shower curtains create a very soft, diffused light effect.
- Parchment paper: Can be taped over a small window for macro shots of yarn.
While these items lack the convenience of professional equipment, they are perfect for testing what lighting style works best for a specific project. They prove that equipment is secondary to understanding how light moves across a surface.
Using Reflectors to Enhance Yarn Definition
Reflectors are not just for softening; they are for directing attention to the specific qualities of the fiber. Dark, low-contrast yarns often disappear in photos, but a strategically placed white reflector can bounce light back into the fibers to reveal the stitch structure.
When working with high-sheen fibers like silk or bamboo, be wary of using a silver-sided reflector, as it can create harsh, distracting highlights. In these cases, use the white side of a reflector to keep the luster soft and natural.
- High-contrast yarns: Use a reflector to brighten up the darker colors so they do not look like black holes.
- Twist and ply: Place the light source to the side to create subtle shadows that trace the path of the yarn.
The goal is to show the viewer the tactile nature of the project. If a photo makes the viewer want to reach out and touch the yarn, the lighting setup is successful.
Achieving the perfect photograph is an extension of the craft itself, requiring patience and a keen eye for detail. By incorporating these tools into your photography routine, you can bridge the gap between the beautiful work on your needles and the digital image you share with the world. With the right diffusion, your stitches will finally capture the light they truly deserve.
