6 Best Crochet Trims For Finishing Edges To Elevate Projects
Elevate your handmade creations with these 6 best crochet trims for finishing edges. Learn professional techniques to refine your projects and start crafting today.
A simple bind-off often leaves an edge looking unfinished or prone to curling, especially in stockinette-heavy garments. Adding a crochet trim acts as both a decorative frame and a structural reinforcement for blankets, sweaters, and accessories. These six techniques offer varying levels of stability and aesthetic flair to professionalize any piece. Choosing the right border transforms a standard project into a polished, boutique-quality heirloom.
The Crab Stitch: Best for a Sturdy, Corded Edge


The Crab Stitch, or reverse single crochet, creates a tight, rope-like border that resists stretching. Because it is worked from left to right, it effectively anchors the edge of the fabric, preventing the dreaded “stockinette roll.”
This stitch is ideal for heavy-use items like coasters, dishcloths, or the cuffs of a winter coat. It provides a dense, firm structure that feels more like a braid than a traditional crochet stitch.
Be aware that the Crab Stitch can be unforgiving if the tension is too loose. Keep a firm grip on the yarn to ensure the “cord” remains consistent and even around the entire perimeter.
The Shell Stitch: Best for a Classic, Wavy Finish
Shell stitches involve working multiple double crochet stitches into a single space, creating a series of overlapping fans. This trim is the quintessential choice for baby blankets, summer shawls, or vintage-inspired cardigans.
The height of the shell can be adjusted by changing the stitch count or the height of the stitches involved. A cluster of three double crochets creates a subtle wave, while five stitches result in a more dramatic, pronounced fan.
While visually stunning, shell stitches are heavier than other trims. If you are working on a very lightweight lace shawl, ensure the yarn weight for the trim matches the project to avoid pulling or distorting the main fabric.
The Picot Edge: Best for a Delicate, Dainty Trim
The Picot edge consists of a tiny loop of chain stitches anchored back into the base, creating a series of small, decorative points. It is the gold standard for finishing lace, delicate linens, and elegant feminine accessories.
This trim requires precision, as the consistency of the chain loops determines the overall look. Keep the chains tight so that the picots stand up sharply rather than flopping over.
Avoid using a bulky yarn for a picot edge on fine fabric, as the stitch will look clumsy. Use a thread or a fingering-weight yarn to maintain the airy, sophisticated look that makes picots so desirable.
Simple Scalloped Edge: Best for a Gentle Curve
A simple scalloped edge is similar to the shell stitch but usually flatter and less ornate. It provides a soft, rounded finish that works exceptionally well on children’s clothing or modern home decor items.
This trim is forgiving for beginners, as it does not require complex stitch placement. The key to a professional look lies in the spacing; ensure an equal number of base stitches between each scallop to prevent the trim from ruffling or pulling too tight.
If the edge looks wavy, increase the skip count between scallops. If it pulls inward, decrease the count to add more ease to the border.
Blanket Stitch Edge: Best for a Rustic, Homespun Look
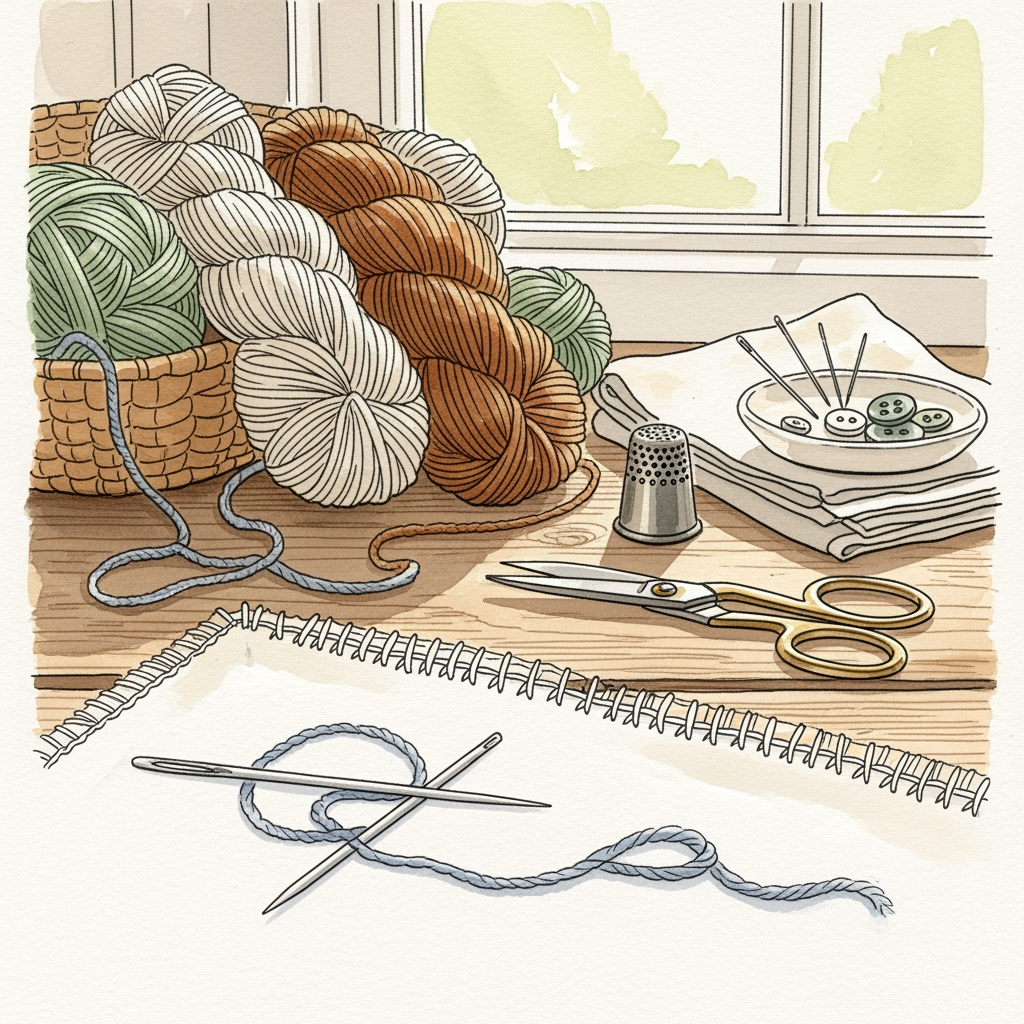
The Blanket Stitch is a classic technique often used to finish the raw edges of wool blankets or felted projects. It mimics the look of traditional needlework while providing a secure, reinforced border.
This stitch is particularly effective for heavy-weight fabrics that might otherwise fray. It bridges the gap between textile sewing and crochet, offering a clean, utilitarian aesthetic that pairs well with natural fibers like wool and linen.
Because this stitch is worked into the fabric edge rather than existing loops, it is important to space the stitches evenly. Use a tapestry needle or a small crochet hook to pierce the fabric consistently for a uniform appearance.
Moss Stitch Border: Best for a Flat, Textured Finish
The Moss Stitch—alternating single crochets and chain stitches—creates a dense, woven texture that lies perfectly flat. It is the ideal choice for blankets that need a durable, non-frilling edge without adding bulk or waves.
This border is highly modular. You can work it in one color for a minimalist look or switch colors every round to highlight the checkerboard pattern of the stitch.
Because it is so stable, the Moss Stitch is an excellent choice for stabilizing a stretchy garment edge. If the project tends to sag, a few rounds of Moss Stitch will provide the necessary structure to keep the fabric in shape.
Choosing the Right Yarn for Your Crochet Trim
The yarn you select for the trim should be equal to or slightly finer than the yarn used for the main project. Using a heavier yarn will cause the border to ripple, while a yarn that is too thin may look lost against a dense fabric.
Consider fiber content carefully. A superwash wool trim on a non-superwash garment may react differently during washing, leading to uneven shrinkage. Always match the fiber type to ensure the entire piece wears and cleans consistently.
If the main project is a high-twist yarn, a similar twist in the trim yarn will create a cohesive look. Avoid mixing fibers with vastly different drape characteristics, as the trim should support the project, not fight against its natural hang.
How to Prep Your Edge for a Perfect Foundation
Before starting the trim, work a “foundation round” of single crochet stitches evenly spaced along the edge of the piece. This provides a consistent surface for your decorative stitches to grab onto.
When picking up stitches on a vertical edge, such as the side of a sweater, aim for a ratio of three stitches for every four rows. This standard practice compensates for the difference in stitch height versus width.
Count your stitches on every side before you begin the decorative border. If the counts do not align, you may need to adjust your foundation round to ensure the final pattern repeat fits perfectly without awkward modifications at the end.
Turning Corners: Keeping Your Edging Looking Sharp
Turning a corner is where most trims succeed or fail. If you do not add extra stitches at the corner, the fabric will cup and pull; too many stitches will cause the corner to ruffle and lay flat poorly.
A reliable rule is to work the corner stitches into a single space, typically with a chain-one or chain-two separator. This provides the “turning room” necessary for the trim to navigate a 90-degree angle while remaining flat.
Always check the corner frequently as you work. If it starts to buckle, pull back and adjust your corner increase; it is easier to correct one corner than to rip out an entire finished border.
Blocking Your Trim for a Professional Finish
Blocking is the final step that separates a homemade look from a professional one. Once the trim is complete, wet-block the piece to even out the tension and set the shape of the decorative stitches.
For shell or picot edges, use pins to gently open up the scallops or points as the item dries. This ensures that the texture you worked so hard to create is clearly defined rather than muddled.
Always follow the blocking requirements of the main project’s fiber. Avoid heavy steam on delicate acrylics, which can “kill” the stitch definition, and be patient with heavy wools, which require a full dry to hold their new form.
A thoughtfully selected and carefully executed crochet trim acts as the signature of the maker. By matching the weight, texture, and style of the border to the base fabric, any project can achieve a cohesive and sophisticated finish. Take the time to practice these techniques on a swatch, and enjoy the process of perfecting the final edge.