6 Best Weaving Patterns For Beginner Skill Building
Master these 6 best weaving patterns for beginner skill building. Follow our step-by-step guide to improve your loom techniques and start your next project today.
Weaving is the rhythmic cousin to knitting, turning individual strands of fiber into a cohesive, structural fabric. While knitting relies on a single continuous loop, weaving demands an understanding of the intersection between warp and weft. Starting with small, manageable projects prevents the frustration of long setups and allows for quick gratification. Mastery begins by isolating individual techniques rather than attempting complex patterns on day one.
Plain Weave Coasters: The Absolute Beginner Start


The plain weave is the fundamental building block of all weaving, functioning exactly like a standard over-under stitch. This pattern provides an immediate understanding of how the warp—the stationary vertical threads—and the weft—the horizontal working thread—interlock to create fabric.
Coasters are the perfect introductory project because they require very little yarn and demand minimal setup time. Because they are small, any mistakes in tension or edge control are easily forgiven.
Focus on maintaining consistent edge tension here. If the weft is pulled too tight at the sides, the coaster will draw in, creating a dreaded “hourglass” shape that ruins the rectangular geometry.
Striped Tabby Weave Scarf: Mastering Color Changes
Moving from a single-color coaster to a striped scarf introduces the management of multiple yarn bobbins. The tabby weave is essentially a plain weave, but the focus shifts toward color sequence and smooth transitions.
Strategic color changes teach the importance of managing yarn tails. Leaving ends hanging creates bulk, while weaving them in as you go requires practice to keep the edges looking clean and professional.
Choose yarns with similar weights and textures to ensure the stripes don’t create uneven ripples in the fabric. A crisp cotton or smooth wool blend remains the best choice for beginners to clearly see how colors interact within the grid.
Twill Weave Sampler: Intro to Diagonal Patterns
Twill is identified by its characteristic diagonal lines, created by skipping over two or more warp threads before going under. Unlike plain weave, which is balanced, twill creates a more fluid, draped fabric that is ideal for garments.
Creating a sampler is the most efficient way to practice this, as you can test different thread counts without committing to a full-sized piece. You will learn to count threads carefully, as even one misplaced lift of the warp can disrupt the entire diagonal progression.
Observe how the fabric drape changes compared to the plain weave. Twill is generally more flexible and softer, making it the industry standard for everything from denim to high-end suiting fabrics.
Basket Weave Placemats: Learning Texture & Tension
Basket weave is a decorative variation where two or more weft threads are passed over two or more warp threads simultaneously. It mimics the look of a woven basket, creating a chunky, heavy-duty fabric that is exceptionally durable.
This pattern is an excellent lesson in maintaining consistent tension across a wider surface area. Because you are working with multiple strands at once, the risk of snagging or loose loops increases significantly.
The result is a sturdy, structural piece that stands up to daily use. Focus on packing the weft threads firmly—using a beater or comb—to achieve that dense, professional finish required for placemats.
Soumak Weave Wall Hanging: Your First Art Piece
Soumak is a technique where the weft thread is wrapped around the warp threads, creating a raised, braided appearance. It is closer to embroidery than standard weaving, making it a gateway into tapestry art.
This is the moment to move away from purely functional items and toward expression. Because Soumak adds a distinct relief texture, it works best when used to highlight specific areas of a piece, like the center of a wall hanging.
Use a thicker, decorative yarn for the Soumak portions to emphasize the texture. Keep the underlying warp tension firm, as the pulling required for the wrapping process can easily distort the base if it is too loose.
Rya Knots & Fringe Mug Rug: Adding 3D Elements
Rya knots involve tying lengths of yarn onto the warp to create a pile, similar to a shag rug. These knots add significant volume and tactile interest, transforming a flat piece of fabric into a three-dimensional object.
Mastering the knot consistency is key. If the knots are not uniform in length or tension, the surface will look patchy rather than intentionally textured.
Use a “mug rug” project to practice this technique on a small scale. Once the knots are secured, you can trim them for a crisp look or leave them shaggy for a more organic, rustic feel.
How to Choose Your First Loom: Frame vs. Rigid Heddle
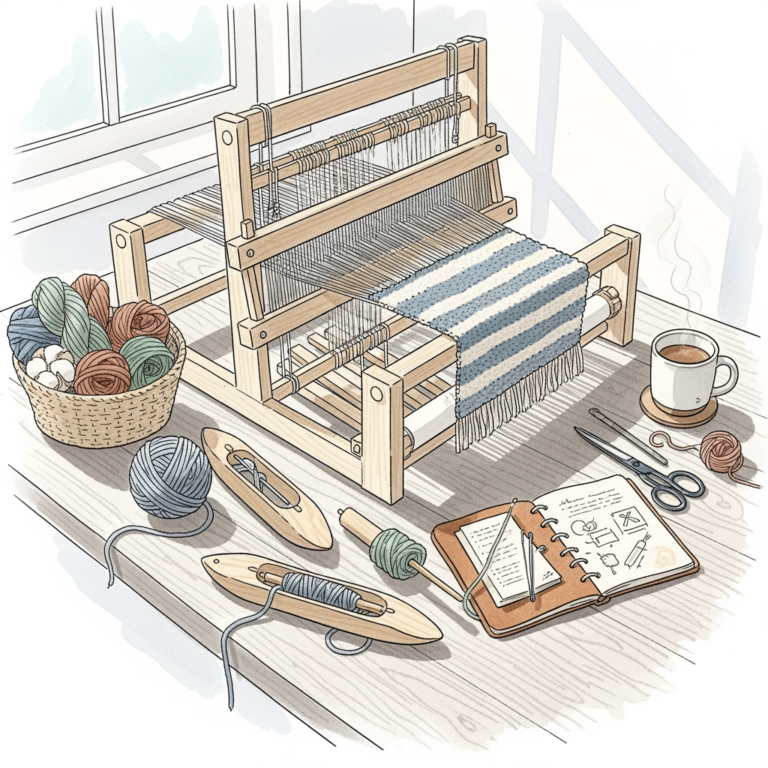
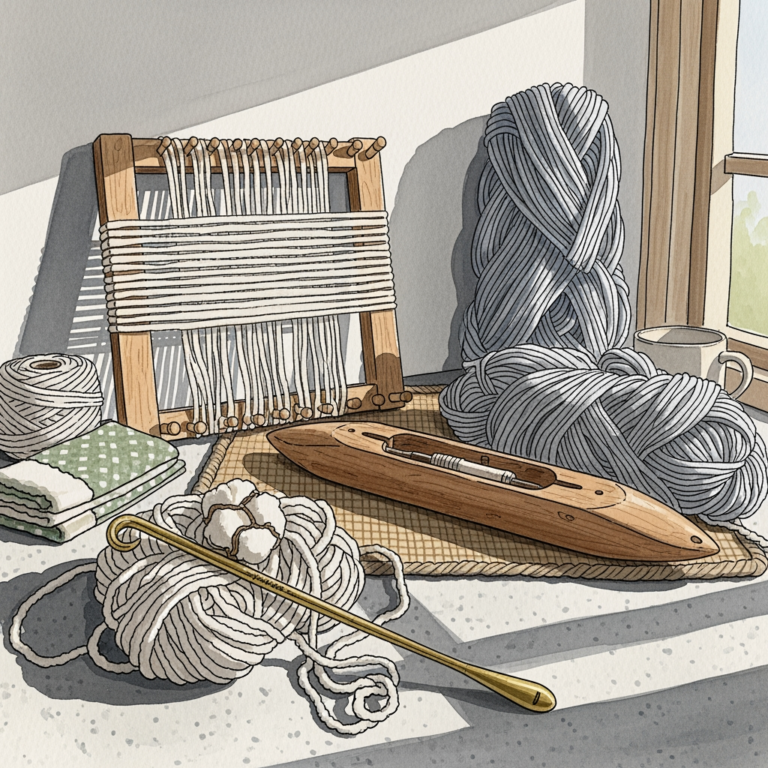
A basic frame loom is simply a wooden or plastic rectangle with notches, offering a low-cost, low-commitment entry point. These are perfect for small wall hangings or coasters where speed is not a priority.
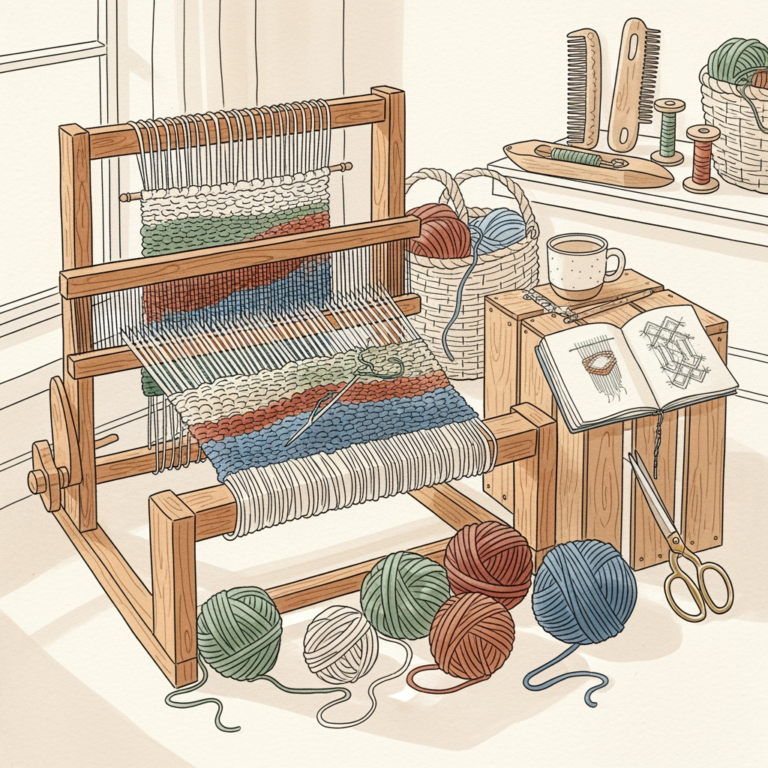
A rigid heddle loom, by contrast, includes a device that lifts every other warp thread automatically, greatly increasing weaving speed. If the goal is to create scarves, towels, or yardage, a rigid heddle loom is the mandatory next step.
Consider the intended project size before purchasing. A frame loom is portable and simple, but it lacks the shedding mechanism—the ability to open a space between warp threads—that makes consistent work possible.
Understanding Warp vs. Weft Yarn Choices for Weaving
The warp yarn must be strong and have minimal stretch, as it remains under constant tension throughout the weaving process. Smooth, tightly plied wool or cotton are the gold standards for warp.
The weft, however, offers endless creative freedom. Because the weft is not under extreme tension, you can experiment with mohair, novelty yarns, or silk blends to add character and softness to the fabric.
Never use a weak or elastic yarn for the warp, as it will snap or cause the finished piece to warp once removed from the loom. When in doubt, prioritize a smooth, high-twist yarn for the warp and reserve the fuzzy or delicate fibers for the weft.
Finishing Your Weave: Securing Ends and Edges
Finishing is the difference between a project that unravels and an heirloom-quality textile. Always leave a few inches of extra warp at the beginning and end to allow for fringes or hem folding.
To secure the ends, weave them back into the shed—the open space between warp threads—following the path of the existing weft. Using a tapestry needle to feed the tail back through several warp threads ensures it will not budge with use.
If the fabric is intended for heavy wear, a light steam press or a gentle hand wash with wool soak will help the fibers “bloom” and settle into place. This process, often called fulling or finishing, is vital for stabilizing the structure.
Troubleshooting Common Beginner Weaving Problems
Uneven edges, known as “draw-in,” occur when the weft thread is pulled too tight, causing the warp threads to pull inward toward the center. Correct this by angling the weft thread in a gentle arch before beating it into place.
Skipped threads happen when the heddle fails to catch a warp thread, resulting in a hole or a float in the pattern. Stop immediately when this is spotted, back up the work, and re-thread the skipped warp.
Tension issues usually stem from a warp that was not wound evenly from the start. If the warp feels loose in some areas and tight in others, the shed will never open properly, leading to uneven beating and a frustrating experience.
Weaving is a craft of patience and incremental progress, where every mistake teaches a lesson about fiber behavior. By mastering these six patterns, the foundation for more complex weaving will be firmly set. Enjoy the process of creating fabric from scratch.