6 Erasing Shields For Clean Corrections To Consider
Upgrade your precision drafting with our guide to 6 erasing shields for clean corrections. Discover the perfect tool for your workspace and shop the list today.
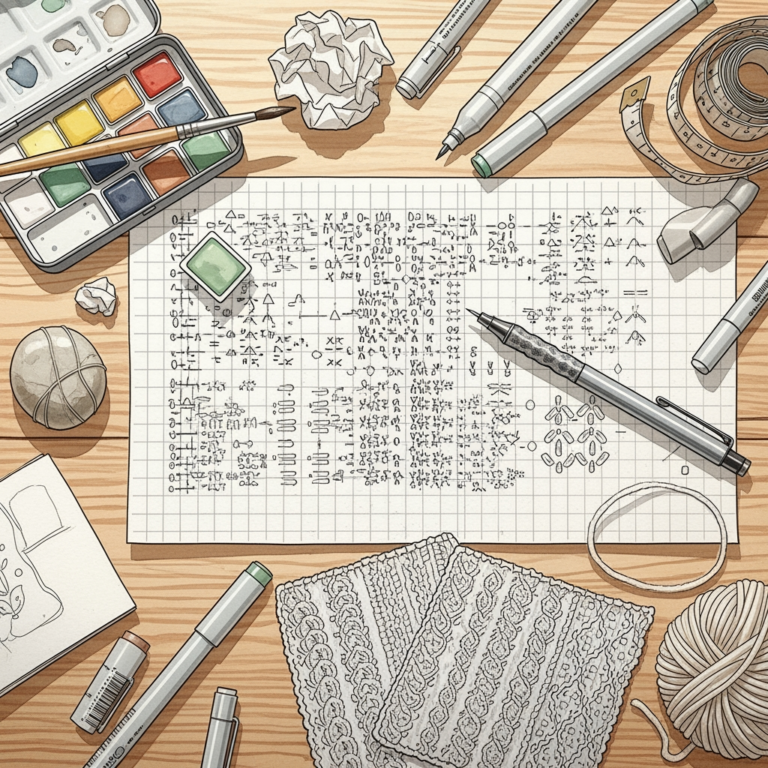
Precision in chart-making is just as critical as maintaining even tension when working with fine laceweight yarns. An erasing shield acts as a surgical tool for your design process, allowing for the correction of individual symbols without disrupting the surrounding pattern. Whether you are drafting custom cables or modifying a stitch map, these thin metal templates are essential for maintaining professional-grade accuracy. Choosing the right shield prevents smudging and ensures your hand-drawn charts remain as legible as your finished fabric.
Staedtler Mars Erasing Shield: The Pro Choice


The Staedtler Mars shield is the industry standard for a reason. Its stainless steel construction is remarkably thin, providing a perfectly flat surface that sits flush against your design paper.
This precision is vital when you are sketching intricate lace charts with high-density symbols. Because the material is so refined, there is no risk of the eraser catching on a jagged edge and tearing the paper fibers.
For the serious pattern designer, this tool offers the most reliable geometric cutouts. It allows for the surgical removal of a single errant yarn-over symbol without smudging the delicate increase or decrease markers nearby.
Westcott Stainless Steel Shield: Built to Last
If your design process involves long hours at the drafting table, the Westcott shield offers superior durability. The stainless steel is tempered to resist bending, ensuring it remains perfectly flat even after years of use tucked into a project bag.
A rigid shield is indispensable when working on textured cardstock or heavy vellum. These materials require a firm hand during erasure; a flimsy shield would flex, causing the eraser to skip and potentially create messy, unwanted lines.
This tool is the ideal partner for designers who prefer heavy-handed sketching before refining their final patterns. It maintains its shape, guaranteeing that the cutouts stay perfectly aligned with your grid paper every time.
Alvin Erasing Shield: Classic Drafting Tool
The Alvin shield is favored for its varied aperture shapes, which cater to a wide range of symbolic needs. It features a diverse selection of rectangular, circular, and irregular slots that match almost any knitting notation style.
Having the right shape is essential when cleaning up charts that include complex bobbles or clustered stitch groups. Instead of trying to force a small symbol into a generic hole, this shield provides a tailored fit that protects the integrity of the neighboring chart cells.
Its weight is balanced, providing enough heft to stay put on the page while the eraser does the work. This is particularly helpful when editing large-scale charts where the paper might otherwise curl or shift.
Helix Metal Erasing Shield: Best Budget Option
The Helix shield is an excellent entry point for knitters just beginning to chart their own designs. It performs the fundamental task of protecting surrounding lines with efficiency and simplicity.
While it may lack the polished finish of premium drafting tools, its functionality is entirely sufficient for standard notation. It is a cost-effective solution for designers who prefer to invest more of their budget into high-quality graph paper or archival-grade pencils.
The thin metal profile is still thin enough to prevent unwanted eraser drag. It proves that you do not need an expensive piece of equipment to maintain a clean, readable knitting chart.
Pacific Arc Stainless Steel Shield: Top Value
Pacific Arc delivers a balanced tool that bridges the gap between budget and professional-grade drafting. The steel is treated to be non-glare, which reduces eye strain during long design sessions under task lighting.
This anti-glare feature is a significant advantage when you are focused on the microscopic details of a complex stranded colorwork chart. It keeps your eyes focused on the symbols themselves rather than battling reflections bouncing off the metal surface.
Its edge finish is clean and smooth, ensuring that even soft erasers do not accumulate metal shavings or experience tearing. For the designer who values performance but maintains a strict budget, this represents the optimal choice.
Generic Stainless Steel Shield: Bulk Buy Pick
Generic stainless steel shields are often sold in packs, making them an excellent choice for a collaborative knitting group or a design studio. Having multiples means you can keep one at your desk, one in your travel kit, and one tucked into your current pattern binder.
While these lack the branding and refinement of professional drafting lines, they share the same basic material benefits of thin, durable stainless steel. They are functional, utilitarian, and perfectly capable of isolating small marks on a chart.
Use these as your “workhorse” tools for messy, preliminary sketches. They allow for aggressive erasing without the hesitation of potentially damaging a more expensive, specialized piece of equipment.
How to Choose the Right Erasing Shield for You
The primary factor in your choice is the size and complexity of the symbols on your charts. If you specialize in delicate lace, choose a shield with the thinnest possible aperture edges to prevent catching.
Consider the surface you are working on as well. If you prefer working on high-tooth, textured paper, a heavier, more rigid stainless steel shield will prevent the tool from shifting during the erasing process.
- Complexity: Do you use tiny, intricate symbols or large block diagrams?
- Material: Is the paper flimsy or heavy and textured?
- Mobility: Do you need a durable shield that can survive being tossed into a knitting bag?
If you are just starting your chart-making journey, choose the tool with the most versatile set of cutout shapes. This ensures you can grow into the tool as your design style evolves.
Using Your Shield with Knitting Chart Symbols
When applying the shield to a knitting chart, align the aperture directly over the stitch symbol you wish to remove. Hold the shield firmly with your non-dominant hand, ensuring the edges are pressed completely flat against the paper surface.
Use your eraser to rub within the boundaries of the cutout, moving in small, controlled strokes. Avoid rubbing toward the edges of the shield, as this can push graphite or debris underneath the metal and onto your clean design.
Always clear away eraser crumbs immediately after finishing your correction. Debris left on the chart can cause smudging if you happen to rub your hand across the paper while continuing to work.
Best Erasers to Pair with Your Erasing Shield
The shield is only as effective as the eraser used alongside it. For technical drafting, opt for a high-quality white vinyl eraser, which is less likely to leave colored residue or oils behind.
Avoid soft, kneadable erasers when working with a metal shield. These are designed for lifting graphite rather than abrasive removal, and they tend to get stuck in the thin aperture slots of the shield.
- White Vinyl: Best for precision and clean residue-free removal.
- Mechanical Eraser Pens: Ideal for very tight, localized erasing within small apertures.
- Plastic Erasers: Good for general purpose work, provided they are clean and firm.
Pairing a precision mechanical eraser pen with a high-quality stainless steel shield provides the most accurate results possible. This combination allows for surgical removal of even the most microscopic chart marks.
Cleaning and Caring for Your Metal Shield
Over time, graphite dust and eraser residue will accumulate on the surface of your shield. Wipe it down periodically with a soft, dry microfiber cloth to keep it free of buildup that could smudge your project.
If the shield becomes greasy from skin oils, a quick wipe with a diluted isopropyl alcohol solution will restore its surface. Ensure it is completely dry before placing it back against your paper to avoid water spots or ink smearing.
Keep your shield stored in a flat position to prevent warping. If it becomes bent, it will no longer sit flush, rendering its precision-erasing capabilities significantly less effective.
Mastering the use of an erasing shield turns the often frustrating process of correcting knitting charts into a precise, satisfying part of your design workflow. By selecting a high-quality tool and maintaining it properly, you ensure your patterns are always as crisp as your stitches.