6 Best Tabletop Tripods For Filming Knitting Tutorials
Need the perfect setup for your craft channel? Discover the 6 best tabletop tripods for filming knitting tutorials and start creating clearer videos today.
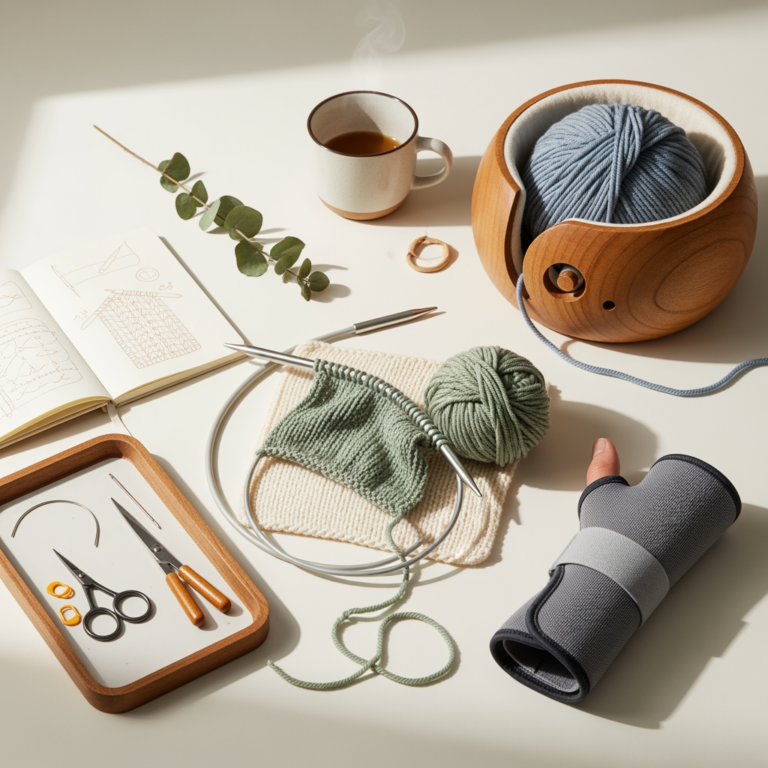
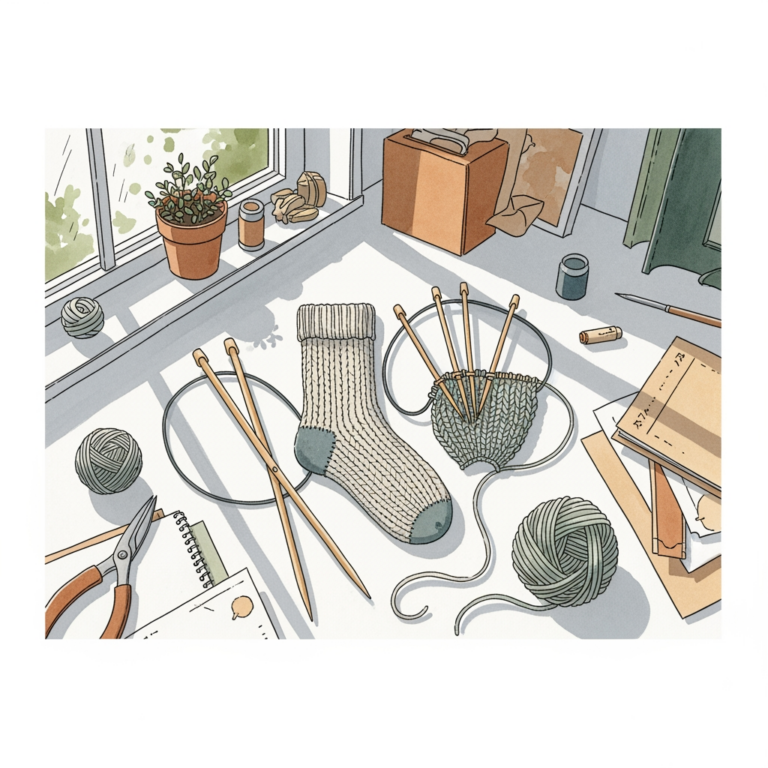
Capturing the precise mechanics of a complex stitch pattern requires more than just a smartphone; it demands a stable, versatile setup that doesn’t get in the way of the needles. Whether demonstrating a delicate cable cross or a simple knit-purl ribbing, the right tripod acts as an invisible assistant that keeps the focus squarely on the yarn. A shaky frame ruins the clarity of a tutorial, leaving viewers unable to see the finer details of the fiber. Choosing the correct support gear ensures that every stitch is documented with the same care and precision used to craft the garment itself.
Joby GorillaPod 3K Kit: Best for Versatility

The signature flexible legs of this tripod allow it to wrap around almost any surface, from a lamp post to the arm of a sturdy chair. This is a game-changer when working in a cramped craft room where desk space is at a premium.
When filming complex lace work on 2.25mm needles, the ability to wrap the legs around a chair back provides a bird’s-eye perspective without needing a bulky light stand. The ball head allows for smooth adjustments, ensuring the camera remains steady even when the tripod is perched on an uneven surface.
However, the legs do require a firm hand to position correctly; if they are not locked tight, the weight of a heavy DSLR can cause the frame to sag mid-video. The bottom line: It is the ultimate tool for those who lack a dedicated studio space and need to film wherever a bit of natural light hits their work.
UBeesize Extendable Tripod: Best Budget Pick
Entry-level setups often struggle with structural integrity, but this extendable option offers a surprisingly stable base for lightweight smartphones. It provides the essential height needed to capture the rhythm of knitting movements without the high cost of professional-grade gear.
This tripod shines for quick, casual tutorials where speed of setup is more important than heavy-duty stability. The remote shutter button is a vital inclusion, allowing the hands to remain on the needles without the need to reach up and tap the screen, which inevitably causes vibrations.
It may feel lightweight, but it is sufficient for documenting basic stitch counts or checking row progress. The bottom line: Choose this if you are just starting your channel and need a reliable, low-cost way to get your camera off the table.
Arkon Pro Phone Stand: Best for Overhead Shots
Overhead filming is the gold standard for knitting tutorials because it mimics the viewer’s point of view. This stand features a horizontal arm that extends over the workspace, providing a clear, top-down view of the hands and needles.
Because the phone is suspended directly above the project, there is no tripod leg cluttering the periphery of the frame. This is essential when filming intricate colorwork where you need to showcase how the yarn is held or how the needles manipulate the floats on the back of the work.
Be aware that the base needs to be weighted down with something heavy—like a stack of pattern books—to prevent the arm from tipping forward under the weight of the phone. The bottom line: If you want professional-looking, “from the knitter’s perspective” footage, this is the most functional design available.
Manfrotto PIXI Mini Tripod: Most Stable Desktop
When filming on a flat, stable surface, the Manfrotto PIXI offers a level of rock-solid dependability that most plastic alternatives lack. Its push-button locking mechanism is quick to adjust, making it ideal for snapping a quick video of a finished swatch or a blocked lace shawl.
The legs fold into a comfortable handle, which is useful if the camera needs to be handheld for a close-up pan of a stitch pattern. It is small enough to tuck into a project bag, meaning it can travel to retreats or knitting circles.
While it is exceptionally stable, it lacks height, which can lead to unflattering angles if the camera is placed too low relative to the hands. The bottom line: Use this as a permanent fixture on your desk for daily recording where ease-of-use and stability are paramount.
Lamicall Gooseneck Mount: Best Clamp-On Option

The gooseneck design is a clever solution for those who want to fix their camera to a desk edge or a shelving unit. By clamping it directly to the furniture, you eliminate the need for a floor-standing tripod or a desk footprint.
This is particularly useful when demonstrating specific knitting techniques, like picking up stitches along a shawl edge, where you might need to lean close to the desk. The flexible arm can be twisted into almost any position, though it does tend to bounce if the table is bumped.
Because it relies on a clamp, it is vital to ensure the desk or table edge is sturdy enough to hold the tension. The bottom line: If you have a dedicated desk where you always film, this saves significant space and provides a unique range of motion.
SwitchPod DSLR Tripod: For Serious Creators
Designed for those who have moved beyond phone cameras to mirrorless or DSLR setups, the SwitchPod is incredibly fast to deploy. It transitions from a handheld mode to a tripod mode in seconds, which is perfect for transitioning between wide shots and macro details.
For serious creators, the structural integrity of this tripod is unmatched; it does not wobble, even when using a heavier lens for tight close-ups of needle tips. It provides a level of professional aesthetic that signals to viewers that the content is crafted with high technical standards.
It is a premium investment, and it does not come with a phone mount included, so you must purchase a separate adapter if not using a dedicated camera. The bottom line: Invest in this if you are serious about upgrading your production quality and require a piece of equipment that will last for years.
How to Choose the Right Tripod for Your Camera
Selecting a tripod starts with identifying your primary device: a lightweight smartphone or a heavier interchangeable lens camera. Smartphones are forgiving, but larger cameras require sturdier heads and wider bases to prevent tipping.
Consider your workspace surface; a slick desk requires a tripod with rubberized feet, whereas a thick carpet might accommodate almost anything. You should also evaluate how often you need to adjust your angles, as some tripods are “set it and forget it,” while others are built for constant repositioning.
- Weight Capacity: Check if the tripod can support your heaviest lens.
- Footprint: Measure your desk space to ensure the legs don’t interfere with your yarn bowl or notions.
- Adjustment Speed: Ask if you can switch from an overhead shot to a front-facing shot in under thirty seconds.
Getting the Perfect Angle for Knitting Videos
The goal of any knitting tutorial is to eliminate the guesswork for the viewer. A 45-degree angle is often considered the most natural, as it provides a clear look at both the needle tips and the way the yarn tension is maintained in the fingers.
When filming purling or intricate increases, moving the camera slightly closer provides the depth needed to see how the yarn loops over the needle. Avoid extreme angles that distort the hands, as this makes it difficult for a beginner to understand how to hold their own tools.
Always check the background to ensure it is not overly busy. A cluttered workspace distracts the eye from the delicate movement of the needles and the texture of the yarn.
Why Stability Matters More Than You Think
Micro-vibrations are the enemy of clear video. Even a subtle shake caused by tapping the phone screen makes it difficult for viewers to follow the path of the yarn, especially when working with dark, low-contrast fibers.
Stability is directly tied to the viewer’s ability to learn; if the camera is shaky, the knitter’s brain has to work twice as hard to process the motion. A tripod that holds steady allows you to focus on the tension of your stitches rather than worrying about the technical performance of your camera.
Consistently stable footage builds trust with your audience. When they can clearly see the difference between a slipped stitch and a knit stitch, they are more likely to return for future tutorials.
Phone Mounts vs. Camera Screws: What You Need
Most smartphones require a spring-loaded or screw-tightening mount to attach to a standard tripod head. Ensure the mount you choose has a strong grip, especially if you are using an overhead arm where the phone is hanging upside down.
If you are using a dedicated camera, you will use a standard 1/4″-20 threaded screw. Most modern tripods use a “quick-release plate,” which allows you to detach the camera in seconds without unscrewing the entire mount.
Always verify that your mount includes a rubberized pad where it touches the device to prevent slipping or scratching. The bottom line: Never trust a cheap mount; a failing clamp is the fastest way to drop your gear and end your filming day.
Selecting the right tripod is just as critical as choosing the correct needle material for a project. By prioritizing stability, proper angles, and your own physical workspace, you create a professional environment that allows your knitting skills to take center stage. Take the time to match your equipment to your specific filming habits, and your tutorials will become a reliable resource for your knitting community.