6 Sewing Machine Lights For Precision Zipper Stitching
Achieve perfect precision on every zipper project. Explore our top 6 sewing machine lights to illuminate your workspace and upgrade your stitching accuracy today.
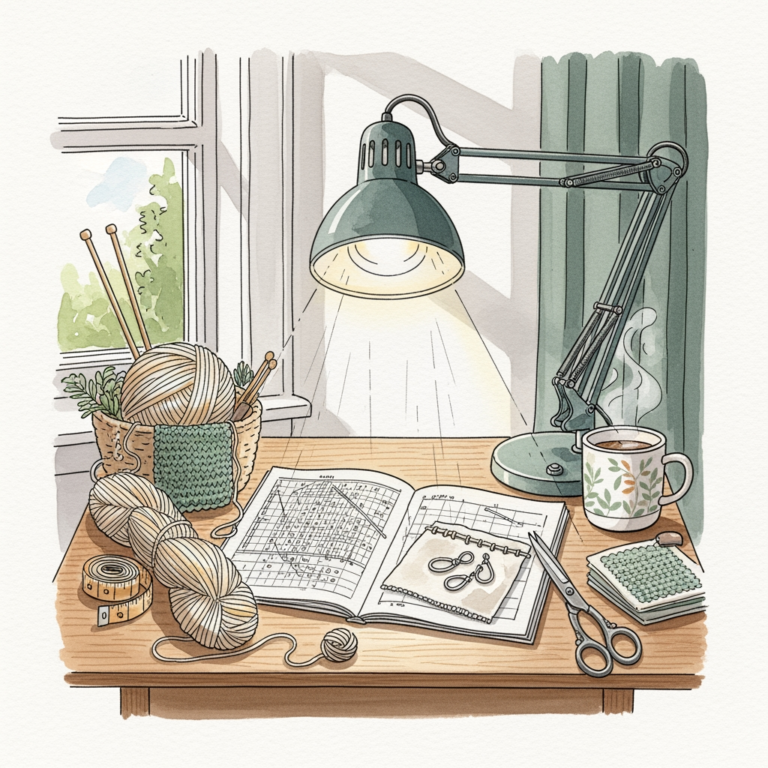
Installing a zipper is perhaps the most nerve-wracking moment in garment construction, where a single skipped stitch can ruin hours of careful tailoring. Proper lighting is not just a luxury; it is a fundamental tool for precision work, much like using a magnifying glass to inspect a complex lace cable. Shadows cast by a sewing machine’s standard bulb often obscure the needle plate, making it nearly impossible to maintain a consistent distance from the zipper teeth. By upgrading the light source, you ensure that every stitch is placed with the same intent used when grafting a delicate mohair bind-off.
Cutex LED Light Strip: Best Overall Illumination

The Cutex LED light strip is designed to adhere directly to the sewing machine body, casting a uniform glow across the entire needle area. This eliminates the “hot spots” created by traditional incandescent bulbs, which often cause glare that strains the eyes during long sessions.
For those working with dark, high-twist yarns or black fabrics, this strip provides the visibility needed to track fine details. It is a set-it-and-forget-it solution that provides consistent brightness regardless of the machine’s speed.
While installation requires a clean, flat surface on the machine casing, the result is a professional-grade workspace. It remains the top choice for those who want total, shadow-free coverage for intricate sewing tasks.
Mighty Bright Gooseneck: Best for Precision Aim
A gooseneck lamp provides the ability to direct light into the narrow channels where a zipper tape meets the fabric. This targeted focus is essential when you are trying to keep stitches perfectly parallel to the teeth without hitting the metal itself.
Much like adjusting the angle of a lamp to catch the light on a row of purls to check for twisted stitches, the gooseneck allows for micro-adjustments. It is especially useful for older machines that lack integrated LED lighting.
Because the arm is flexible, it can be tucked away when not in use or repositioned for other tasks like embroidery or darning. It offers a level of control that static light strips simply cannot match.
Lhedon Magnetic Lamp: The Most Versatile Option
The magnetic base of the Lhedon lamp allows it to be placed anywhere on the metal frame of a sewing machine. This versatility is ideal for makers who move between different projects, from heavy canvas bags to lightweight silk blouses.
If you are accustomed to moving your work around to get a better look at a complex colorwork chart, you will appreciate the ability to shift this light source instantly. The magnet is generally strong enough to hold steady during high-speed sewing, preventing distracting flickering.
However, be aware that some modern computerized machines have plastic outer casings where magnets will not attach. Always check the machine’s body composition before opting for this style.
i-Zoom 30-LED Light: The Best Cordless Solution
Cordless convenience is the standout feature of the i-Zoom, which relies on batteries to provide high-intensity light without tethering the machine to a wall outlet. This is perfect for those who set up their sewing space on a dining table or a shared craft desk.
Without the restriction of a power cord, you can reposition the light to illuminate the needle plate, the presser foot, or even the bobbin area for cleaning. It offers the same freedom of movement one experiences when switching from a heavy, corded floor lamp to a portable neck light for bedside knitting.
Keep in mind that battery life will fluctuate based on the quality of cells used. For long, multi-day sewing projects, keep a spare set of batteries nearby to avoid a mid-seam blackout.
PIRASO-SEW LED Bulb: Upgrade for Older Machines
Many vintage sewing machines are veritable workhorses that handle heavy denim or upholstery fabrics with ease, yet their original bulbs are dim, yellow, and heat-intensive. The PIRASO-SEW bulb is designed to fit these older sockets while providing the crisp, white light of a modern LED.
This is a simple swap that requires no tools, making it the least intrusive way to upgrade your equipment. It provides a cool-running light, meaning you won’t have to worry about plastic components warping over time.
It is the most efficient choice for the purist who loves the stitch quality of an older machine but needs better visibility for modern precision. It retains the classic look while providing a modern performance boost.
Ken’s Sewing Center Light: Great Budget Pick
Reliable lighting does not always require a massive investment, and Ken’s Sewing Center offers a functional, no-frills option that gets the job done. It provides a focused beam that effectively highlights the needle path without unnecessary bells and whistles.
This is an excellent starting point for beginners who are still outfitting their sewing kits and need to allocate funds toward quality thread and needles. It provides enough light to master basic zipper installs without breaking the bank.
While it may lack the dimming features or heavy-duty build of more expensive units, its performance-to-price ratio is difficult to beat. It is a pragmatic choice for those who value utility over aesthetics.
Choosing Your Sewing Light: Strip vs. Gooseneck
Deciding between a strip and a gooseneck comes down to the specific mechanics of your sewing projects. Strips provide a broad, consistent wash of light that is ideal for general construction and keeping a straight line on large panels.
Goosenecks are superior when you need to “peek” into tight, recessed areas or when dealing with complex topstitching that requires a specific angle to avoid depth-perception errors. Think of it like comparing a broad, ambient room light to a focused task lamp.
- Choose a strip if: You want a permanent solution that illuminates the entire work area evenly.
- Choose a gooseneck if: You require precise, adjustable angles for detailed manual steering and intricate seams.
What to Look for in a Sewing Machine Light
The most critical factor is color temperature; look for daylight-balanced LEDs (around 5000K-6500K) to ensure accurate color perception. This is vital when matching zipper tape colors to fabric, much like checking for yarn color consistency under natural light.
Mounting security is the second priority, as vibration from the motor can quickly shake a poorly attached light loose. Finally, consider the beam width; a narrow beam is better for precision, while a wide beam is better for general machine maintenance and threading.
- Color Temperature: Daylight (5000K+) is best for color accuracy.
- Mounting: Ensure the base fits your machine’s material (metal vs. plastic).
- Flexibility: Does the arm hold its position under machine vibration?
How to Position Your Light for Perfect Zippers
For the best results with zippers, position your light to shine from the side, slightly behind the needle. This casts a small shadow of the zipper teeth, which helps you align the needle exactly along the edge of the tape.
Avoid shining the light directly from the front, as this creates glare on the needle plate that washes out the very details you are trying to see. A slight angle—about 45 degrees from the needle—is usually the “sweet spot” for depth and contrast.
If you find that your hands are casting shadows, try adjusting the light to hit the work from the opposite side of your dominant hand. Small tweaks in positioning can make the difference between a puckered seam and a seamless, professional finish.
Do You Really Need a Special Sewing Light?
Relying solely on overhead room lighting or the original factory bulb is often the hidden cause of fatigue and uneven stitching. When you cannot clearly see the interface between the presser foot and the fabric, you lose the ability to make micro-adjustments, leading to frustrated efforts and poor results.
Just as a knitter needs proper lighting to distinguish between dark-colored fibers, a sewist needs high-quality light to manipulate layers of fabric safely and accurately. Investing in a dedicated sewing machine light is an investment in the longevity of your projects and the health of your eyesight.
It is one of the most cost-effective upgrades available for any sewing setup. The boost in confidence and precision is worth far more than the modest price tag of the light itself.
Adding a dedicated light source to your machine is a simple change that yields immediate improvements in your work. When you can clearly see the path of your needle, your stress levels decrease and your stitch quality naturally improves, allowing you to focus on the creative side of your sewing.