6 Best Finishing Needles For Mattress Stitch
Discover the 6 best needles for mattress stitch. Learn how choosing the right size and tip ensures seamless, professional seams for your knitting projects.
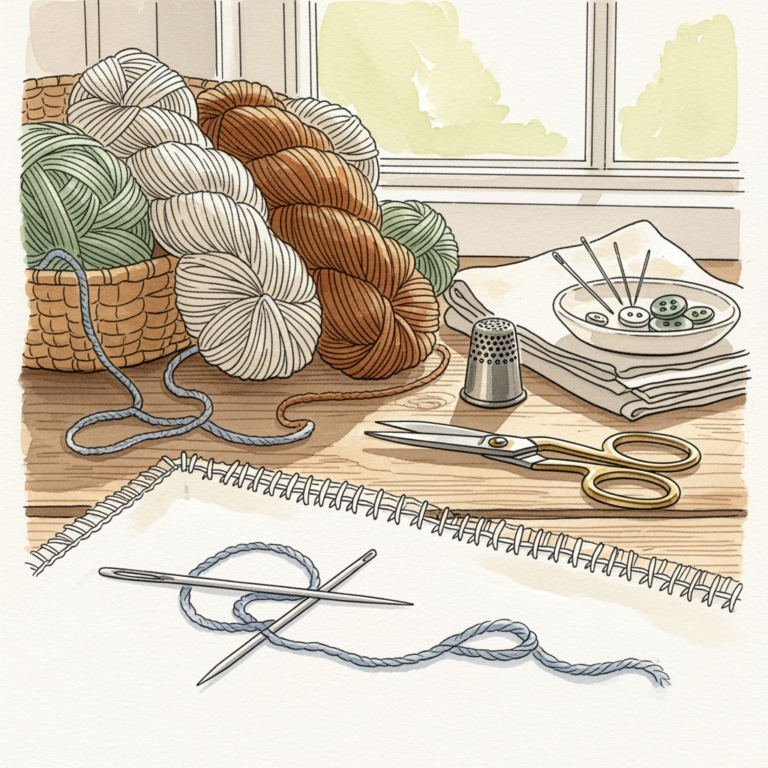
Achieving a professional, invisible mattress stitch is the hallmark of a knitter who truly cares about the longevity of their garments. While the technique itself is foundational, the tool you choose to pull your yarn through those delicate loops makes all the difference in your final finish. After decades at the workbench, I have learned that the right needle can turn a frustrating seaming session into a meditative experience. Here are the six best finishing needles to ensure your seams look like they were woven by a machine, but crafted with the heart of a maker.
Clover Chibi Bent Tip Tapestry Needles: Best Overall

These needles are a staple in my notions bag for a reason. The signature bent tip allows you to slide under the "v" of your stitches without accidentally piercing the yarn ply, which is essential for a clean, snag-free seam.
The Chibi case itself is a brilliant design feature, keeping these small tools from vanishing into the depths of your knitting basket. Because they are blunt, they glide through finished fabric without splitting the fibers of your work, preserving the integrity of your hard-earned stitches.
If you are working on a complex garment where every stitch counts, the bent tip provides the precision needed to catch the exact loop you’re aiming for. It is the most versatile choice for the vast majority of knitting projects.
Bohin France Size 18/22 Chenille Needles: Best Steel

When you need a needle that feels substantial in your hand, Bohin’s steel chenille needles are the gold standard. Unlike tapestry needles, chenille needles have a sharper point, which is incredibly helpful if you are seaming dense, felted, or tightly spun wools that resist a blunt tip.
The steel construction offers a smooth, slick surface that minimizes friction as you pull your yarn through the seam. This is particularly beneficial when working with sticky fibers like mohair or high-twist alpaca, where drag can cause your yarn to fray.
Be aware that because these are sharper, they require a bit more attention to ensure you are catching the stitch loops rather than piercing the yarn strand itself. They are a professional-grade tool for those who prefer a more tactile, precise seaming process.
Dritz Yarn Darner Needles: Best for Chunky Yarns
For those heavy-weight sweaters knitted on 8mm needles or larger, a standard tapestry needle often feels frustratingly small. Dritz yarn darners are long and slender with an eye large enough to accommodate bulky, roving-style, or multi-ply yarns.
The extra length is a major advantage when you are seaming long side panels or sleeves. It allows you to pick up several stitches at once, creating a more uniform tension across the length of the seam.
These are not ideal for fine lace or sock weight projects, as the thicker shaft can distort delicate fabric. However, if you are working with chunky wool, these are the most efficient way to close your seams without struggling to thread the needle.
Cocoknits Leather Point Protectors and Needles

Cocoknits has reimagined the finishing needle by focusing on the ergonomics of the experience. Their needles are designed to be sturdy and reliable, often paired with their clever needle-holding systems that keep your workspace organized.
What sets these apart is the thoughtful design of the eye and the finish of the metal. They feel balanced in the hand, which reduces fatigue if you are facing a long evening of seaming a full-sized adult sweater.
While they are a premium investment, the durability is unmatched. If you find yourself frequently losing needles or struggling with eyes that bend, the quality of these needles provides a tangible upgrade to your finishing routine.
Pony Plastic Finishing Needles: Best for Beginners
Plastic needles are often dismissed by experienced knitters, but they have a specific place in the toolkit. Because they are flexible and lightweight, they are excellent for beginners who are still learning the tension required for a mattress stitch.
They are inherently safer for your fabric because the plastic tip is soft and forgiving. If you are prone to accidentally splitting your yarn, a plastic needle will often slide over the fiber rather than piercing it, acting as a "training wheel" for your seaming technique.
These are also incredibly affordable and usually come in a variety of bright colors, making them easy to spot if they fall onto your carpet. They are the perfect entry point for someone just starting their journey into garment construction.
Tulip Tapestry Needles with Large Eyes: Best Value

Tulip is renowned for the quality of their needle eyes, which are polished to perfection to prevent yarn snagging. For a knitter who values a needle that slides through the fabric like butter, these are an exceptional value.
The large eye is the standout feature, making threading a breeze even if you are using textured or fuzzy yarns. Many needles have sharp edges around the eye that catch on delicate fibers, but Tulip’s manufacturing process ensures a seamless transition.
If you want one set of needles that will last for years and handle everything from worsted to DK weight yarn, this is the smart buy. They bridge the gap between hobbyist tools and professional equipment perfectly.
Choosing the Right Needle Eye for Your Yarn Weight
The eye of the needle is the most common point of failure in the seaming process. If the eye is too small, your yarn will constantly fray or get crushed, which weakens the seam and looks messy.
- Fine Yarns (Fingering/Sock): Look for a slender needle with a small, streamlined eye to avoid stretching the fabric.
- Medium Yarns (DK/Worsted): A standard tapestry eye is usually sufficient, provided the needle shaft isn’t too thick.
- Bulky Yarns: You need a large, elongated eye to allow the yarn to lay flat without bunching up.
Always test your yarn through the eye before you start; if you have to force it, you will damage the yarn fibers. A damaged yarn strand will eventually break inside the seam, leading to a hole in your finished garment.
Why Bent Tips Improve Your Mattress Stitch Accuracy
The mattress stitch relies on picking up the horizontal bar between the edge stitch and the one next to it. A straight needle often requires you to angle your wrist awkwardly to get under that bar without catching the vertical stitch.
A bent tip acts like a hook, allowing you to slide under the bar with a simple flick of the wrist. This ergonomic advantage means you can maintain a consistent rhythm, which is the secret to a seam that looks like it grew out of the fabric.
By reducing the amount of movement required to catch each loop, you also reduce the risk of pulling your tension too tight. Consistency is the goal, and the bent tip is the most reliable way to achieve it.
Steel vs Plastic: Selecting the Best Needle Material
Steel needles offer precision and durability, making them the choice for professional finishers who work with a wide range of fibers. They are thin, strong, and glide through stitches with minimal resistance, which is vital for high-tension seams.
Plastic needles, conversely, offer a "grippy" quality that can be helpful for beginners who find steel too slippery. They are also non-reactive, which is a minor consideration if you are working with delicate natural fibers that might be sensitive to metal oxidation over years of storage.
Ultimately, steel is a long-term investment, while plastic is a convenient, low-stakes tool. I recommend keeping a mix of both in your notions bag to accommodate different yarn textures and project requirements.
Pro Tips for Achieving Invisible Seams Every Time
The most important rule of the mattress stitch is to never pull your yarn tight until you have completed several inches of seaming. If you pull tight after every single stitch, you will create puckers and distort the fabric’s drape.
Instead, work about two to three inches of the seam, then gently tug the yarn to draw the edges together. This allows the seam to settle naturally into the fabric, mimicking the look of a knit stitch rather than a sewn line.
- Check your tension: The goal is for the seam to be as elastic as the rest of the garment.
- Use the same yarn: Always seam with the yarn you used for the project to ensure the fibers age and wash at the same rate.
- Anchor your start: Secure your yarn tail with a duplicate stitch on the inside of the work to avoid a bulky knot.
Mastering the mattress stitch is a journey that rewards patience and the right tools. By choosing a needle that matches your yarn weight and your personal knitting style, you elevate your work from "homemade" to "heirloom." Do not be afraid to experiment with different tips and materials until you find the one that feels like a natural extension of your hand. Remember, every seam you sew is an opportunity to practice your craft and refine your unique touch.