7 Best Stitch Pins For Securing Garment Edges
Discover the 7 best stitch pins for securing garment edges. Learn which designs offer superior hold and fabric protection for your professional sewing projects.
Securing garment edges during the seaming process is the difference between a professional, bespoke finish and a lopsided, frustrating mess. Whether you are matching up side seams on a heavy wool sweater or aligning delicate lace panels, the right stitch pin acts as your third and fourth hand. Choosing the correct marker prevents the dreaded "stair-stepping" effect that ruins the drape of a well-crafted garment. This guide breaks down the best tools to keep your knitting perfectly aligned from cast-on to bind-off.
Cocoknits Colorful Stitch Markers: Best Overall


These markers are a staple in my notions bag because they strike the perfect balance between visibility and snag-free performance. Their nylon-coated steel construction means they are smooth enough to glide through even the most delicate mohair lace without catching a single fiber.
The primary benefit here is the rounded, snag-free shape that mimics a small safety pin without the sharp, yarn-splitting coil. Because they come in a variety of vibrant colors, I often use them to color-code my seam points, such as marking the front and back of a sleeve head separately.
While they are slightly more expensive than basic plastic options, the longevity of these markers is unmatched. If you are working on a long-term heirloom project, you want a tool that won’t warp or lose its tension over months of handling.
Clover Locking Stitch Markers: Best for Bulk Use
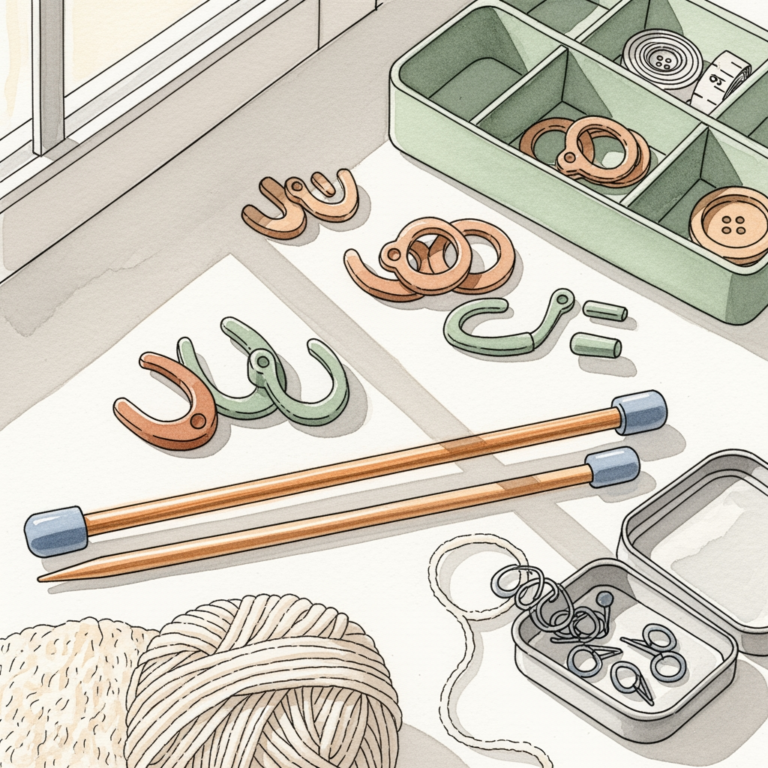
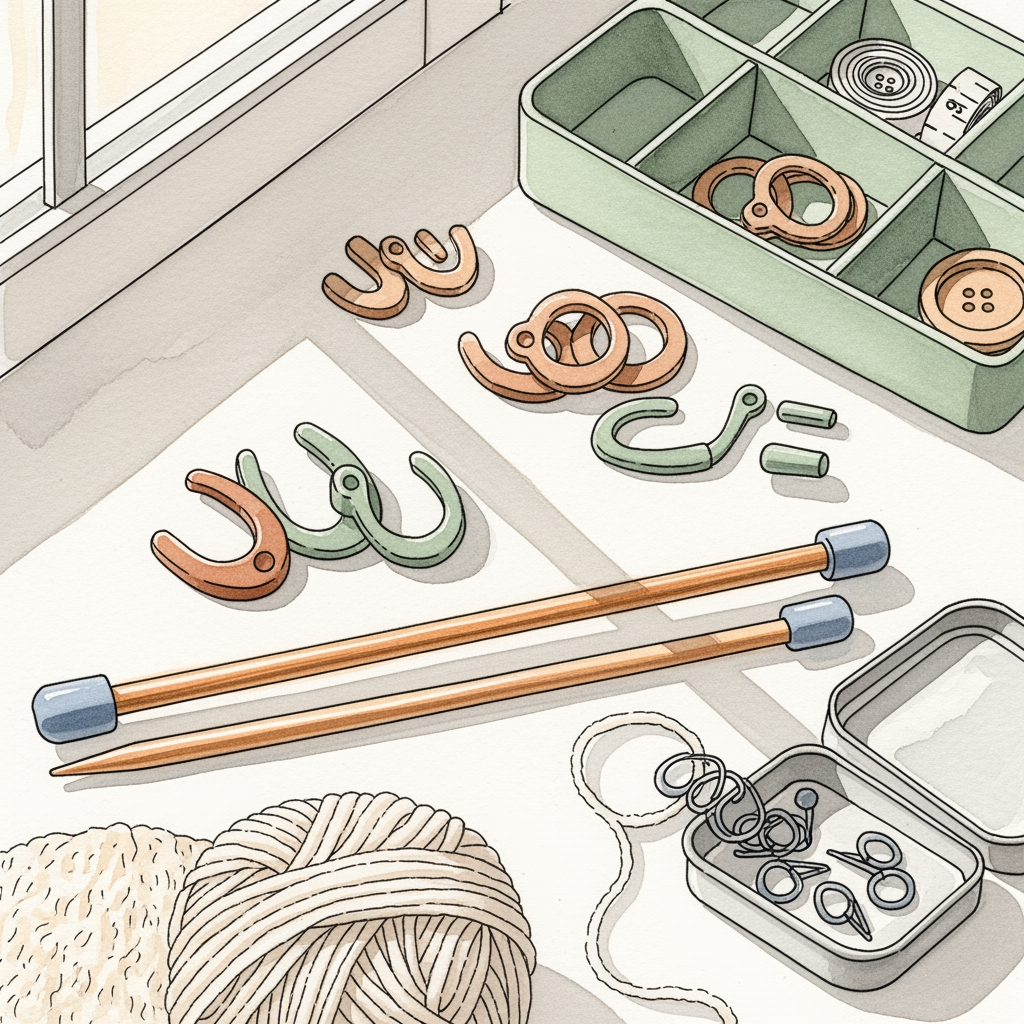
When you are working on a garment with a high stitch count or a complex cable pattern, you need a reliable way to mark dozens of points without breaking the bank. Clover’s locking markers are the industry standard for a reason: they are consistent, lightweight, and incredibly easy to snap open and shut.
These are particularly useful when you are "pinning" a long side seam to ensure your stripes or colorwork motifs align perfectly. I find that their plastic construction is gentle on the fingers, which is a lifesaver when you are spending an evening pinning together a full-length cardigan.
One minor tradeoff is that they can occasionally snag if you are working with very loose, high-twist singles yarn. Always ensure the "latch" is fully snapped into the groove to avoid catching stray plies during the seaming process.
Knitter’s Pride Rainbow Locking Pins: Best Value

If you lose your notions as quickly as I do, having a large supply of affordable, high-quality pins is a necessity. The Knitter’s Pride rainbow set offers a fantastic variety of colors, making it easy to track different sections of a garment as you seam.
These pins are slightly thinner than the Clover variety, which makes them ideal for fine-gauge knitting where you don’t want to distort the fabric tension. They are sturdy enough to hold the weight of a heavy wool sleeve, yet slim enough to slip into tight stitches without stretching the fabric.
I recommend keeping these in a dedicated magnetic bowl on your workstation. Because they are so affordable, you won’t feel guilty about leaving them in your "in-progress" projects for weeks at a time.
Tulip Heart-Shaped Stitch Pins: Best Ergonomics
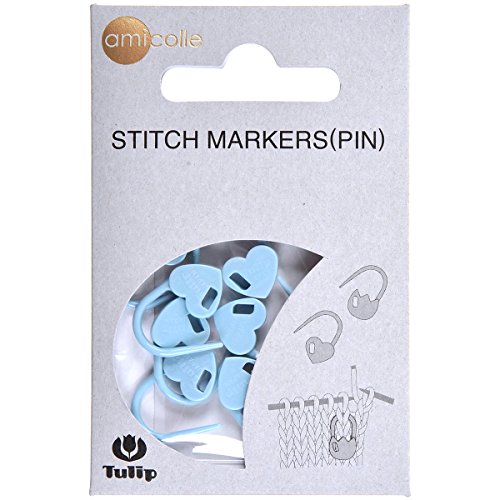
Sometimes the smallest design change makes the biggest difference in comfort. The heart-shaped design of these pins isn’t just for aesthetics; the curve of the heart provides a natural leverage point for your thumb and forefinger when opening the pin.
If you suffer from hand fatigue or have limited dexterity, these are a game-changer. The smooth, polished finish ensures that they won’t snag on even the most delicate silk or cashmere blends, which is essential when working on high-end luxury garments.
They are a bit of an investment, so I suggest using them for your final assembly steps rather than general pattern marking. Treat them as your "special occasion" tools for finishing that sweater you spent months knitting.
Susan Bates Split Ring Markers: Best for Beginners
For those just starting their knitting journey, simplicity is key. The Susan Bates split ring markers are essentially a spiral of plastic that you can twist onto your needle or into a stitch without any fiddly locking mechanisms.
They are the most intuitive option for someone who hasn’t yet mastered the "locking" motion of more complex pins. Since they don’t have a hinge, there is absolutely nothing to break or snap off, making them virtually indestructible for a beginner’s kit.
Be aware that because they are "open," they can occasionally slip out if you are moving your project around in a bag. They are best suited for flat seaming work where the garment is laid out on a table rather than being handled frequently.
Dritz Assorted Safety Pins: Best for Heavy Knits

Sometimes, the best tool isn’t a specialized knitting notion at all. Standard safety pins, specifically the kind with a coil cover, are excellent for securing heavy, bulky knit garments like aran-weight sweaters or thick blankets.
The metal construction provides the structural integrity needed to hold heavy fabric layers together without the pin bending under the weight. I prefer the ones with a coiled base, as this prevents the yarn from getting caught in the hinge of the pin itself.
Just ensure you are using nickel-plated or rust-proof varieties if you plan on leaving them in your knitting while you steam-block the garment. You don’t want to risk a rusty pin leaving a permanent mark on your beautiful hand-knit wool.
HiyaHiya Locking Stitch Markers: Best Durability

HiyaHiya has a reputation for precision engineering, and their locking markers are no exception. These are incredibly robust, featuring a secure locking mechanism that feels "clicky" and satisfying, giving you peace of mind that your seam alignment won’t shift.
They are slightly firmer than other plastic pins, which is a major benefit if you are working with slippery fibers like bamboo or silk. The tension on the lock is high, meaning they won’t pop open even if you are manhandling a heavy garment during the seaming process.
Because they are quite rigid, they are best suited for stable, non-stretchy yarns. If you are working with a very delicate, airy lace, you might find them a bit too bulky, but for sweaters and hats, they are workhorses.
How to Choose the Right Pin for Your Yarn Weight
The golden rule of selecting a stitch pin is to match the tool to the fiber’s delicacy. If you are working with lace-weight mohair, you need a pin with a very fine gauge and a snag-free, rounded tip. Using a thick, blunt plastic pin on fine lace will stretch the stitches and potentially snap the delicate fibers.
For heavy, worsted, or chunky yarns, you have more flexibility. You want a pin with enough "girth" to hold the fabric securely without causing the stitches to sag. Always test a pin on a small swatch before pinning your entire garment; if the pin feels like it is fighting the yarn, switch to a thinner or smoother variety.
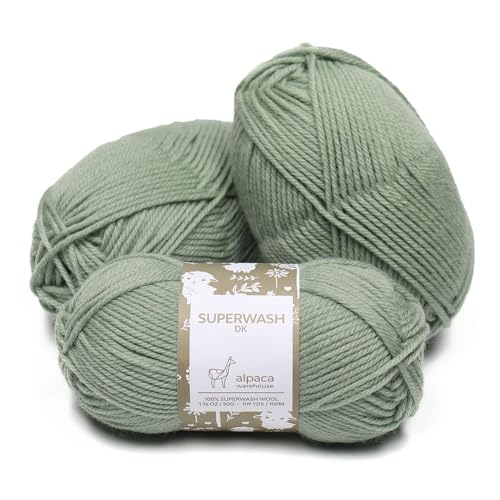
Consider the "memory" of your yarn as well. Superwash wools tend to be more slippery and prone to stretching, so a locking pin that stays firmly closed is essential. Conversely, rustic, high-friction wools will hold a simpler, open-ring marker in place quite easily.
Why Locking Pins Prevent Unwanted Edge Distortion
When seaming, the most common error is pulling the seam too tight, which causes the fabric to pucker. Locking pins allow you to "baste" your edges together at regular intervals, effectively distributing the ease across the entire length of the seam.
By pinning every few inches, you ensure that you aren’t accidentally easing in too much fabric at the top or bottom of the garment. This is vital when matching armholes to sleeves, where the curve of the fabric needs to be eased in perfectly to maintain the intended shape.
Think of these pins as your "structural scaffolding." They hold the fabric in the exact position it needs to be in while you perform the actual stitch, preventing the fabric from shifting or distorting under the tension of your seaming needle.
Essential Tips for Managing Garment Seaming Pins
Always count your pins before and after a seaming session to ensure none have fallen into the depths of your sofa. It sounds simple, but nothing ruins a relaxing knitting session like a stray pin finding its way into your foot or, worse, your finished garment.
When pinning a seam, try to pick up the "side-to-side" loops rather than piercing the center of a stitch. This keeps your edge clean and prevents the pin from snagging the yarn plies. If you are working with a dark yarn, use high-contrast, bright-colored pins so you can easily spot them as you work your way down the seam.
Finally, don’t be afraid to use more pins than you think you need. It is much easier to remove a dozen extra pins than it is to rip out an entire seam because the fabric shifted halfway through the process.
Mastering the art of seaming is the final step in elevating your knitting from a hobby to a craft. By selecting the right stitch pins for your specific yarn and project, you ensure that your hard work results in a professional, perfectly fitted garment. Experiment with these different styles to see which fits your hand and your fiber best. Happy seaming, and may your edges always be perfectly aligned.