7 Best Gauge Swatches For Yarn Compatibility Tips
Master yarn compatibility with these 7 essential gauge swatch tips. Learn how to ensure perfect sizing and texture for your next knitting or crochet project.
Achieving the perfect gauge is the bridge between a beautiful skein of yarn and a garment you will actually wear. Many knitters view swatching as a chore, but it is truly the most important tool for ensuring your hard work results in the correct fit. By understanding how different stitch patterns interact with your specific tension, you can eliminate the heartbreak of a finished sweater that is two sizes too big. These seven swatching strategies will help you master your yarn and needle combinations with confidence.
The Standard Stockinette Square for Accuracy
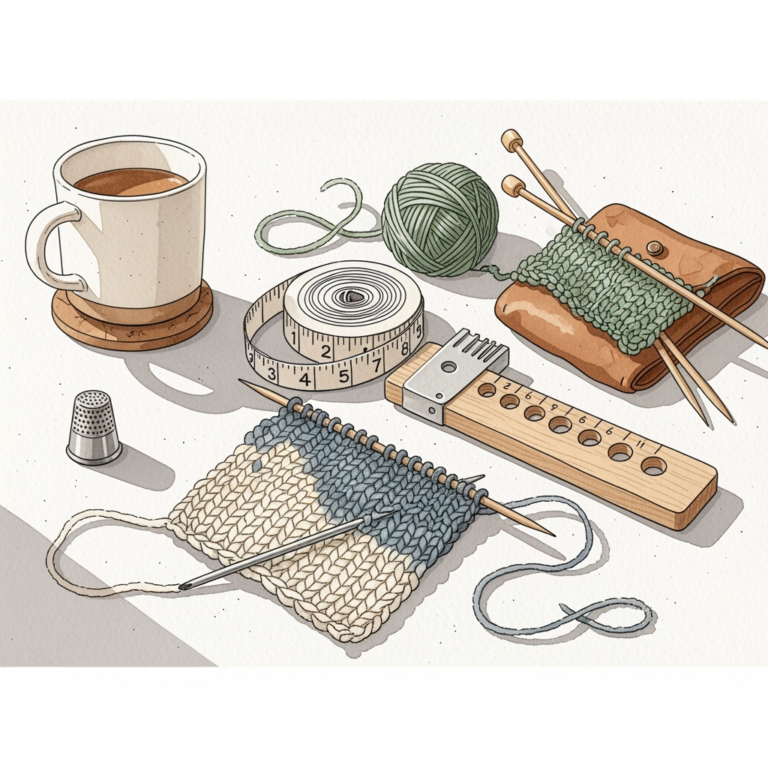
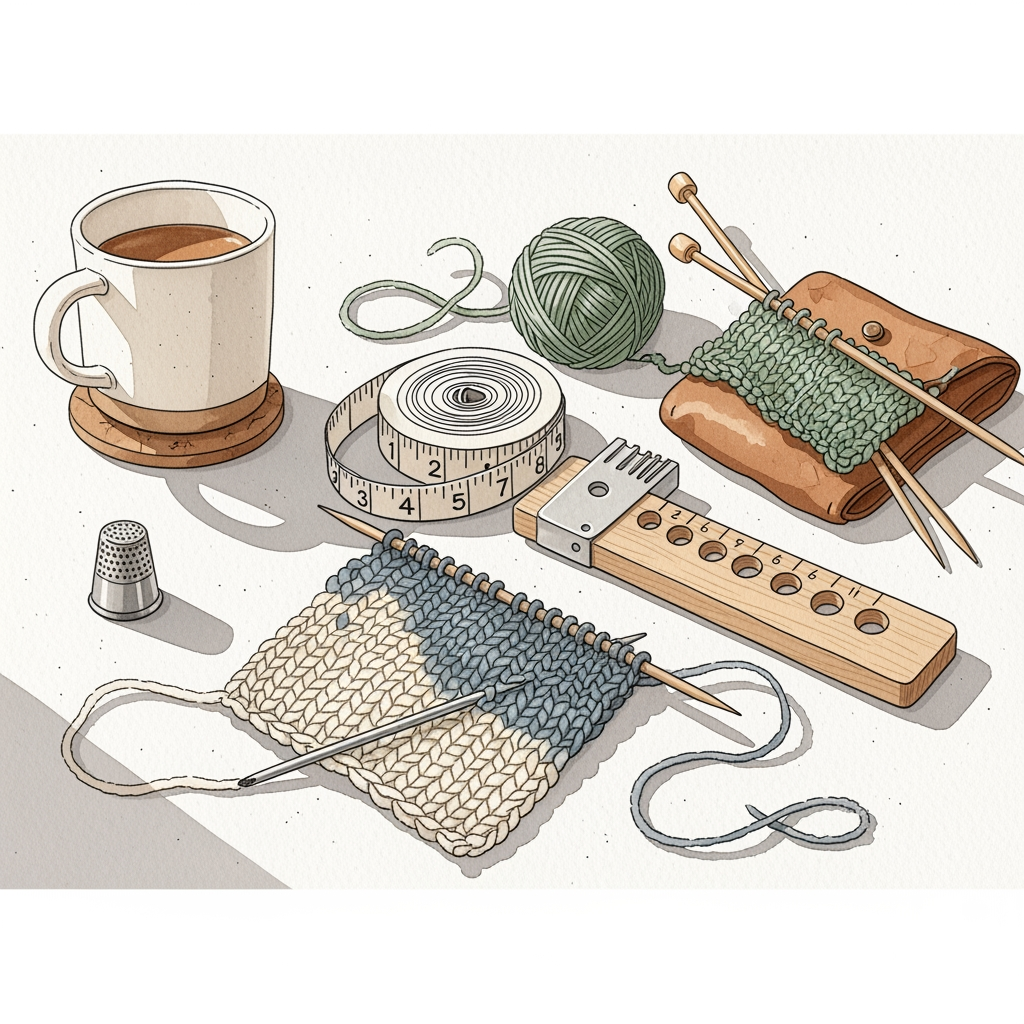
Stockinette is the universal language of knitting gauge because it provides a clean, flat surface that is easy to measure. Most pattern designers base their requirements on this stitch, making it the essential starting point for every project.
If you are working with a new yarn, knit a square at least 5×5 inches. This allows you to measure the center stitches, which are unaffected by the tension irregularities that often occur at the edges of your work.
Avoid the common mistake of measuring your gauge while the swatch is still on the needles. The weight of the needles can distort the stitches, leading to an inaccurate count that will sabotage your final project.
Garter Stitch Swatches for Texture Analysis
Garter stitch is deceptively stretchy and often requires a different needle size than stockinette to achieve the same density. Because every row is a knit row, the fabric naturally pulls in differently, creating a squishier, thicker result.
If you are knitting a garter-heavy shawl, you must swatch in garter stitch to understand how much the fabric will grow. This stitch pattern tends to "eat" more yarn than stockinette, so be prepared to have extra yardage on hand.
Remember that garter stitch creates a shorter, wider fabric. If you treat your stockinette gauge as the absolute truth for a garter project, your finished item will likely end up much larger than anticipated.
Ribbed Swatches for Elasticity and Fit Tests
Ribbing acts like a spring, pulling the fabric inward to create a snug fit for cuffs, collars, and hemlines. Because of this elasticity, a standard gauge measurement is often misleading; you need to see how the ribbing "recovers" after being stretched.
Knit your ribbing swatch and then gently stretch it to its intended width. If the ribbing looks "blown out" or fails to snap back into shape, your needles are likely too large for the yarn weight.
Tradeoffs exist between the look of the rib and the function of the garment. A smaller needle creates a tighter, more professional-looking rib, but if it is too tight, it will be uncomfortable to pull over your head or hands.
Lace Pattern Swatches for Drape Evaluation
Lace is meant to be airy, but if your needles are too large, the pattern will lose its definition and become a shapeless mess. A lace swatch allows you to see how the yarn holes (yarn overs) interact with the surrounding stitches.
Always block your lace swatch aggressively before measuring. Lace often looks like a tangled knot on the needles but transforms into an intricate, open design once the fibers are relaxed through washing and pinning.
Consider the "halo" of the yarn when choosing a lace pattern. Mohair or fuzzy wools can obscure intricate lace work, so a swatch helps you decide if the pattern needs to be simpler to let the yarn shine.
Colorwork Swatches for Tension Consistency
Stranded colorwork is notorious for creating a tighter fabric than single-color knitting because of the floats carried across the back. If you don’t swatch in the round for colorwork, you will almost certainly end up with a garment that is too small.
Practice keeping your floats loose and even across the back of the work. If your floats are too tight, the fabric will pucker; if they are too loose, they will snag on buttons or jewelry during wear.
If you are a beginner to colorwork, use a swatch to test your "yarn dominance." Holding the background color in your left hand and the contrast color in your right hand often creates a noticeable difference in how the colors pop.
Cable Pattern Swatches for Width Adjustment
Cables pull the fabric in significantly, making the final piece much narrower than a stockinette swatch would suggest. A cable swatch is the only way to accurately calculate how many stitches you need for a cabled sweater or hat.
When you measure a cabled swatch, do not stretch it flat. Measure it in its natural, relaxed state to capture the true "draw-in" effect of the twisted stitches.
Be aware that different cable types have different levels of intensity. A simple rope cable will pull in differently than a complex Celtic braid, so always swatch the specific pattern repeat you intend to use.
Circular Swatches for In-the-Round Projects
Many knitters have a different gauge when knitting in the round compared to knitting flat. When you knit flat, you purl every other row; when you knit in the round, you only knit, which often results in a different tension.
To swatch in the round without knitting a full tube, you can use the "steek-style" method. Leave long floats of yarn across the back between the start and end of each round, then cut them later to lay the swatch flat.
This method provides the most accurate reflection of your actual knitting style. It accounts for the way you hold your yarn and your specific purl-to-knit tension shift, ensuring your circular yoke or hat fits perfectly.
Why Washing and Blocking Your Swatch Matters
A dry, unwashed swatch is a lie. Most fibers—especially wool—undergo significant changes in size and softness once they have been submerged in water and allowed to dry.
- Wool: Expands and relaxes, often becoming softer and drapier.
- Cotton/Linen: Can shrink or grow depending on the twist; they rarely spring back like animal fibers.
- Superwash: Often grows significantly in length after the first wash, so be prepared for a longer garment.
Blocking is not just about shaping; it is about "setting" the stitches. It allows the fibers to bloom and fill in the gaps, giving you a true representation of the final fabric’s density.
How to Measure Gauge Using a Precision Ruler
Use a dedicated gauge ruler or a clear plastic measuring tool rather than a standard flexible tape measure. A rigid tool ensures you aren’t accidentally stretching the fabric while measuring, which can result in a false reading.


Count your stitches and rows over a full four-inch (10cm) area. If you only measure over one inch, a tiny error in your counting will be multiplied fourfold, leading to a major sizing disaster.
If you find yourself with "half stitches," don’t ignore them. Those fractions add up over the course of an entire sweater back or front, often resulting in a piece that is an entire inch wider or narrower than the pattern intends.
Adjusting Needle Sizes to Match Your Tension
If your swatch is too small, your gauge is too tight; you must go up a needle size. If your swatch is too large, your gauge is too loose; you must go down a needle size.
Consider the material of your needles as a variable. If you are a tight knitter, switching to slick metal needles can help you loosen your grip. If your yarn is slippery, bamboo or wooden needles provide the extra friction needed to keep your stitches consistent.
Never be afraid to use a "non-standard" needle size to hit your gauge. If the pattern calls for 4.0mm needles but you need 3.75mm to get the right count, always trust your swatch over the pattern’s suggestion.
Swatching is the ultimate act of respect for your time and your yarn. By taking the time to test your gauge using these specific methods, you transform from a knitter who "hopes for the best" into a maker who controls the outcome. Remember that every yarn behaves differently, and your tension is as unique as your own handwriting. Embrace the process, keep your swatches for future reference, and enjoy the peace of mind that comes with a perfectly fitting project.