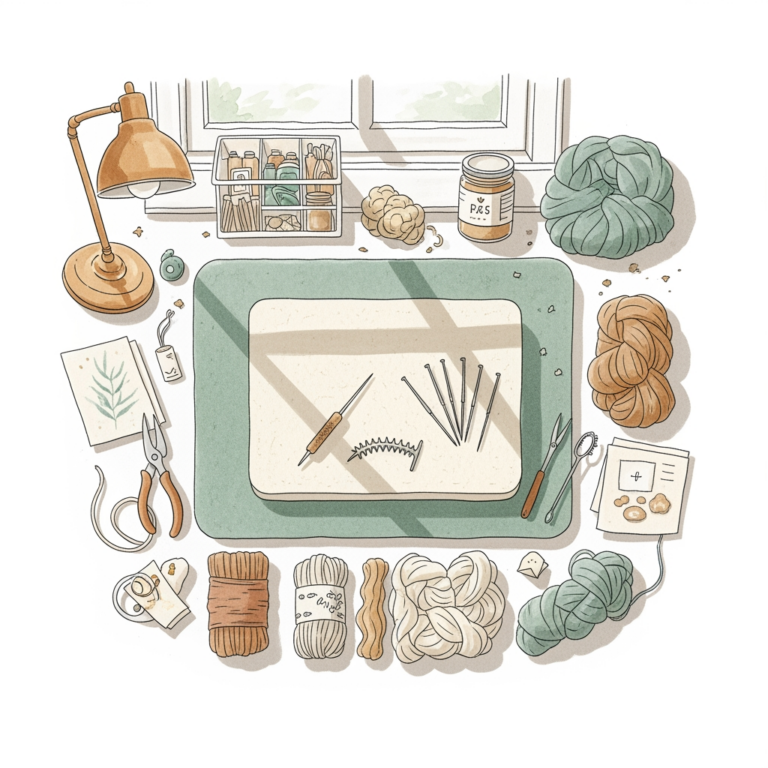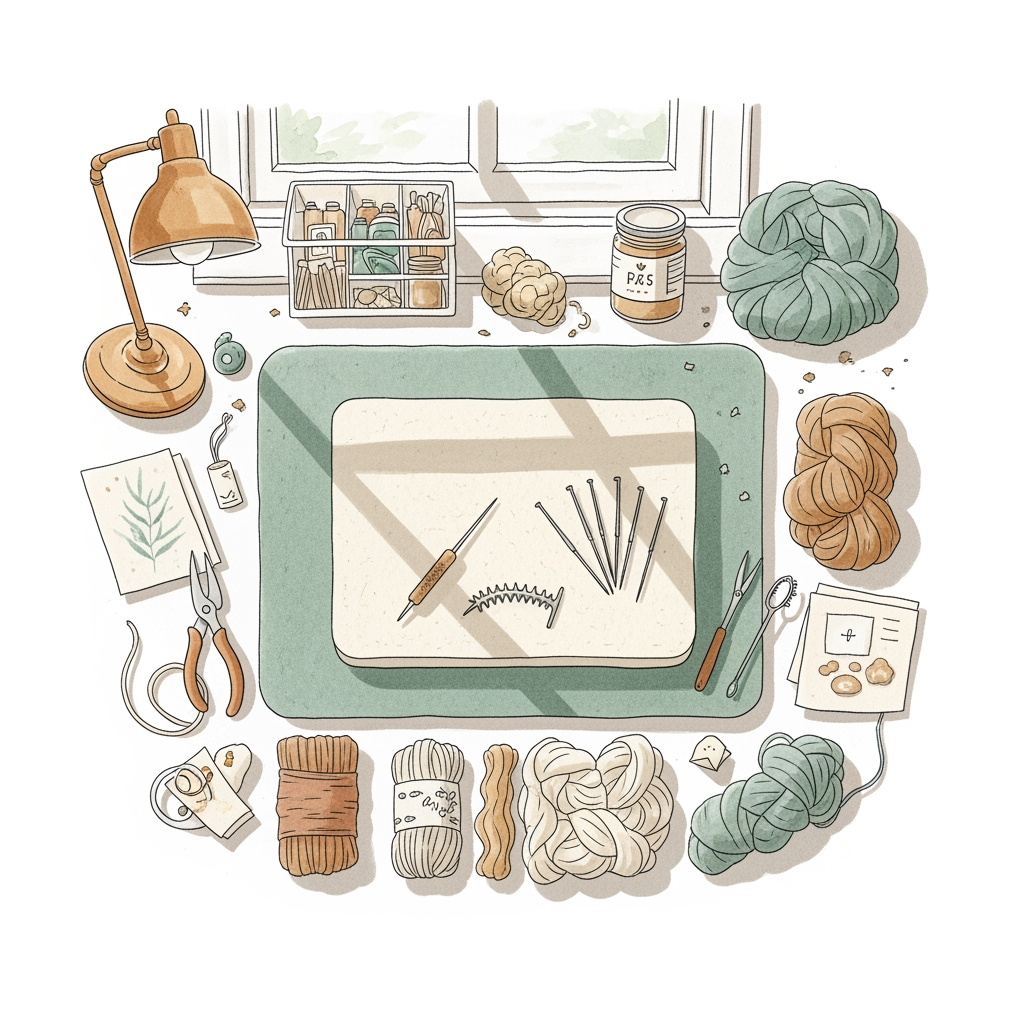
6 Best Clay Smoothing Tools For Finishing Edges
Elevate your pottery projects with our expert guide to the 6 best clay smoothing tools for finishing edges. Achieve professional results and shop our picks now.
Achieving a smooth, professional edge on a ceramic piece requires the same precision as maintaining consistent tension across a complex lace pattern. Just as the wrong needle material can snag delicate mohair, using an improper smoothing tool can tear through leather-hard clay and ruin hours of structural work. Selecting the right implement depends entirely on the clay body, the desired finish, and the shape of the form. Investing in quality finishing tools is just as critical to the final aesthetic as choosing the correct yarn weight for a gauge swatch.

Kemper Wipe-Out Tool: Best for Versatile Shaping

The Kemper Wipe-Out tool features a soft, rubber-like tip that acts much like a finger, but with far greater control and reach. This is the go-to implement for cleaning up stray bits of clay in tight corners or refining the juncture where a handle meets a mug.
It is particularly useful for those who find their fingers become too clumsy when working on small, delicate transitions. When cleaning up edges on miniature sculptural pieces, the precision of the tip prevents accidental gouging.
Avoid the temptation to use this for heavy-duty trimming or removing large amounts of excess material. It is a finesse tool designed for surface refinement and compression, not for aggressive stock removal.
Xiem Studio Flexible Ribs: Top Choice for Curves
Xiem Studio flexible ribs are designed to mimic the way a knitter’s hands mold yarn around a needle, offering a supple resistance that follows the contour of a vessel. They allow the maker to apply even pressure across a curve, ensuring that the clay wall compresses uniformly.
When throwing a bowl or a rounded vase, these ribs help eliminate those subtle, uneven ridges that often catch the light. The flexibility allows the rib to wrap around the convex or concave surface without fighting against the clay’s natural shape.
The bottom line is that these ribs prevent the “flat spots” often seen in hand-built or poorly finished pieces. Select the softness based on the moisture content of the clay; use a stiffer rib for drier clay and a softer one for wetter, more plastic clay.
Arteza Modeling Tools: Best Budget-Friendly Set
Arteza modeling tools provide a comprehensive array of shapes that cover almost every base for someone just starting their clay journey. These tools are excellent for those who are still experimenting with form and have not yet determined their preferred workflow.
While the handles might lack the ergonomic weight of premium options, the varied tip configurations are incredibly useful for sculpting details or smoothing edges in difficult spots. If the goal is to practice different techniques without investing a significant amount of capital, this set offers the most utility per dollar.
Consider this a starter kit, much like a basic set of bamboo needles for a new knitter. It provides the necessary range of sizes and shapes to learn what works, though individual tools may eventually be upgraded as preferences become more refined.
Mudtools Red Polymer Rib: Smoothest Edge Finish
The Mudtools Red Polymer rib is widely considered the gold standard for achieving a glass-like finish on the rim of a piece. It is soft enough to drag across the clay without leaving deep marks, yet firm enough to compress the clay particles effectively.
Compression is key to avoiding cracks during the drying and firing stages, much like how proper blocking sets the structure of a finished garment. Using this rib on the lip of a rim ensures that the edge is rounded, soft to the touch, and durable.
Do not be fooled by its simplicity; the material composition is what sets it apart. It creates a seamless edge that feels as intentional as a perfect cast-off edge on a sweater.
ABN Silicone Scrapers: Best for Large Surfaces
ABN silicone scrapers function similarly to a large, flat knitting needle for managing gauge across a wide expanse of fabric. When working on large platters or wide-rimmed bowls, these scrapers maintain a consistent plane, ensuring the surface remains level and smooth.
Because silicone is non-porous and flexible, it won’t tear at the clay surface. This is essential for large-scale projects where any inconsistency in the clay thickness could lead to warping in the kiln.
These are best used for the final pass over a large surface area. Their size makes them inefficient for delicate work, so reserve them for jobs where broad, sweeping strokes are required.
Royal & Langnickel Ball Stylus: For Fine Details
A ball stylus is the essential tool for cleaning up the fine, intricate lines of sgraffito or textured designs. Much like using a tapestry needle to weave in an end, this tool allows for surgical precision in smoothing away burrs from deep carving.
When working with fine details, pressure control is vital to avoid distorting the surrounding design. A light touch allows the ball tip to burnish the edge of a carved line, creating a clean, crisp transition between the positive and negative space.
Always ensure the stylus is kept clean of dried clay debris. Even a tiny particle can act like an abrasive, potentially scratching the work instead of smoothing it.
Choosing Your Clay Tool: Material Matters Most
Choosing the right material for a smoothing tool is analogous to choosing between wood, metal, or carbon fiber needles. Wood tools are absorbent and provide a gentle drag, which can be beneficial when working with sticky or soft clay.
Metal tools offer a slick, frictionless experience that is ideal for cutting through firm, leather-hard clay with ease. However, they can be unforgiving; a slip of the hand with a steel tool is far more damaging than one with a wooden or rubber implement.
Polymer or silicone tools provide a middle ground, offering enough friction to smooth the surface while remaining flexible enough to conform to complex shapes. Consider the current state of the clay—wet and plastic, or firm and leather-hard—before deciding which material will best yield the desired result.
Pro Tips for Achieving a Flawless Clay Edge
Achieving a clean edge starts with proper compression of the clay particles at the rim, similar to how proper tension management prevents holes in knit fabric. Use your tool to compress the edge repeatedly as the piece begins to dry.
Always keep a small, damp—not dripping—sponge nearby to rinse tools frequently. A tool laden with dried clay will leave streaks or gouges, essentially doing the opposite of what the maker intends.
Finally, work in a consistent light. Viewing the clay edge at a shallow angle helps reveal uneven areas or small ridges that might go unnoticed under direct lighting.
Silicone vs. Metal vs. Wood: Which Is Best?
Silicone is the preferred choice for surface compression on delicate, wet clay because it follows the contour without digging in. It is the most forgiving material, making it ideal for beginners who are still developing a “light touch.”
Metal excels in trimming and cleaning up edges on leather-hard pieces where durability and stiffness are required. It is an efficient material for removing excess material but requires a steady, confident hand.
Wood is the traditional choice, often used for its versatility and the specific way it can be carved to fit unique shapes. It provides a tactile feedback that plastic or metal simply cannot replicate.
How to Clean and Maintain Your Smoothing Tools
Tools should be cleaned immediately after each session to prevent clay buildup from hardening. Simply wiping them down with a damp cloth is usually sufficient, but wooden tools should be dried thoroughly to prevent warping or mold.
Avoid using harsh detergents, as porous materials like wood can absorb the chemicals and transfer them to future projects. For metal tools, a light wipe with a rust-preventative oil can prolong their life if they are prone to corrosion.
Keep tools stored in a roll or organized box where the tips remain protected from nicks or bending. Treating these tools with care ensures they provide a consistent finish for every piece, much like a well-maintained set of luxury knitting needles.
Mastering the finish of a clay edge is a journey of refinement, requiring the same patience and attention to detail as any complex fiber project. By selecting tools that match the clay’s properties and the maker’s technique, one can transform a simple form into a piece of professional-grade work. Practice, patience, and the right gear are the foundations of success.