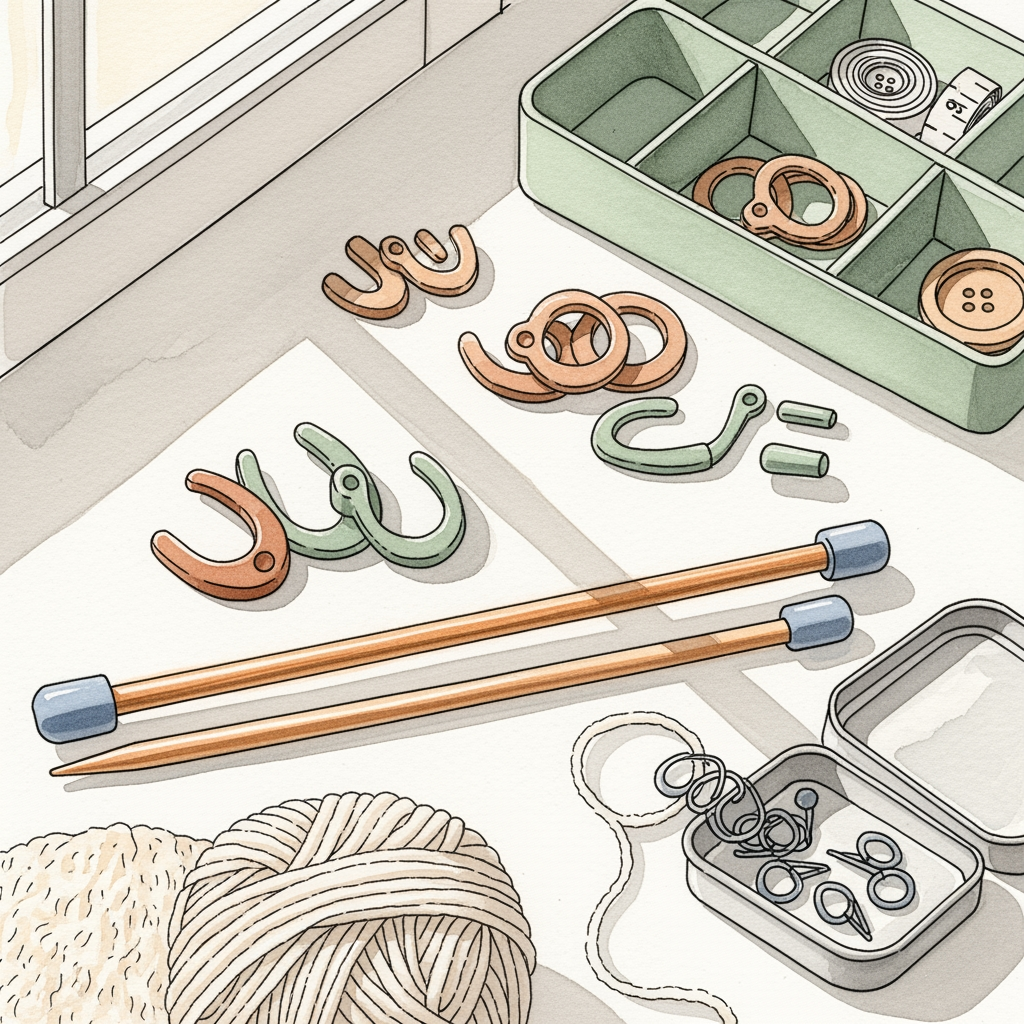
6 Sandpaper Blocks For Point Sharpening To Own
Sharpen your pencils and artist leads with ease. Discover the 6 best sandpaper blocks for point sharpening to achieve precision detail. Read our guide today.
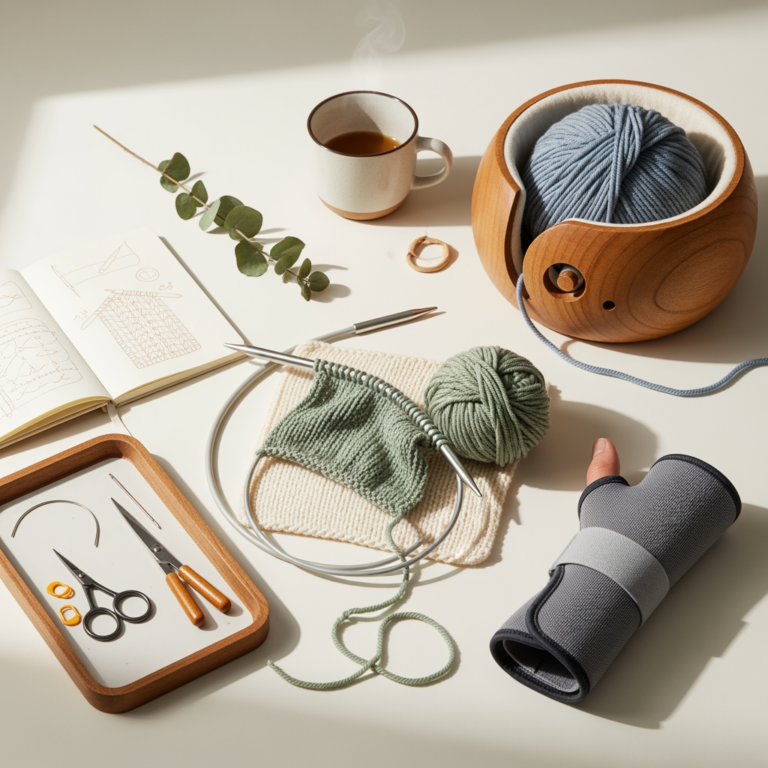
Maintaining the perfect needle tip is often the difference between a meditative knitting rhythm and a frustrating session of fighting your yarn. Over time, wood, bamboo, and even some coated needles can lose their factory sharpness, snagging delicate fibers like mohair or split-ply cotton. Investing in a proper sanding block allows for precise tip maintenance, extending the life of your favorite tools. This guide covers the essential implements to keep your needles working exactly as intended.
Zona 4-Way Sanding Block: The All-In-One Tool

The Zona 4-Way block is a staple for those who maintain a collection of needles in various materials and conditions. Its primary strength lies in its versatility, offering four different grit levels on a single compact tool.
For deep repairs on a wooden needle that has been dropped on a hard floor, the coarser side can quickly smooth out a jagged splinter. Transitioning through the finer grits then allows for a finish smooth enough to slide through lace-weight wool without snagging.
Consider this the “workshop” choice for the knitter who values efficiency. The rigid foam core ensures that pressure remains even across the surface of the needle tip, preventing uneven thinning or distortion.
KnitPro Needle Point Sharpener: The Dedicated Specialist
KnitPro designed this tool specifically with the needs of fiber artists in mind, moving away from repurposed hardware store items. It is shaped to accommodate the tapered profile of a knitting needle, which is critical when attempting to maintain a consistent point angle.
If a needle feels “dull” or blunt, it often causes the stitch to catch during speed knitting. A few gentle passes with this tool can restore a sharper profile, allowing for easier insertion into tight stitches, such as those found in intricate cable work.
It is particularly useful for beginners who struggle with consistent tension. A sharper, well-maintained tip makes it easier to pick up stitches precisely without splitting the yarn ply.
Flex-I-File Sanding Twigs: For Precise Shaping
Sanding twigs are thin, flexible strips that allow for unparalleled access to the very tip of the needle. Unlike block-style sharpeners, these reach the subtle curves that define the “hook” of a needle, which is vital for picking up dropped stitches.
These are best suited for detailed work where only a tiny amount of material needs to be removed. Because they are narrow, they prevent the accidental over-sanding of the needle shaft, which could lead to unwanted changes in your gauge.
Keep these on hand if you prefer a sharp, lace-style point on all your needles. They offer the level of control required to customize a blunt needle to your exact preference.
Hobbymate Sanding Needle: For Serious Repairs
When a wooden needle develops a significant nick or rough patch that disrupts the knitting process, the Hobbymate sanding tool provides the aggressive grit required to level the surface. It acts more like a file than a polisher, making it indispensable for reviving damaged needles that would otherwise be discarded.
The ergonomic handle allows for a stable grip, which is essential when working on fine-gauge needles. A shaky hand can easily ruin a 2.00mm needle, but this tool provides the necessary leverage for steady, controlled strokes.
Always follow up with a higher-grit polishing cloth after using this tool to ensure the surface is once again slick. Leaving a needle surface too porous will cause friction and lead to hand fatigue during long projects.
Boye Wooden Needle Point File: A Classic Choice
The Boye file remains a classic because it understands the specific needs of wooden and plastic knitting tools. It is designed to remove debris and smooth out the nicks that inevitably occur during transport or storage in a knitting bag.
While it lacks the multi-grit complexity of modern foam blocks, its simplicity is its biggest asset. It is small, lightweight, and easy to keep in a notion tin for emergency repairs during a long commute or a knitting retreat.
It is ideal for touch-ups rather than structural reshaping. If you notice a small snag while working with delicate, high-twist silk or alpaca yarns, this file can address the offending spot in seconds.
Large Emery Boards: The Ultimate Budget Hack
Never underestimate the utility of a high-quality, large emery board found in any pharmacy. When used with a light touch, these are perfect for a final buffing pass on any needle material.
The key to using emery boards effectively is choosing one with a dual-grit surface. Use the coarser side to gently contour the tip, then flip to the finer side to polish the surface until it catches the light evenly.
Because they are inexpensive, you can discard them once they become clogged with wood dust or fiber residue. This ensures you are always using a clean, effective surface that won’t transfer oils or grime back onto your project.
Why Would You Even Need to Sharpen Needles?
Knitting is a mechanical process where the needle surface acts as the primary contact point for every single loop. Over time, wood becomes dehydrated or splintered, while metal needles can develop tiny burrs from friction.
A dull needle forces you to use more force, which changes how you tension your yarn. This leads to uneven stitches and, in extreme cases, repetitive strain injuries in the wrists and fingers.
Maintaining your tools ensures that the needle carries the yarn smoothly through the loop without splitting the fiber. Proper maintenance is a proactive step toward consistent, professional-looking finished objects.
How to Safely Reshape Your Wooden Needle Tips
The primary rule of reshaping wooden needles is to work slowly and check your progress frequently. Remove only a fraction of a millimeter at a time, keeping the tool moving in the direction of the needle’s taper to maintain a symmetrical point.
Avoid focusing your efforts on one side of the tip, as this will create a lopsided needle that affects your stitch size. Constantly rotate the needle in your hand to ensure the taper remains uniform all the way around the circumference.
- Step 1: Identify the area needing attention with a magnifying glass.
- Step 2: Use a medium-grit tool to smooth the damage.
- Step 3: Use a fine-grit tool to buff the surface until it feels glass-smooth to your skin.
- Step 4: Finish with a light coat of wood conditioner or wax to seal the grain.
Choosing the Right Grit for Your Needle Material
The grit you select must be matched to the hardness of your needle material. Using an aggressive grit on bamboo or soft wood will eat through the material too quickly, rendering the needle useless.
For metal needles, prioritize polishing over actual “sharpening” to avoid creating a needle that is too sharp and pierces your finger during the knitting process. Carbon fiber needles are delicate and generally do not respond well to aggressive sanding, as the structure can be weakened.
- Coarse (80–120 grit): Reserved for major repairs on thick wooden needles.
- Medium (180–240 grit): The standard for initial shaping and smoothing nicks.
- Fine (400–600+ grit): The absolute necessity for the final polish.
FAQ: Can You Sharpen Metal or Carbon Needles?
While you can technically sand metal, it is difficult to restore the original factory coating or plating. Once the finish is compromised, the needle will likely feel “grabby” and friction-prone, even if it looks smooth to the eye.
Carbon fiber needles are particularly unforgiving and should rarely be sanded. The material is designed to be smooth and rigid; altering the surface can lead to peeling or structural failure.
If a metal needle is badly damaged, it is often best to retire it to prevent it from snagging expensive yarns. Use your sharpening tools primarily as a way to maintain the “perfect” point you already enjoy on your favorite wooden set.
With the right tools and a gentle touch, you can maintain your needles to ensure every stitch is a pleasure to knit. Treat your needles like the precision instruments they are, and your knitting will reflect the care you put into your tools.