6 Best Lighting Strips For Dark Crafting Corners
Illuminate your workspace with our top 6 lighting strips for dark crafting corners. Read our expert reviews and choose the perfect glow for your projects today.
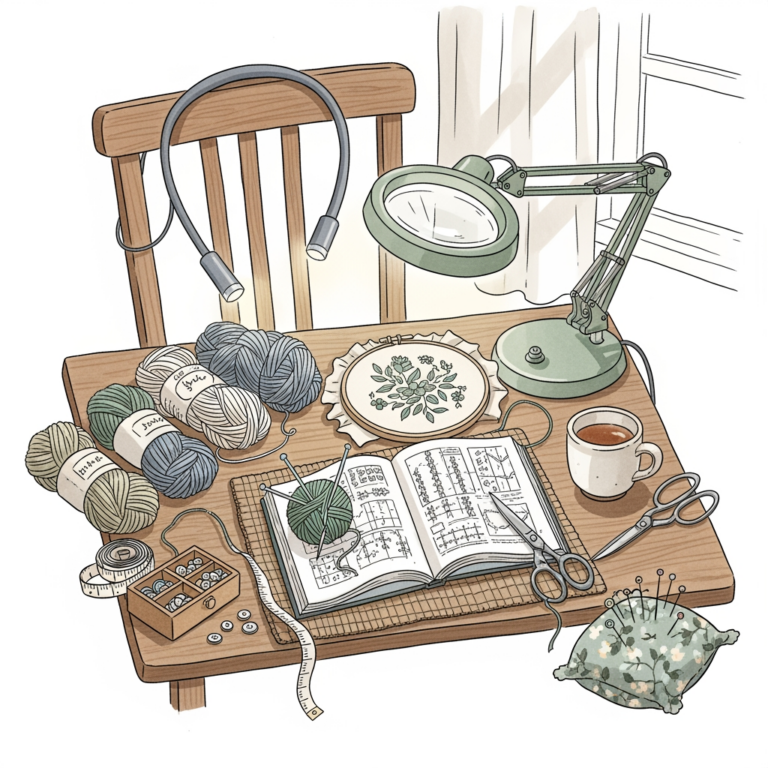
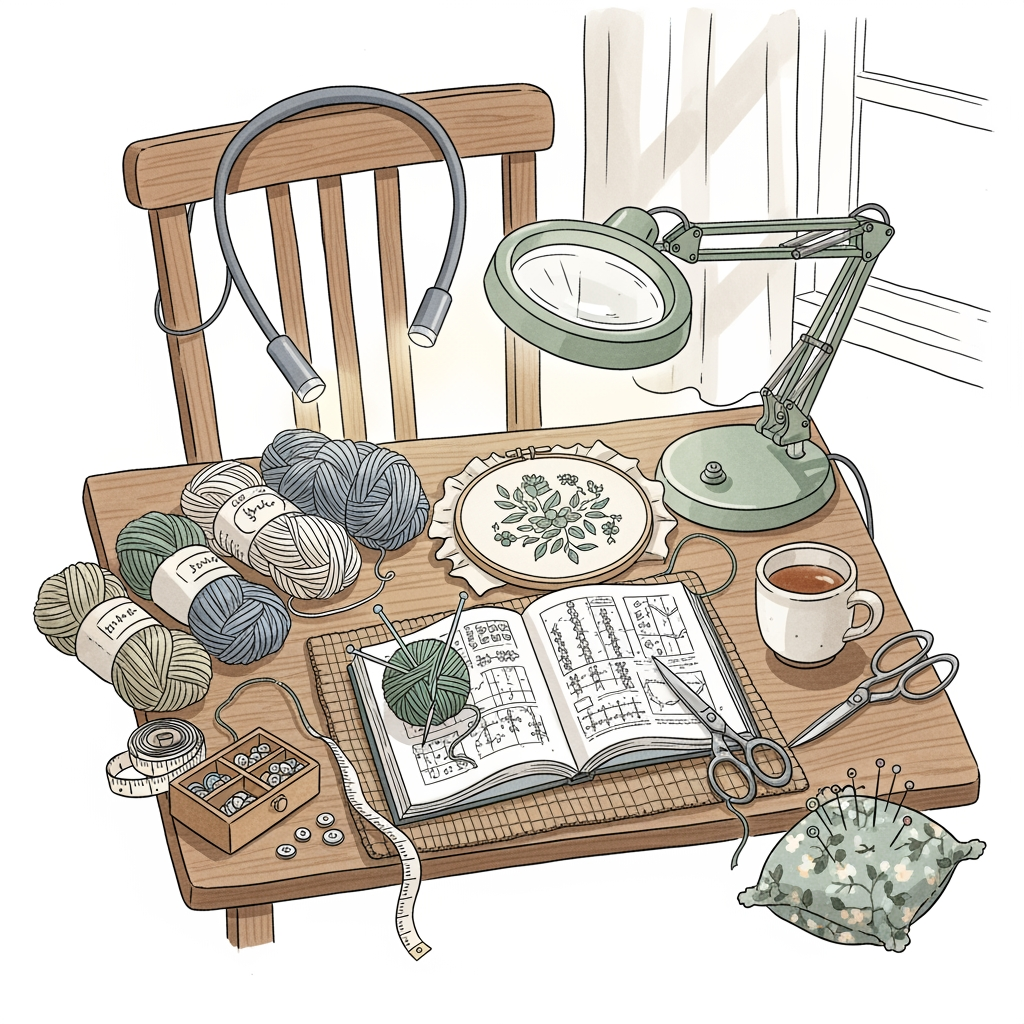
Straining eyes over a dark craft corner is the quickest way to lose track of a delicate lace pattern or misread a stitch. Proper task lighting transforms a frustrating, shadowy nook into a dedicated studio where yarn textures and stitch definitions become clear. When working with dark-colored yarns or intricate cabling, the quality of light is just as essential as the quality of the wool itself. Selecting the right LED strip ensures every purl and yarn-over is perfectly visible, reducing eye fatigue during those long evening knitting sessions.
Govee M1 LED Strip: Best for Color Accuracy


The Govee M1 stands out for those who refuse to compromise on visual clarity when working with complex colorwork. Its high-density LED layout minimizes the harsh hot-spotting common in cheaper strips, providing a smooth, consistent wash of light over your knitting desk.
For projects involving stranded colorwork or subtle heathered yarns, the M1’s color rendering capabilities are a game changer. It makes distinguishing between deep navy and charcoal—a notoriously difficult task in dim lighting—remarkably simple.
While it is a premium investment, the superior light output reduces the need for squinting at thin, dark-colored alpaca or mohair fibers. If the primary goal is precision in pattern reading, this strip is the industry standard for clarity.
Philips Hue Lightstrip: Best Smart Integration
The Philips Hue ecosystem offers unmatched flexibility for crafters who demand a responsive environment. The integration with smart home assistants allows for hands-free adjustments, which is invaluable when hands are deep in a complex brioche project and cannot reach for a switch.
Beyond mere brightness, the ability to fine-tune the color temperature dynamically helps adjust to the changing natural light throughout the day. If a project requires intense focus during a gloomy afternoon, bumping the light to a cooler, crisper setting can prevent mid-session eye strain.
While the upfront cost is higher than a standard plug-and-play strip, the ecosystem’s reliability is unmatched. It is the best choice for those who view their craft space as a long-term investment rather than a temporary setup.
Wobane Under Cabinet Kit: Best for Built-Ins
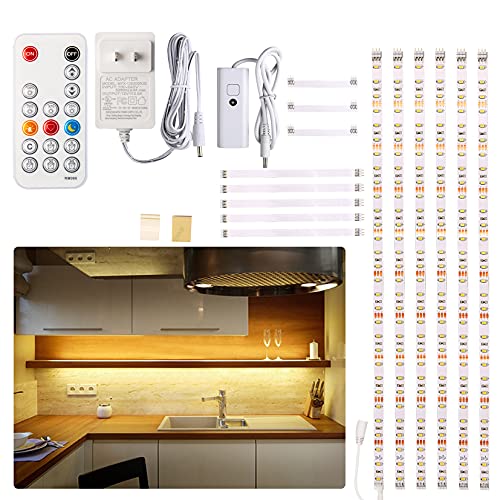
The Wobane kit is designed specifically for tight, permanent installation under shelving or cabinets. Its low-profile, modular nature allows for a clean, professional look that doesn’t clutter a dedicated crafting desk or yarn storage station.
Because these strips are modular, they are perfect for custom-built craft corners where cable management is a concern. The kit provides just enough light to illuminate a work surface without casting distracting reflections off your needles or stitch markers.
This is a utilitarian choice, prioritizing function and clean aesthetics over fancy color-changing features. It excels for the knitter who wants a “set it and forget it” lighting solution that mimics professional studio task lighting.
Kasa Smart Light Strip: Great All-Round Value
Kasa provides a balance of smart features and affordability that satisfies most casual and hobbyist knitters. The app control is intuitive, allowing for quick adjustments to brightness levels depending on the yarn weight currently on the needles.
When working with light-reflective fibers like silk or bamboo, the ability to dim the strip is vital to prevent glare. Kasa delivers a flicker-free performance that ensures comfort even during multi-hour sessions with thin-gauge needles.
This is the sensible middle ground for those who want smart functionality without paying a premium for brand names. It hits the “sweet spot” for most home crafters looking to upgrade their corner without breaking the budget.
DAYBETTER LED Strip: Top Budget-Friendly Pick
If the priority is simply getting light on the needles as quickly and cheaply as possible, the DAYBETTER strip is the go-to solution. It is straightforward, reliable, and provides an immediate improvement over standard overhead room lighting.
It serves as an excellent entry point for beginners who are still outfitting their space and need to reserve funds for higher-quality yarn or needle sets. While it lacks advanced color-tuning, it provides a consistent beam that is perfectly adequate for basic stockinette or garter stitch projects.
Be mindful that these strips have a shorter lifespan than premium options, but for the cost, they are easily replaceable. They are ideal for temporary setups or craft corners that are still evolving.
LUMIMAN Dimmable Strip: Simple & Super Bright
The LUMIMAN strip is engineered for pure, high-intensity brightness. For knitters who struggle with low-light visibility, particularly when working with black or midnight-blue yarns, this strip provides the maximum luminosity required for crisp stitch definition.
The dimming function is responsive, which is critical because high-intensity light can sometimes be too harsh on reflective metal needles. Being able to scale the brightness back ensures the tool remains comfortable for the eyes throughout the day.
It is a no-nonsense tool that delivers power without needing complex app setups or hub configurations. For the knitter who just wants to turn the light on and get straight to work, this is a highly effective, simple choice.
What to Look For in a Craft Lighting Strip
When choosing a strip, consider the length of your work area and the depth of your desk. A strip that is too short will create uneven lighting, leading to shadows that make tracking pattern repeats difficult.
- Adhesive Quality: Ensure the strip has high-quality backing, as craft corners often accumulate dust that can cause cheap adhesive to fail.
- Dimmability: Essential for balancing task light with ambient light.
- Connection Type: Determine if you need a flexible strip that can turn corners or rigid bars for straight surfaces.
- Power Source: Ensure the cable reach is sufficient to hit a wall outlet without needing an unsightly extension cord across the floor.
Prioritize durability and light quality over unnecessary aesthetic features like “music syncing.” A crafting corner needs steady, predictable light, not a disco show.
Understanding CRI, Lumens, and Color Temp
Understanding these three terms is essential for matching your lighting to your fiber arts needs. CRI (Color Rendering Index) measures how accurately light reveals the true color of your yarn; aim for a CRI of 90 or above to ensure the shade of your merino is exactly what you expect.
Lumens measure total brightness, while Color Temperature (measured in Kelvin) determines the warmth or coolness of the light. Higher Kelvins (5000K+) create a daylight-like blue-white light, while lower Kelvins (2700K-3000K) create a soft, orange-yellow glow.
- Under 3000K: Soft, warm, cozy; may make colors appear slightly muted.
- 4000K – 5000K: Neutral, clean, and clear; the best range for accurate color perception.
- Over 5000K: Very cool, bright, and alert; may be too harsh for long sessions but excellent for dark yarn visibility.
Consistency is key to maintaining an accurate view of your work. Avoid mixing different color temperatures in the same workspace, as this causes visual fatigue and color distortion.
Warm vs. Cool Light for Accurate Yarn Colors
The choice between warm and cool light often comes down to the color of the yarn being used. Warm light can make red, orange, and gold tones pop, but it often makes it impossible to distinguish between navy and black wool.
Cool, daylight-balanced light is almost always superior for serious knitting. It provides a neutral base that prevents “metamerism,” the phenomenon where colors appear different under one light source than they do in natural daylight.
If you are a frequent user of superwash wools or high-sheen synthetic blends, aim for 4000K-5000K to maintain color fidelity. If you find your eyes tiring, reduce the overall intensity of the light rather than shifting to a warmer, yellow-toned bulb.
Tips for Installing Your New LED Light Strip
Before peeling the adhesive backing, perform a “dry fit” by using painter’s tape to hold the strip in place. Test the lighting from your usual seated position to ensure the light hits your project without reflecting directly into your eyes.
Surface preparation is the most overlooked step in installation. Wipe the mounting surface with isopropyl alcohol to remove dust and oils, which allows the adhesive to bond permanently.
- Hide the Source: Mount the strip so the LEDs themselves are shielded from view, allowing only the reflected light to reach the work surface.
- Corner Management: Use folding connectors if you need to wrap the strip around a corner rather than bending the strip itself, which can damage the internal circuits.
- Cable Routing: Secure loose power cables with clips to prevent them from snagging on your yarn as you work.
A thoughtful installation takes twenty minutes but saves hours of frustration over the life of your craft projects. Proper positioning ensures the light serves the project, not just the room.
Creating a well-lit craft corner is an investment in both the quality of your finished items and the health of your eyes. By prioritizing high-CRI lighting and proper installation, you eliminate the guesswork often associated with working in dim spaces. Take the time to evaluate your specific yarn needs and desk layout, and choose the strip that provides the steady, accurate illumination your craft demands.