7 Best Chalk Erasers For Embroidery Templates To Use
Struggling with marks on your fabric? Discover the 7 best chalk erasers for embroidery templates to keep your designs clean and precise. Shop our top picks now!
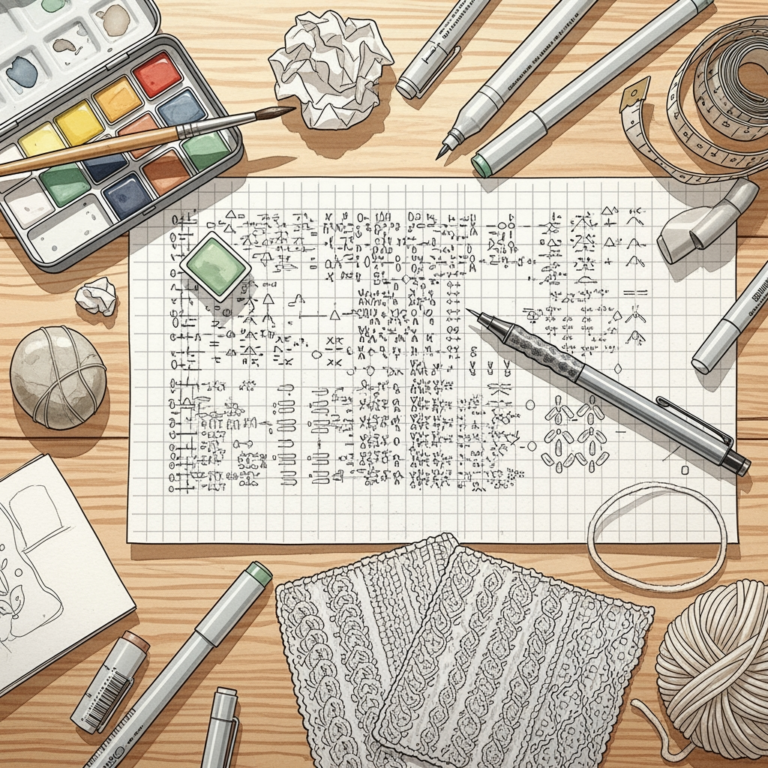
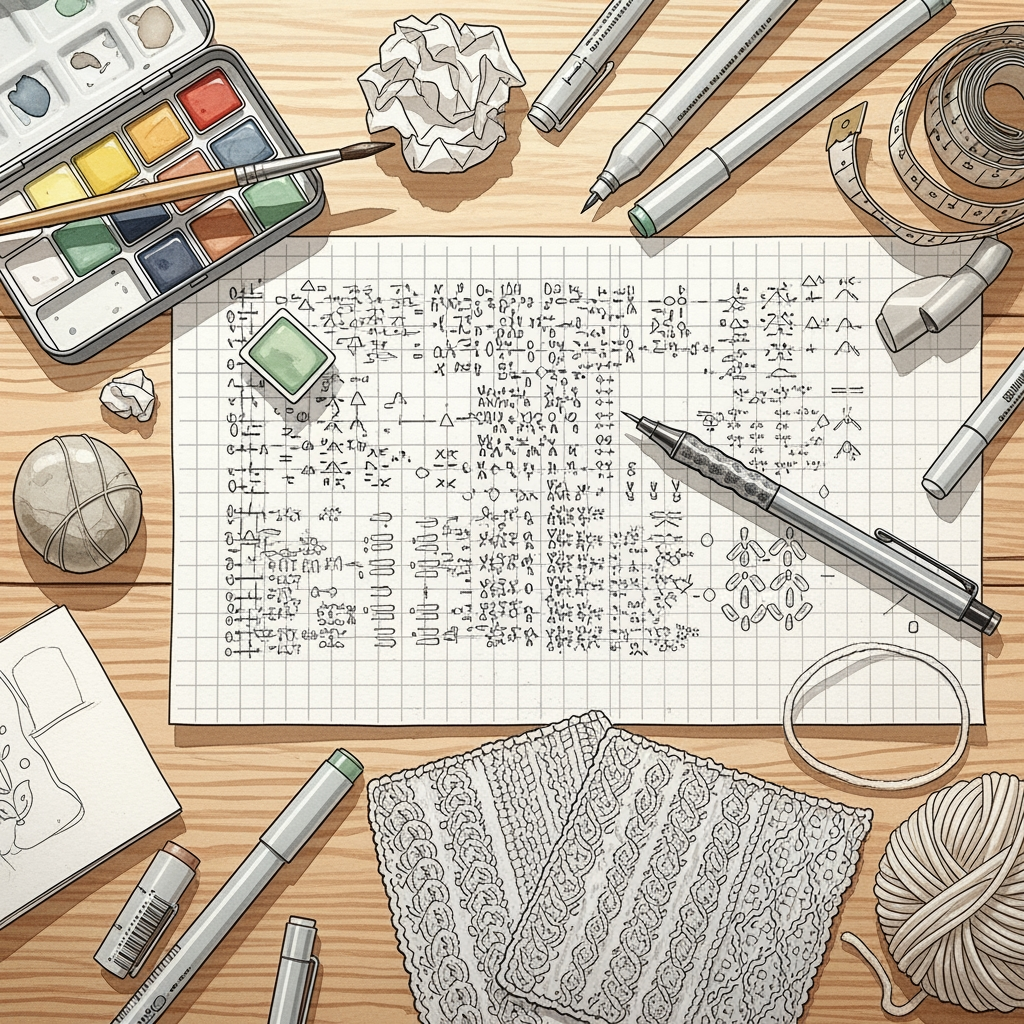
Marking stitches, embroidery motifs, or complex colorwork charts onto fabric requires precision and, eventually, a clean exit. When working with fine yarns or delicate embroidery threads, residue left behind by marking tools can ruin the final aesthetic of a piece. Choosing the right eraser depends entirely on the fabric density and the specific type of chalk used. This guide navigates the essential tools for ensuring that once a project is finished, the only thing remaining is the work itself.
Clover Chacopel Eraser: Best for Precision Work

The Clover Chacopel eraser is designed specifically to target the fine lines left by mechanical chalk pencils. It works with a high level of control, making it ideal for removing small alignment marks on delicate projects like lace or heirloom embroidery.
Because it functions like a standard pencil-style eraser, it allows for pinpoint accuracy without disturbing adjacent embroidery stitches. It is particularly useful when working on high-contrast fabric where even a sliver of leftover chalk would be glaringly obvious.
This eraser is not meant for sweeping away large swaths of chalk dust. It is a surgical tool for cleaning up edges after a pattern has been transferred or adjusted.
Dritz Fabric Eraser: A Reliable All-Rounder

The Dritz Fabric Eraser serves as a staple in many sewing baskets for its versatility across various marking mediums. It balances enough friction to lift chalk with a soft texture that prevents damage to fragile fibers like silk or fine linen.
This tool performs best on medium-weight fabrics such as quilting cotton or mid-weight wool blends. It provides consistent results without the need for excessive pressure, which is crucial when handling loosely woven fabrics that might snag.
It represents a safe, middle-of-the-road choice for those who frequently switch between different chalk types. While it may struggle with very oily chalk, it effectively clears most standard tailor’s chalks in a few strokes.
General’s Kneaded Eraser: The Most Gentle Pick
A kneaded eraser is a unique tool that functions by lifting particles rather than scrubbing them away. For fragile, hand-dyed, or naturally porous fibers that cannot tolerate friction, this is often the only safe option.
The primary advantage of the kneaded eraser is its ability to be molded into any shape. A sharp point can reach deep into the texture of a knit or woven fabric to pick up a single stray mark without pulling on the yarn fibers.
Because it leaves no rubber crumbs behind, it minimizes the risk of debris getting trapped in the twist of the yarn. It requires a gentle touch and a rolling motion, rather than a back-and-forth scrubbing motion, to be most effective.
Prym Eraser Pencil: Top Choice for Fine Details
The Prym Eraser Pencil functions similarly to a drafting tool, providing a hard, narrow tip for focused work. It is particularly well-suited for clearing chalk marks from tight corners or intricate embroidery designs where standard-sized erasers would be too clumsy.
The firmness of the tip allows for cleaner removal on starched or stiffened fabrics. If a pattern has been mapped out on a rigid base, this tool ensures the lines vanish completely without leaving a haze behind.
Users should be aware that the tip can be too abrasive for delicate, loosely spun single-ply yarns. Use this tool with a light hand to avoid pilling or fuzzing the surface of the textile.
Collins Sew-Erase: Erases Both Chalk and Pencil
The Collins Sew-Erase is designed to address a common frustration: the dual use of chalk and marking pencils on the same project. It is specifically formulated to tackle the residues that graphite or standard marking pencils leave behind alongside chalk.
This tool is a practical choice for complex projects where you might combine temporary guidelines with more permanent marking methods. It effectively bridges the gap between traditional office erasers and fabric-specific tools.
Like most specialized erasers, it works best when the fabric is held taut. This prevents the fabric from stretching or bunching during the cleaning process, ensuring that the eraser lifts the mark cleanly.
Tombow Mono Sand Eraser: For Tough Marks Only
The Tombow Mono Sand Eraser contains fine abrasive particles meant to lift stubborn marks. It is significantly more aggressive than standard erasers and should be treated as a tool of last resort for the most difficult chalk residues.
It is ideal for dense, sturdy fabrics like heavy-weight canvas or tightly woven wool denim. Because it essentially buffs away the surface of the fiber, it should never be used on delicate, fuzzy, or expensive materials that show abrasion easily.
If the fabric has a high nap, such as velvet or mohair, this eraser will likely damage the texture. Only use it when the alternative is a permanent, unsightly stain on a robust fabric.
Natural Bristle Brush: Best for Loose Tailor’s Chalk
Sometimes, an eraser is not the right tool for the job. When working with loose tailor’s chalk or heavy dusting, a natural bristle brush is often more effective and significantly safer than any rubber tool.
The brush lifts chalk powder from the surface without grinding it into the fibers. This prevents the chalk from becoming trapped in the crevices of a purl stitch or between the plies of a twisted yarn.
For the best results, use a brush with soft but dense bristles. Always brush in the direction of the grain or the lay of the embroidery stitches to maintain the integrity of the work.
How to Pick the Right Eraser for Your Fabric
Selecting an eraser requires looking at the fiber content, weave density, and the level of friction the fabric can withstand. A natural silk requires a much softer touch than a sturdy, synthetic-blend upholstery fabric.
Always consider the “tooth” of the fabric. Fabrics with a significant nap or high texture trap particles more easily, meaning you need a lifting motion rather than a scrubbing one.
- For delicate fibers (Silk, Alpaca, fine Merino): Choose a kneaded eraser or a soft brush.
- For medium weight (Cotton, Linen): A standard fabric eraser or a pencil-style eraser works well.
- For heavy-duty textiles (Canvas, Denim, Felt): A firmer, slightly abrasive eraser can be safely employed if necessary.
Lifting vs. Abrasive Erasers: Know the Difference
Understanding the mechanics of an eraser is key to preserving the quality of the project. Lifting erasers, such as the kneaded variety, work by pulling dust away from the fabric surface without creating significant friction.
Abrasive erasers work by physically rubbing away a thin layer of the fabric surface along with the marking. While this is highly effective for removing deep stains or dark lines, it inherently alters the texture of the textile.
When in doubt, start with the least abrasive method. It is much easier to increase the intensity of the cleaning method than it is to repair a spot that has been over-scrubbed or thinned.
Always Test Your Eraser on a Fabric Scrap First
The golden rule of fabric marking and cleaning is to never touch the eraser to the final project without a test. Use a scrap of the exact same fabric used in the project to confirm the tool’s effectiveness.
Check for discoloration, pilling, or thinning after the test. If the eraser leaves a mark or changes the sheen of the fabric, look for a softer alternative immediately.
Taking thirty seconds to perform this test saves hours of frustration later. A professional finish is built on these small, precautionary habits that protect the integrity of the entire textile.
Properly removing marks is the final step in refining a hand-crafted project. By selecting a tool that respects the specific nature of the fiber, you ensure the longevity and beauty of your work.