6 Best Ink Pens For Detail Enhancement To Try
Elevate your illustrations with our top 6 best ink pens for detail enhancement. Explore our expert recommendations and find your perfect precision tool today.
Precision is the invisible stitch that separates a handmade garment from a professional heirloom piece. Whether mapping out complex embroidery on a finished sweater or marking placement for delicate lace appliques, the right marking tool prevents costly errors. Selecting an ink pen for fiber arts requires balancing legibility with the long-term health of your yarn. Choosing correctly ensures that your hard work remains pristine from the cast-on to the final block.
Sakura Pigma Micron: Best for Archival Designs
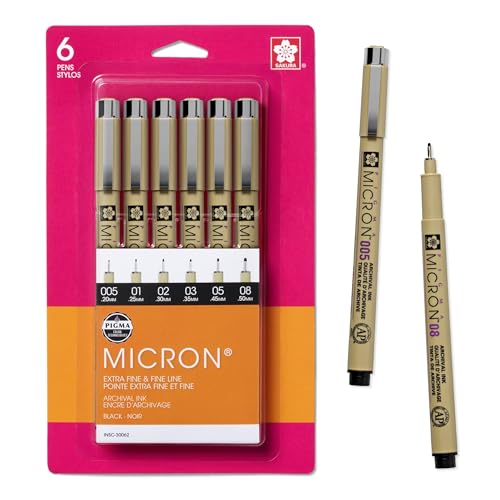
The Sakura Pigma Micron offers the gold standard in pigment stability for textile artists who require lines that never fade or bleed. Because these pens use archival-quality, pH-neutral pigment ink, they do not damage delicate wool or silk fibers over time.
These pens are ideal for projects where permanent marks are necessary, such as interior labels, quilt batting, or fabric tags that will stay inside a garment permanently. Their fine, consistent nibs allow for incredible detail without the ink spreading into the surrounding fibers.
Avoid using these on the public-facing side of light-colored garments, as the ink is intended to stay forever. They perform best on tightly woven fabrics like cotton or linen, rather than open-weave or highly textured wools.
Tulip Fabric Markers: Best for Permanent Color

Tulip fabric markers provide a straightforward solution for fiber artists who need to add decorative elements or permanent labels to finished work. These markers are designed specifically to soak into textile fibers and bond, creating a crisp, non-feathering line.
Use these for heavy-duty customization, such as signing an heirloom quilt or decorating a canvas project bag. The ink is opaque enough to show up on various substrates, though it performs most reliably on smooth, natural fibers.
Be aware that these pens create a thicker line than technical drawing pens. If the goal is extreme detail or microscopic precision, look elsewhere; if the goal is a bold, permanent statement that survives dozens of wash cycles, these are the top choice.
Clover Water Erasable Marker: Top Temporary Pick

The Clover Water Erasable Marker is a staple for knitters who need to track pattern adjustments or mark stitch placement on a temporary basis. The blue ink is highly visible on light-colored yarns and fibers, ensuring you don’t lose your place during complex construction.
These markers excel when marking gauge swatches or indicating the exact placement for buttons or pockets. Once the project is complete, the marks wash away effortlessly with plain water or a standard blocking soak.
Always test on a scrap of your specific yarn first, especially if working with high-moisture-wicking fibers or hand-dyed yarns. Some dyes react unpredictably to the chemicals in temporary markers, so a patch test prevents unintended staining.
Dritz Disappearing Ink Pen: Best for Quick Jobs

The Dritz Disappearing Ink Pen is designed for markers that vanish on their own, usually within 24 to 48 hours. This tool removes the need for a secondary cleaning step, making it perfect for marking guide lines during a fast-paced seaming session.
These pens are best for projects that will be completed and finished shortly after marking. If the project sits in a work-in-progress basket for weeks, the ink may disappear before the task is finished.
Keep in mind that these pens often react to temperature and humidity. A hot, humid craft room can speed up the evaporation of the ink, sometimes faster than the label implies, so prioritize these for immediate, short-term marking.
Pilot Frixion Fineliner: Best Heat-Erasable Pen
The Pilot Frixion Fineliner is revolutionary for fiber arts because its ink disappears instantly when exposed to the heat of a steam iron or a hair dryer. This offers an incredibly clean workflow, as the lines stay visible as long as you need them and vanish at the press of a button.
These are exceptionally useful for marking cutting lines on woven fabrics or layout guides for stranded colorwork embroidery. Because the ink is gel-based, it glides across even the most delicate, snag-prone yarns without pulling at the fibers.
One crucial warning exists for this tool: the ink is technically not removed, but merely turned clear. If the garment is exposed to extreme sub-zero temperatures, the marks can reappear, making this a risky choice for high-latitude winter gear or items kept in cold storage.
Copic Multiliner SP: Pro Choice for Designers
The Copic Multiliner SP is for the serious designer who demands a variety of line weights and a pen that lasts a lifetime. These pens are refillable and feature replaceable nibs, making them a sustainable investment for a professional studio.
The ink is waterproof and pigment-based, meaning it will not smudge if you accidentally touch it with damp hands during a long blocking session. These are the go-to tools for drafting custom sweater patterns or mapping out complex intarsia color blocks.
While expensive, the precision is unmatched for artists who work on multiple projects simultaneously. The robust metal body provides a steady, balanced feel in the hand, which helps reduce fatigue during long marking sessions.
How to Choose the Right Pen for Your Project
Choosing a marker starts with understanding the “finish” of your project. If you are working on a garment that will never be washed, such as a delicate mohair lace wrap, do not use water-erasable markers, as you want to avoid introducing moisture to the fiber.
Consider the “fiber memory” and color of your substrate before selecting a tool. Darker yarns require chalk-based pencils or white marking pens rather than standard ink, as ink will simply be absorbed into the dark pigment without providing a visible contrast.
Always prioritize the ease of removal over the convenience of marking. A marker that is difficult to remove from a delicate silk-blend yarn will compromise the integrity of the finished project more than the lack of a temporary line ever could.
Permanent vs. Temporary Pens: When to Use Each
Permanent pens belong in the realm of labeling, construction guides, or non-fiber decorative elements. If you are marking an internal seam allowance on a heavy canvas project bag, use a permanent pen to ensure the guide remains visible through the assembly process.
Temporary pens are exclusively for placement assistance. They are the scaffolding of your project; once the structure is built, the scaffolding should be removed. Never use a temporary marker if the garment is intended to be unwashed or if the fiber is highly reactive to moisture.
If you are unsure of the permanence of a tool, err on the side of caution. It is far easier to re-mark a line than it is to remove an unwanted, permanent ink stain from a skein of hand-dyed merino wool.
Tips for Marking on Dark and Textured Fabrics
Marking on dark fabric requires tools that deposit a physical powder or an opaque layer rather than a transparent dye. Use wax-based tracing wheels or white tailors’ chalk for dark surfaces, as these provide a high-contrast guide that sits on top of the fibers rather than soaking in.
For highly textured, “hairy” fibers like alpaca or mohair, ink will almost always feather and bleed. Instead of marking the yarn directly, use masking tape or painter’s tape to create a “bridge” or a straight edge that you can work against without marring the fiber itself.
Avoid using metallic or glittery gel pens on textured surfaces, as the particles can become trapped in the fibers. These are notoriously difficult to remove and can cause pilling or unwanted abrasion over time.
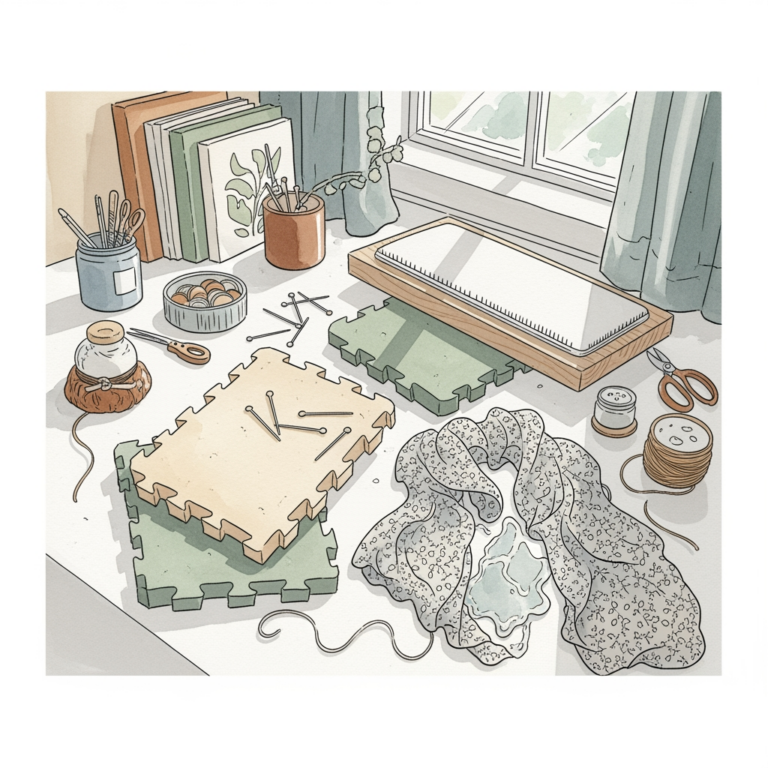
Safely Removing Temporary Ink from Your Work
Always follow the manufacturer’s specific instructions for removal, as the chemical composition varies wildly between brands. If the pen is water-erasable, use cool, distilled water to prevent any mineral deposits from the tap from affecting the fiber dyes.
For heat-erasable pens, use a dry iron on a low setting, ensuring you never touch the iron directly to the yarn if it is a synthetic blend prone to melting. Always test a small, inconspicuous area to ensure that the heat required to remove the ink doesn’t also alter the sheen or texture of your fiber.
If a mark refuses to fade, avoid the urge to scrub the area, as this will damage the yarn twist. A gentle soak in a pH-balanced wool wash is often more effective at lifting stubborn residue than aggressive rubbing or heavy chemical solvents.
Every marker in your toolkit serves a distinct purpose, from the precise archival lines of a technical pen to the convenient, heat-activated disappearance of a fineliner. By understanding the interaction between your specific yarn fiber and your marking tool, you gain total control over the craftsmanship of your work. Select your tools with the same care you apply to your yarn, and your final projects will possess a level of detail that truly stands the test of time.