6 Best Hat Blocks For Maintaining Cap Shape
Keep your favorite headwear looking brand new. Discover the 6 best hat blocks for maintaining cap shape and protecting your investment. Shop our top picks today.
Nothing ruins the drape of a beautifully cabled wool hat faster than improper storage or a limp, lopsided finish after a wash. A hat block acts as the structural foundation for your finished garment, restoring the stitch definition that gets lost during the agitation of laundry day. Whether managing a collection of heirloom-quality beanies or blocking a delicate lace beret, the right tool transforms a slumped project into a professional-grade accessory. Investing in the proper shaper ensures your hard-earned hours of knitting don’t lose their intended silhouette the moment they leave the needles.
The Universal Hat Stretcher: Best Overall Pick


The universal hat stretcher remains the gold standard for those who frequently knit beanies, fedoras, or structured winter caps. These devices typically feature a screw-driven expansion mechanism that pushes against the inner circumference of the hat.
This tool is indispensable when adjusting the fit of a hat that came off the needles slightly too snug. By gently expanding the wood or plastic frame, a knitter can ease out the fibers of a non-superwash wool to provide a comfortable, custom fit without distorting the overall shape.
The primary trade-off involves the point of contact. Because these stretchers apply force horizontally, they excel at resizing the brim but can sometimes leave subtle pressure marks if left on for extended periods.
- Bottom line: Reach for this when consistency in size and slight stretching is the priority.
Inflatable Hat Shaper: Best for Budget & Storage
Inflatable hat shapers offer a lightweight, travel-friendly solution for knitters who lack dedicated craft room space. These air-filled forms provide a soft, rounded surface that avoids the harsh edges associated with rigid wooden blockers.
The genius of the inflatable design lies in its adjustability; by varying the air pressure, the form can be tailored to fit everything from a child’s pom-pom hat to an adult’s slouchy beanie. They are particularly effective for delicate fibers like alpaca or cashmere, which prefer a gentle, air-cushioned stretch over a rigid pull.
However, avoid over-inflating, as doing so can create an unnatural, overly wide silhouette that does not mimic a human head. Once the hat is dry, the shaper deflates completely for effortless storage in a project bag or drawer.
- Bottom line: Perfect for the space-conscious knitter who needs versatility without the bulk.
Solid Wood Millinery Block: The Premium Choice
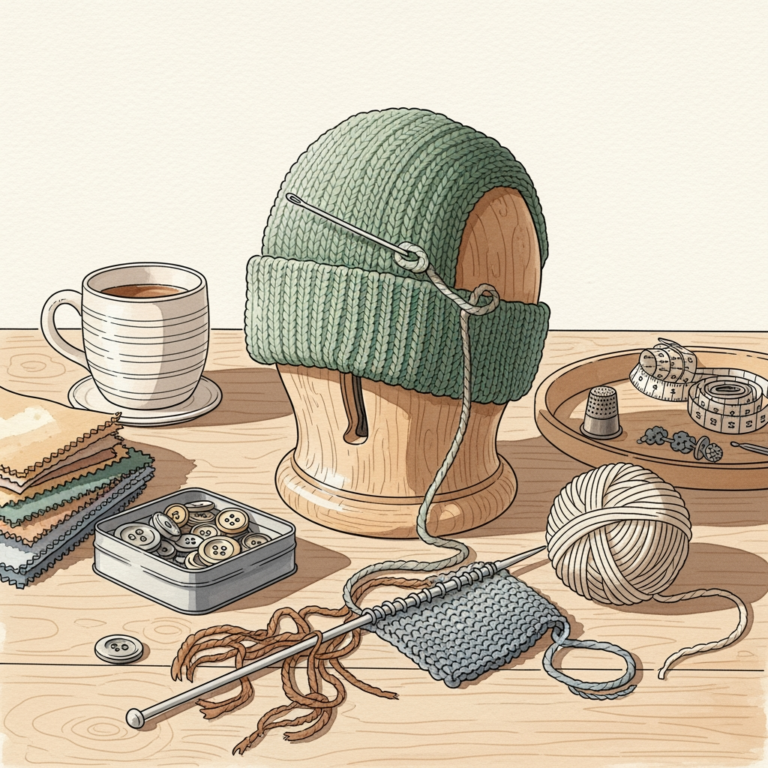
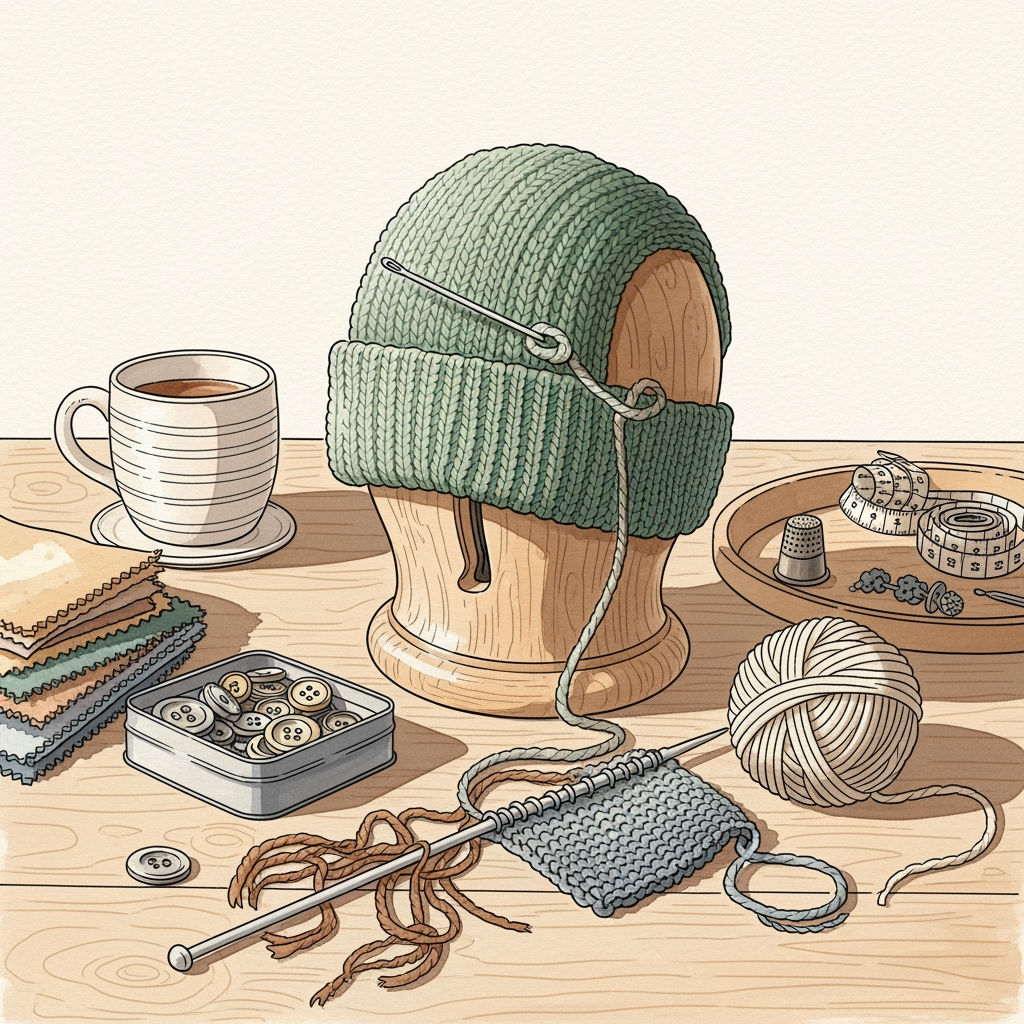
Solid wood millinery blocks are the heirloom tools of the fiber arts world, favored by those who craft structured, felted, or vintage-style hats. Unlike adjustable tools, these are carved to specific head sizes and provide a permanent, non-yielding surface for shaping.
These blocks are essential for “steam blocking,” a process where moisture and heat are used to set the fibers into a permanent, crisp shape. Because they are carved from hardwoods, they do not warp under steam or moisture, ensuring that the hat retains its intended proportions indefinitely.
While they represent a significant financial investment, their longevity and precision are unmatched. They are not designed for stretching, but rather for maintaining the exact integrity of a specific pattern.
- Bottom line: Choose this if you are a serious crafter focusing on structured, high-quality headwear.
Mannequin Head Form: Best for Display and Shaping
Mannequin heads serve a dual purpose: they provide a realistic, three-dimensional surface for blocking and an elegant way to store or display finished work. Because they represent the actual curvature of a human head, they are the most accurate way to check how a hat will sit on the wearer.
Styrofoam forms are the most common, though they can be prone to flaking over time. Fiberglass or canvas-covered forms are superior for long-term use as they provide a firmer, more durable surface that handles pins with ease.
If you are blocking intricate stranded colorwork or complex lace, a head form allows you to see exactly how the motifs will stretch across the forehead and crown. It prevents the “cone head” look that sometimes occurs when using improper blocking surfaces.
- Bottom line: An excellent investment for those who photograph their work for social media or portfolios.
Lacis Round Blocking Frame: Ideal for Tams & Berets
Tams and berets require a flat, circular blocking surface to ensure the crown lays perfectly smooth. The Lacis-style round frame, often featuring adjustable pegs, allows a knitter to stretch the fabric radially from the center outward.
This tool prevents the center of the beret from “puckering” or appearing uneven. By placing pins or adjusting the tension on the frame, the knitter can guarantee that the circumference is perfectly circular, which is crucial for balanced lace patterns or circular stranded motifs.
Using a frame prevents the hat from shrinking back into a ball-like shape once it dries. It forces the stitches to relax into an even, symmetrical plane that reflects the care put into the original design.
- Bottom line: A specialized tool that makes the difference between a floppy beret and a professional-grade accessory.
Collapsible Wire Hat Form: Best for Knitters on the Go
Collapsible wire forms are essentially cages that fold flat, making them the ultimate portable accessory. They are incredibly useful for quick-drying, as the open-air design allows for maximum airflow around the damp fibers.
Wire forms are surprisingly durable, though they do require a bit of care to ensure the joints remain tight. They are particularly good for blocking light-to-medium weight wools where airflow is more important than heavy-duty structural manipulation.
Because they are essentially a skeleton, they are not ideal for very delicate, fine-gauge lacework where snagging on the wire might be a concern. However, for a basic beanie or rib-knit cap, they are remarkably efficient.
- Bottom line: The best choice for knitters who frequent workshops or travel with their projects.
Choosing a Hat Block: What Knitters Need to Know
Selecting the right block depends entirely on the fiber and the desired outcome. For heavy, wool-based hats intended for warmth, a rigid wooden block or head form works best to set the structural integrity of the yarn.
If the project is a lightweight silk or rayon blend, prioritize a smooth, non-snagging surface like a canvas-covered head or a high-quality inflatable shaper. These materials can be sensitive to sharp edges or rough wood, which might pull at the loose plys of the yarn.
Always consider the weight of the hat. A heavy, cabled hat needs a sturdy, non-collapsible form to support its weight while drying. Conversely, a thin, airy hat can easily be blocked on a lighter wire or inflatable frame.
- Bottom line: Match the tool’s structural rigidity to the weight and fiber content of your project.
Getting the Size Right for a Perfect Hat Block Fit
Sizing is the most common point of failure when investing in a hat block. A block that is too large will overstretch the ribbing, permanently losing the elasticity required to keep the hat on your head.
A block that is too small will result in a hat that looks baggy or lacks the professional, “held” look of a finished garment. Aim for a block that matches the finished circumference of your hat minus about half an inch to account for the natural stretch of the fabric.
When in doubt, use a measuring tape to determine the circumference of your own head or the intended wearer’s head. Remember that hats have “negative ease,” meaning they should be slightly smaller than the head to ensure they stay secure.
- Bottom line: Measure twice, buy once; prioritize the actual head circumference over estimated sizes.
How to Wet Block a Hat for a Professional Finish
Blocking starts with a gentle soak in lukewarm water with a wool-safe detergent. Never wring out the excess water; instead, roll the hat in a clean, lint-free towel and press down firmly to wick away the moisture.
Once the hat is damp but not dripping, gently pull it onto the hat block. Smooth out the crown, ensuring the tension is even across the top and that the brim is perfectly aligned with the base of the block.
Let the hat dry completely in a well-ventilated area, away from direct sunlight or harsh heat sources like radiators. Removing the hat before it is 100% dry will cause the fibers to revert to their pre-blocked state, undoing all your hard work.
- Bottom line: Patience is your best tool; the drying process is where the fibers are “set” into their final form.
Hat Block Materials: Wood vs. Styrofoam vs. Wire
Wood is the gold standard for long-term durability and heat resistance, especially for those who use steam to set their stitches. It is non-porous and sturdy, though it comes with a higher price tag.
Styrofoam is affordable and ubiquitous, but it lacks the weight to stand firmly on its own and can be damaged by pins or steam. It serves as a good entry-level choice but may need replacing after several years of consistent use.
Wire offers the best airflow for fast drying but lacks the smooth surface area needed for complex shaping. It works best as a secondary tool for simple, everyday projects rather than heirloom pieces that require precise geometric blocking.
- Bottom line: Invest in wood for the long term; use foam or wire for convenience and budget-friendly utility.
Your choice of a hat block is an extension of your knitting practice, bridging the gap between a pile of yarn and a finished piece of wearable art. By selecting the right form for your fiber and project goals, you ensure that every stitch is given the chance to shine. Treat your tools with care, keep them clean, and your hats will retain their shape for seasons to come.