7 Best Gauge Swatches For Accurate Sizing To Master
Mastering gauge swatches is key to perfect fit. Learn these seven essential techniques to ensure your knitting or crochet projects always meet size specs.
Mastering the gauge swatch is the single most important bridge between a hopeful cast-on and a garment that actually fits. Many knitters view swatching as a chore, but it is truly the only way to ensure your time and expensive yarn aren’t wasted on an ill-fitting result. By learning to read your tension across different stitch patterns, you gain total control over your final fabric. This guide will walk you through the seven essential swatches every serious maker should master.
The Standard Stockinette Stitch Gauge Swatch
The stockinette swatch is the foundation of all knitting knowledge, yet it is frequently misunderstood. Most patterns ask for a 4×4 inch square, but you must knit at least a 6×6 inch square to account for edge tension.
The edge stitches of any swatch are almost always looser or tighter than the interior fabric. By knitting a larger square, you create a "buffer zone" that allows you to measure only the center stitches, where your true tension lives.
If you are a loose knitter, you might find your stockinette fabric drapes beautifully but lacks structural integrity. Conversely, tight knitters often create a fabric that is windproof but stiff. Always measure your gauge in the center of the swatch to avoid the distorted edge bias.
The Circular Knitting In The Round Swatch
Knitting in the round often results in a different gauge than knitting flat because you are only ever working the knit side. Many knitters purl more loosely than they knit, so their flat gauge is fundamentally different from their circular gauge.
To swatch in the round without knitting a full tube, use the "floating yarn" method. Knit a row, then carry the yarn loosely across the back of the work to the beginning of the row before knitting again.
This creates a series of long loops on the wrong side, effectively mimicking the tension of a circular project. Do not pull these floats tight, or you will artificially constrict the fabric and get a false reading.
The Colorwork Stranded Gauge Swatch
Stranded colorwork is notoriously tighter than single-color knitting because of the floats carried behind the work. If you ignore this, your colorwork sweater will inevitably end up two sizes smaller than intended.
You must swatch using the exact method you plan to use for the project. If you are catching floats every three stitches, your swatch must replicate that specific frequency.
If you find your colorwork is significantly puckered, try going up one or two needle sizes for the colorwork section. The goal is to maintain the same fabric density as the rest of the garment, not just the same stitch count.
The Lace Pattern Tension Gauge Swatch
Lace gauge is incredibly deceptive because the fabric is designed to be pulled open by blocking. A lace swatch looks like a tangled mess of holes before it hits the water, which can be discouraging for beginners.
You must knit a lace swatch large enough to show the full pattern repeat at least twice. A tiny swatch won’t show how the yarn behaves when the pattern repeats interact.
Remember that lace is meant to be airy; if your swatch feels like a solid cloth, you are likely using needles that are too small. Trust the blocking process to reveal the true beauty and size of your lace pattern.
The Ribbing And Stretch Recovery Swatch
Ribbing is the "spring" of your garment, and its ability to snap back is critical for cuffs and necklines. A ribbing swatch must be measured both unstretched and stretched to understand its recovery.
If your ribbing flares out or sags after an hour of wear, your needle size for the ribbing is likely too large. Experienced knitters often drop down one or two needle sizes for ribbing to create a tighter, more elastic fabric.
- 1×1 Ribbing: Best for delicate edges and fine-gauge garments.
- 2×2 Ribbing: Offers more structural "pull" and is ideal for sweater hems.
Test the recovery by stretching the swatch to its limit and seeing if it returns to its original shape. If it stays stretched, you may need a different yarn fiber with more elasticity, such as wool over cotton.
The Cables And Texture Distortion Swatch
Cables pull the fabric inward, effectively shrinking the width of your knitting compared to plain stockinette. If you are substituting a cabled pattern for a plain one, you must account for this significant loss of width.
Always swatch your cables in the context of the surrounding stitches. If the pattern calls for a cable panel flanked by purl stitches, your swatch must include those purls to accurately gauge the "draw-in" effect.
Do not be afraid to use a needle size slightly larger than the pattern suggests if the cables make the fabric too dense. Cables thrive on a bit of breathing room to fully pop against the background fabric.
The Garter Stitch Row Gauge Swatch
Garter stitch has a much higher row gauge than stockinette, meaning it grows significantly in length as you knit. If you are knitting a top-down garter shawl, failing to account for this will result in a project that grows much larger than you anticipated.
Because garter stitch is reversible, it tends to be heavier and more prone to stretching under its own weight. Always hang your swatch vertically for a few hours before measuring to see how gravity affects the length.
If you are working with heavy fibers like cotton or linen, this vertical growth is even more pronounced. Expect your garter stitch projects to grow and plan your row counts accordingly.
Why Washing And Blocking Swatches Is Mandatory
A swatch that hasn’t been washed is essentially a lie. Water and heat change the way fibers bloom, twist, and settle, often altering the gauge by an entire stitch or more per inch.
- Wool: Expands and softens; the stitches "bloom" to fill the gaps.
- Cotton/Linen: Often shrinks or tightens significantly after the first soak.
- Superwash Wool: Can grow alarmingly once it hits the washing machine.
If you don’t block your swatch, you are gambling with the fit of your final piece. Treat the swatch with the exact same care and cleaning method you intend to use for the finished garment.
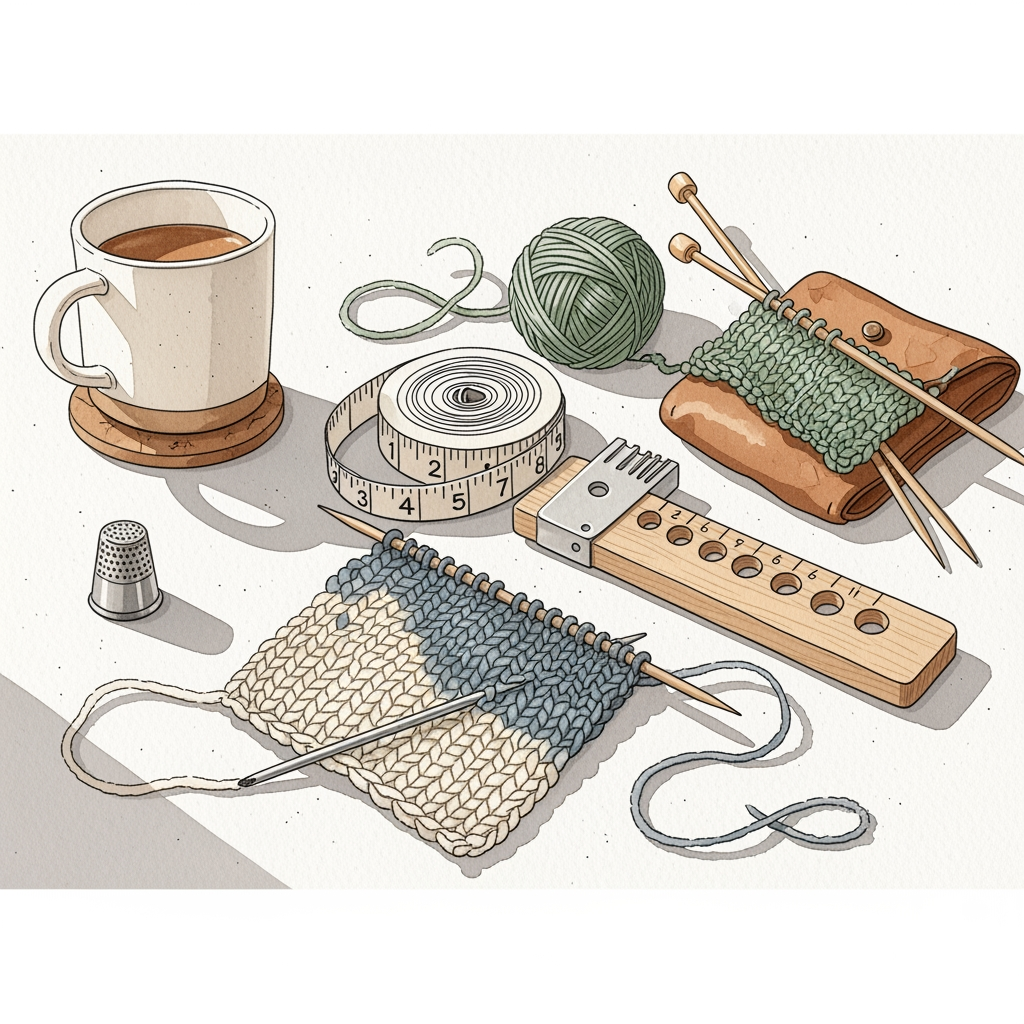
How To Measure Gauge With Precision Tools
Always use a dedicated gauge ruler or a clear plastic square rather than a flexible tape measure. Flexible tapes can stretch or curve, leading to inaccurate readings that ruin your math.

Lay your swatch on a flat surface and place the ruler across the center stitches. Count the stitches and rows carefully, including half-stitches if necessary for high-precision projects.
- The Pin Method: Place two pins exactly four inches apart in your swatch. Count the stitches between the pins to get an accurate reading without straining your eyes.
- The Lighting Trick: Use a bright, natural light source to see the stitch definition more clearly.
Never hold the swatch in your hands while measuring; the weight of your hands will distort the fabric. Accuracy here saves you from the heartbreak of a sweater that doesn’t fit after weeks of work.
Troubleshooting Common Gauge Swatch Errors
If your gauge is off, don’t panic; it is a common part of the process. If you have too many stitches per inch, you are knitting too tightly and need to size up your needles.
If you have too few stitches, your tension is too loose and you should size down. Remember that needle material matters: metal needles are slick and often result in tighter gauges, while bamboo or wood needles provide grip that can loosen your tension.

- Check your yarn: Is it the same weight as the pattern calls for?
- Check your technique: Are you twisting your stitches accidentally?
- Check your mood: Stress makes for tighter knitting, while relaxed knitting often results in looser loops.
If you still can’t hit the gauge, consider adjusting the pattern size to match your actual gauge rather than forcing your hands to knit in a way that feels unnatural. The most successful knitter is the one who adapts to their own unique tension.
Swatching is the ultimate act of respect for your craft and your materials. While it may feel like a delay, the time spent measuring and blocking is an investment in a garment you will actually wear. Embrace the process, keep a notebook of your results, and watch your knitting confidence grow. You now have the tools to ensure every stitch counts toward a perfect fit.