7 Best Knitting Patterns For Practicing Finishing
Master essential finishing techniques with these 7 knitting patterns. Learn to perfect seams, bind-offs, and edge treatments to elevate your finished projects.
Many knitters spend hours perfecting their stitches only to rush through the final steps, leaving their projects looking homemade rather than handmade. Finishing is the bridge between a collection of loops and a professional-grade garment that stands the test of time. By choosing patterns that specifically challenge your seaming, weaving, and blocking skills, you can elevate your craft significantly. These seven patterns are curated to turn your finishing work from a dreaded chore into a satisfying victory lap.
The Flax Sweater: Mastering Seamless Construction
The Flax sweater is a quintessential top-down raglan that serves as a masterclass in seamless construction. Because it is worked in one piece, you avoid the headache of seaming sleeves, but you must master the art of picking up stitches for the neckline.
This pattern forces you to confront the transition between the body and the sleeves. If your tension isn’t consistent at the underarm, you will end up with unsightly gaps that no amount of blocking can fix.
The key here is to keep your yarn taut when picking up those underarm stitches. If you find yourself with a small hole, don’t panic; use your yarn tail to duplicate stitch over the gap from the inside of the garment.
The Gramps Cardigan: Practicing Buttonhole Bands


Button bands are the "make or break" element of any cardigan. The Gramps Cardigan is an ideal project for this because it requires picking up a long edge of stitches and knitting a band that must lie perfectly flat.
A common mistake is picking up too many or too few stitches, which causes the band to ripple or pull. Aim for a ratio of three stitches picked up for every four rows of knitting; this usually keeps the tension balanced across most standard wool yarns.
When working the buttonholes, ensure you are consistent with your yarn-over placement. If you are using a heavy, rustic wool, your buttonholes may stretch over time, so consider reinforcing the back of the band with a piece of ribbon.
The Honey Cowl: Perfecting Kitchener Stitch Joins
The Kitchener stitch is the secret handshake of the knitting world, and the Honey Cowl is the perfect canvas for it. By joining the cast-on edge to the bind-off edge, you create a seamless, infinity-loop fabric that feels completely professional.
The trick to a perfect Kitchener join is rhythm, not speed. If you pull your yarn too tight, the seam will be stiff; if you leave it too loose, the join will look like a jagged scar across your beautiful stitch pattern.
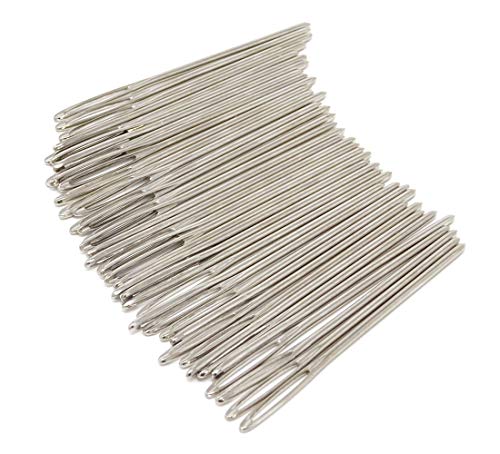
Use a tapestry needle with a bent tip for this task. It allows you to navigate the loops of your knitting without splitting the plies of your yarn, which is especially important if you are working with a delicate merino or a single-ply roving yarn.

The Basic Sock: Learning Gusset and Heel Picking
Socks are the ultimate test of structural integrity because they undergo constant friction and stretching. Learning to pick up stitches along the gusset is a vital skill that prevents the heel from becoming a weak point.
When picking up those stitches, aim for the "V" of the stitch rather than the gap between them. This creates a sturdier fabric that won’t develop holes after a few months of wear inside your boots or sneakers.
If you are a tight knitter, consider going up one needle size for the heel flap. It makes the picking-up process significantly easier and ensures the fabric around your heel remains flexible enough for a comfortable fit.
The Classic Beanie: Refining Crown Decreasing Tips
The crown of a beanie is where most knitters lose their nerve, often resulting in a messy, bunched-up top. A classic beanie pattern teaches you how to manage a decreasing stitch count while transitioning to double-pointed needles or the "magic loop" method.
As you decrease, you will eventually reach a point where the stitches are too few to stretch around your circular needle. This is where your choice of needle material matters; slick metal needles can be frustrating here, while grippy bamboo needles offer more control.
The secret to a smooth crown is to keep your tension consistent as you move from the main body to the decreases. If you notice laddering, pull your yarn slightly tighter on the first stitch of each needle to keep the circumference uniform.
The Simple Shawl: Blocking Lace Edges Properly
Lace is just a series of holes until it is blocked. A simple triangular shawl is the perfect project to practice the aggressive stretching required to open up yarn-overs and reveal the intended pattern.
You will need a set of blocking wires and rust-proof T-pins for this. Never skip the soak; letting your fibers relax in lukewarm water with a wool wash is essential for the yarn to "bloom" and settle into its final shape.
When pinning, start at the center point and work your way outward, mirroring your movements on both sides. If the edge is curling, you may need to pin it slightly beyond its natural tension, but be careful not to over-stretch, or you will lose the drape of the fabric.
The Striped Scarf: Weaving in Ends Professionally
A striped scarf is a nightmare of dangling yarn ends, making it the best possible environment to practice weaving in. If you simply knot your ends, they will eventually work their way to the surface and ruin the look of your work.
The professional approach is to weave your ends into the "dull" side of the fabric, following the path of the existing stitches. This makes the tail virtually invisible and ensures it stays locked in place even after multiple trips through the wash.
If you are working with a superwash wool, be extra careful; these fibers are slippery and prone to unravelling if the tail isn’t woven in for at least two inches. Always leave a slightly longer tail than you think you need to make the process manageable.
Why Finishing Techniques Define Your Final Result
Finishing is not an afterthought; it is the final 10% of the project that accounts for 90% of the visual impact. A well-knit sweater with sloppy seams will always look like a craft project, while a mediocre knit with perfect finishing can pass for a high-end boutique piece.
Many knitters view finishing as a chore, but it is actually the moment your object gains its structural identity. Whether it is the weight of a properly blocked shawl or the secure feel of a reinforced button band, these details provide the longevity that makes your work worth the effort.
Ultimately, your finishing techniques reflect your care for the piece. When you take the time to weave in ends and block correctly, you are honoring the hours you spent at the needles.
Essential Tools for Professional Seaming Results
To get professional results, you need more than just your knitting needles. A high-quality tapestry needle with a large eye and a blunt tip is your most valuable asset for seaming.
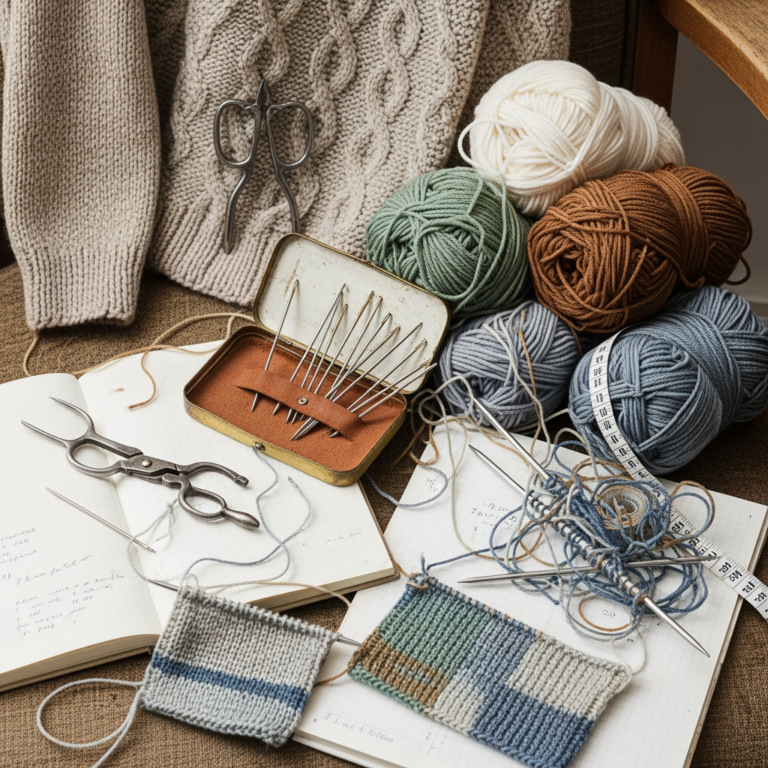
I also recommend keeping a set of locking stitch markers, a measuring tape, and a small pair of sharp embroidery scissors in your kit. These tools ensure that you aren’t guessing your measurements or struggling with dull blades when it comes time to trim your ends.

Investing in a good blocking mat set is also a game-changer. While you can use towels, foam mats allow you to pin your work precisely, ensuring that your finished garment matches the dimensions specified in your pattern.
How to Block Your Projects for a Polished Finish
Blocking is the process of using moisture and heat to set your stitches into their final shape. For most natural fibers, a simple soak in cool water with a gentle wool wash is sufficient to clean the piece and relax the fibers.
After soaking, gently squeeze the water out by rolling the project in a thick towel; never wring or twist the fabric, as this can distort the yarn. Lay the piece flat on your blocking mats, gently patting it into the desired dimensions.
Remember that different fibers react differently to blocking. Acrylics may require steam to "kill" the synthetic fibers and soften the drape, while wools and silks will respond beautifully to a simple water soak.
Mastering these finishing techniques transforms your knitting from a series of individual stitches into a cohesive, professional garment. Do not rush the final steps, as they are the very things that determine how your project will hang, wear, and last over the years. Embrace the process of seaming, weaving, and blocking as an essential part of your creative practice. With these skills in your toolkit, your finished objects will finally reflect the true level of your dedication and expertise.