6 Best Pattern Drafting Rulers For Custom Sizing
Master custom fit with our guide to the 6 best pattern drafting rulers. Learn which essential tools ensure precision, accuracy, and professional-grade results.
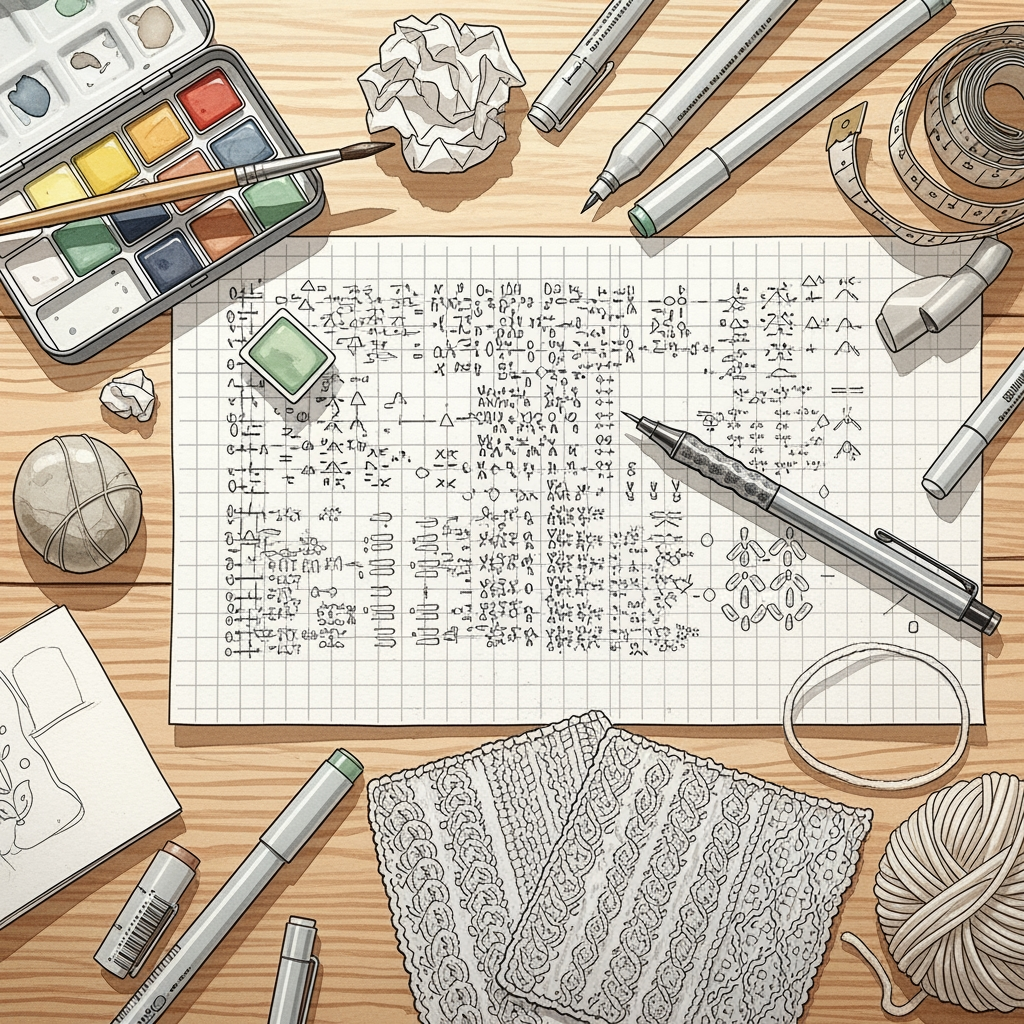
Achieving a professional fit in your handmade garments requires more than just following a pattern; it demands the precision of a master tailor. Whether you are drafting a custom sweater yoke or refining the hem of a hand-sewn lining, the right drafting tools turn frustration into fluid progress. These six rulers are the industry standards that bridge the gap between a standard pattern and a bespoke garment. Investing in the right measuring equipment is the most effective way to ensure your hard work results in a piece you will actually wear.
Dritz Ezy-Hem Gauge: Best for Precision Hems
The Dritz Ezy-Hem gauge is a revelation for anyone who has struggled to fold a perfectly straight hem on a circular skirt or a delicate silk lining. Its metal construction allows you to press directly against the gauge with your iron, meaning your fold line stays exactly where you set it.
For knitters who sew linings into their cardigans, this tool removes the guesswork of seam allowances. You simply fold the fabric over the gauge, press, and move along the edge. It ensures that your hem is uniform, preventing that "homemade" look where the fabric ripples or pulls unevenly.
While it is a specialized tool, it is indispensable for finishing work. If you are tired of measuring with a soft tape and pinning until your fingers ache, this gauge is your best friend.
Fairgate Vary Form Curve: Best for Armholes

Designing a sweater with a set-in sleeve requires a curve that matches the body’s natural anatomy. The Fairgate Vary Form Curve is the gold standard for drawing those complex armscye shapes that aren’t just simple arcs.
This tool allows you to blend different curve radii into a single, smooth line. When you are drafting a pattern for a person with broad shoulders or a specific bust adjustment, this ruler helps you maintain a consistent seam line. A jagged armhole curve will inevitably lead to puckering when you go to sew or knit your sleeve head into the bodice.
Don’t let the unusual shape intimidate you; it is essentially a multi-purpose template. Once you learn to rotate it to find the right arc, you will never go back to freehand sketching your curves again.
Sewline Fabric Ruler: Best for Small Details
When you are working on small-scale details, like collar stands or cuff plackets, a large drafting ruler often gets in the way. The Sewline Fabric Ruler is compact and designed to sit flat against your work surface without sliding around.
It is particularly useful for marking buttonhole placements or checking the grainline on small fabric scraps. Because it is small, you can easily maneuver it around pins and fabric weights without disturbing your layout.
Think of this as the "tweezers" of your drafting kit. It isn’t for drafting a full bodice, but it is the tool you reach for when you need to be surgical with your measurements.
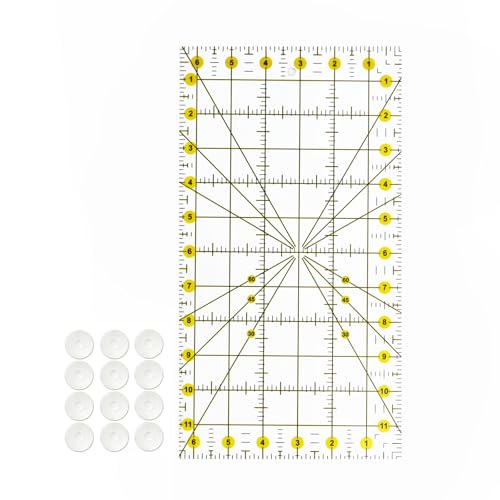
Omnigrid 6×24 Inch Ruler: Best for Accuracy
The Omnigrid 6×24 inch ruler is the workhorse of any serious sewing or drafting room. Its long, clear acrylic body allows you to draw long, straight lines across large pattern pieces with absolute confidence.
The grid markings are incredibly helpful for squaring off corners and ensuring your grainlines are perfectly perpendicular to your hem. If you are drafting a custom skirt pattern, this ruler ensures your side seams are balanced and your hemlines are truly level.
Accuracy here is non-negotiable. Even a quarter-inch deviation over the length of a garment can lead to a twisted side seam or a hem that hangs lower on one side.
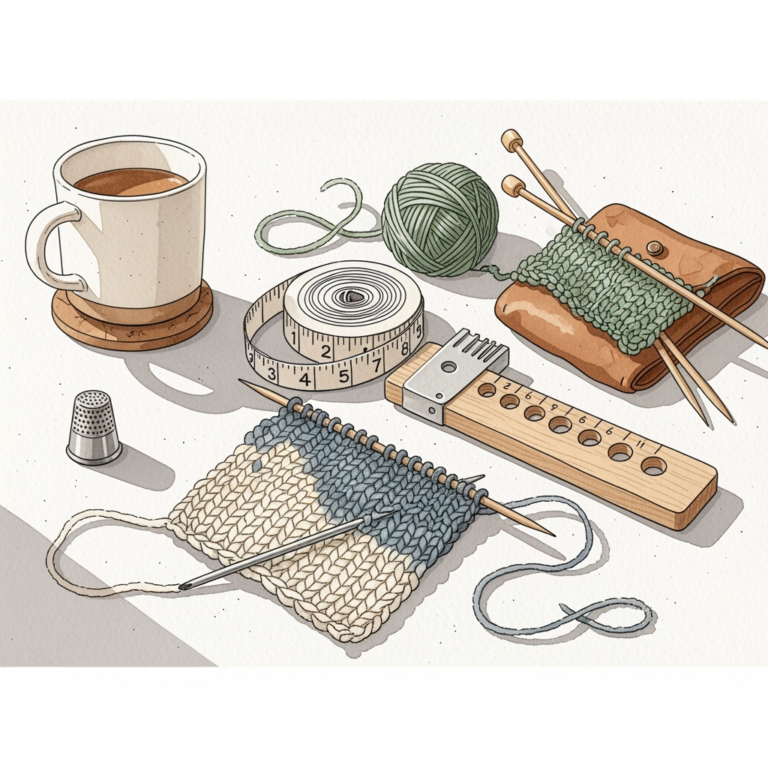
Clover 5-in-1 Sliding Gauge: Best Versatility

The Clover 5-in-1 Sliding Gauge is a masterclass in efficiency, combining multiple measuring needs into one compact tool. It features a sliding marker that stays put, which is perfect for checking seam allowances or marking buttonhole spacing repeatedly.
You can use it as a compass to draw perfect circles or as a T-gauge to ensure your corners are perfectly square. It is the ultimate "grab-and-go" tool for quick adjustments while you are in the middle of a project.
It is lightweight and portable, making it ideal for taking to workshops or sewing groups. While it doesn’t replace a long ruler for drafting large pattern pieces, it is the tool you will use most often for day-to-day measurements.
Westcott Flexible Ruler: Best for Contours

Sometimes a rigid ruler is your worst enemy when trying to measure a curved body part, like a hip or a bust measurement. The Westcott Flexible Ruler can be bent to follow the contours of your body or a dress form, then held in place to transfer that shape to your paper.
This is essential for creating custom-fit patterns that actually hug the body rather than just hanging off it. It bridges the gap between a flat pattern and a three-dimensional form.
Be careful not to stretch the ruler, as that can distort your measurements. Use it to capture the shape, lay it flat, and then trace the curve onto your pattern paper.
Essential Features for Custom Sizing Rulers
When selecting a ruler for drafting, prioritize clarity and durability over price. Look for markings that are printed on the underside of the ruler to prevent them from wearing off over time.
- Transparency: You must be able to see your fabric or pattern paper underneath the ruler to align it correctly.
- Non-slip backing: This prevents the ruler from shifting while you are drawing your lines.
- Clear, high-contrast markings: Ensure the increments (1/8", 1/4", etc.) are easy to read even in low light.
- Sturdy edges: Avoid rulers with chipped or soft edges, as they will cause your pencil lines to wobble.
How to Measure Your Body for Better Fit
A ruler is only as good as the measurements you feed into it. Always take your measurements while wearing the undergarments you intend to wear with the finished garment.
Keep your measuring tape snug but not tight against the skin. If you are measuring for a fitted sweater, you need to account for ease—the extra room that allows you to move and breathe.
Measure the same points twice to ensure consistency. If you get two different numbers, take a third measurement to find the average.
Acrylic vs Metal Rulers: Which to Choose
Acrylic rulers are generally preferred for drafting because they are transparent, allowing you to see your work underneath. They are excellent for alignment and checking existing lines, but they can crack if dropped.
Metal rulers, on the other hand, are nearly indestructible and provide a sharp edge for cutting with a rotary cutter. However, they are opaque, which makes them difficult to use for precise alignment on complex pattern pieces.
Most experienced makers keep both in their studio. Use the acrylic for drafting and the metal for cutting and heavy-duty tasks.
Maintaining Your Drafting Tools for Longevity
Treat your rulers like the precision instruments they are. Store them flat or hang them on a pegboard to prevent them from warping or bending.
Clean them periodically with a mild soap and water to remove any buildup of fabric lint or chalk residue. Avoid using harsh solvents, which can cloud acrylic or dissolve the printed markings.
If you notice a nick in the edge of your ruler, replace it immediately. A damaged edge will lead to inaccurate lines that will compromise the fit of your entire project.
Mastering the use of these drafting tools is a journey that elevates your craft from simple assembly to true garment engineering. By choosing the right ruler for the task at hand, you eliminate the guesswork and build a foundation for garments that fit perfectly. Remember that precision at the drafting stage is the secret to a stress-free construction process. Take your time, measure twice, and enjoy the satisfaction of wearing a piece that was made exactly for you.