
6 Best Light Modifiers For Dramatic Craft Textures
Elevate your photography with these 6 best light modifiers for dramatic craft textures. Master your lighting setup and start creating stunning images today.
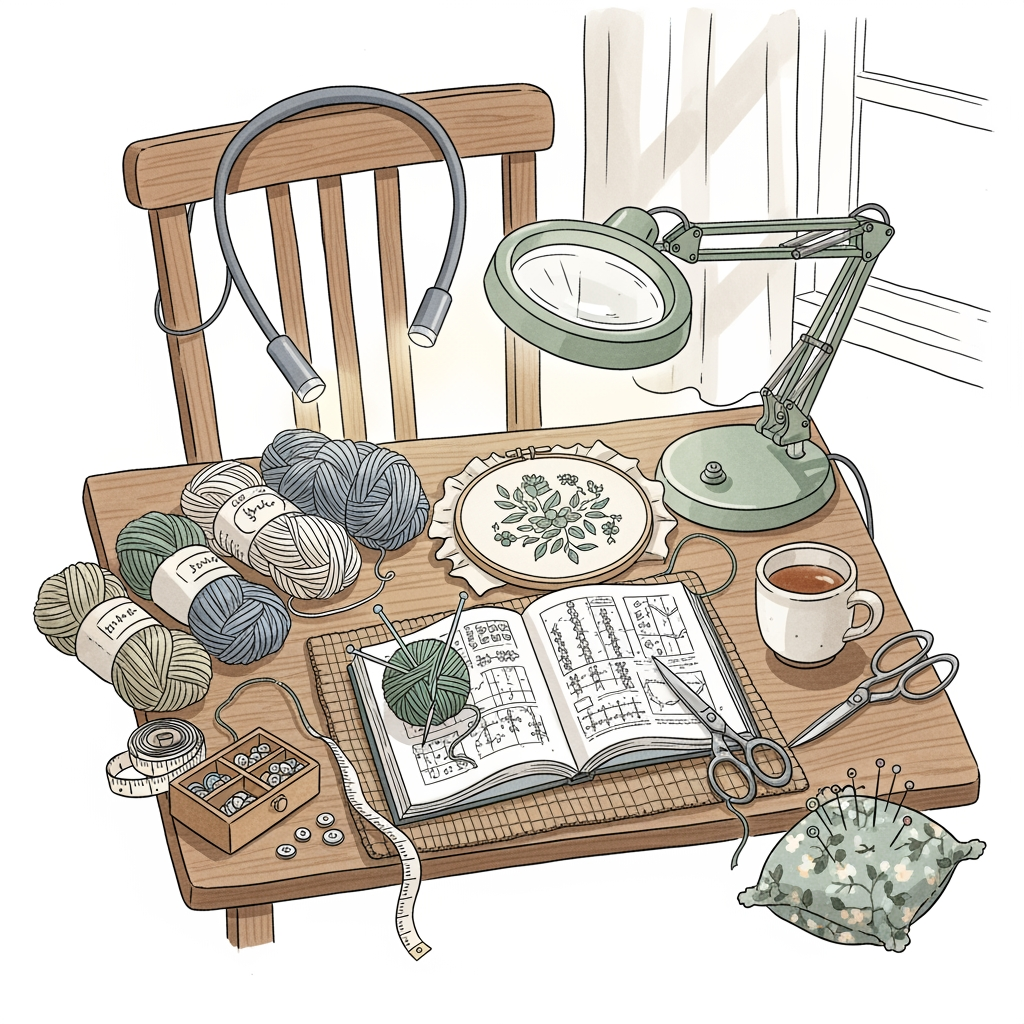
Capturing the intricate stitch definition of a complex cabled sweater or the delicate halo of hand-dyed mohair requires more than just a camera. Lighting is the silent partner in every fiber art project, dictating whether a stitch pattern looks like a flat blur or a three-dimensional masterpiece. Without the right modifiers, the nuances of your yarn’s twist and ply often vanish into a washed-out, lifeless image. Mastering these six lighting tools will ensure your finished objects look as professional in photographs as they feel in your hands.
Neewer 5-in-1 Reflector: Best Budget All-Rounder

The 5-in-1 reflector is the quintessential tool for any fiber artist working with natural window light. It provides a simple, inexpensive way to bounce light into the shadowy recesses of a dark knitting project, such as deep charcoal cables or intricate navy lace.
By using the white side, you achieve a soft fill light that prevents the dark areas of your work from losing detail. The gold side is particularly useful for warming up cool-toned wools, making alpaca or merino fibers look rich and inviting.
- Silver: Increases contrast and highlights the sheen of silk or rayon blends.
- Gold: Adds a healthy warmth to wool fibers that may look cold or flat under neutral lighting.
- White: Provides neutral, soft fill to balance out harsh window shadows.
While it lacks the precision of a professional strobe, it is an essential foundational tool. The trade-off is the need for a second person to hold it, or a sturdy stand to keep it in place while you pose your knitting.
Godox Octagon Softbox: For Soft, Flattering Light

A softbox mimics the directional, diffused light of a north-facing studio window. It is the gold standard for showcasing the soft drape of a garment, such as a delicate shawl or an oversized cardigan, because it minimizes harsh reflections on smooth synthetic fibers.
The octagonal shape produces a natural-looking circular catchlight in the fibers, which prevents the knitting from looking clinical or overly digital. This modifier is ideal when the goal is to make the yarn appear tactile and soft to the touch.
However, the larger the softbox, the more space it occupies in a workspace. For those knitting in tight quarters, a large 120cm softbox might prove unwieldy, though its ability to wrap light around the curves of a finished garment remains unmatched.
Godox Honeycomb Grid: For Creating Moody Shadows
When the goal is to highlight the specific texture of a stitch pattern, such as the ridges of a fisherman’s rib or the depth of a moss stitch, directional control is necessary. A honeycomb grid attaches to your light to narrow the beam, preventing light from spilling onto the background.
This creates high contrast, which is essential for making textures pop. It allows the light to skim across the surface of the knitted fabric, casting small, intentional shadows that define every individual loop.
- High Contrast: Ideal for showing the structure of complex cable work.
- Containment: Prevents light flare when shooting in a cluttered craft room.
The downside is that a grid requires precise placement. If the angle is off by even a few degrees, the shadows can become too dark, obscuring parts of the design that need to be visible.
Lume Cube Ring Light Mini: For Macro Texture Shots
Macro photography is often a requirement when you need to showcase the twist of a hand-spun yarn or the precision of a fine-gauge sock stitch. The Lume Cube Ring Light Mini offers a portable, high-intensity solution that fits into tight spaces where traditional softboxes cannot.
Because the light source surrounds the lens, it illuminates the fiber from every direction equally. This minimizes ugly, deep shadows while maximizing the visibility of the yarn’s ply and texture.
This tool is particularly effective for documenting WPI (wraps per inch) or showing the transition between different fiber types. Keep in mind that ring lights can create artificial-looking highlights on very shiny yarns like bamboo or superwash wool; use them at lower power settings to keep the look natural.
FotodioX Scrim Panel: Taming Harsh Natural Light
Direct, unfiltered sunlight is often the enemy of knitting photography. It creates high-contrast highlights that blow out the details of your stitches and leaves deep, distracting shadows. A scrim panel acts as a large, portable cloud, diffusing intense sunlight into a soft, even glow.
Using a scrim is the professional choice for outdoor flat-lays where you want the background and the yarn to have a consistent, harmonious lighting balance. It allows the texture of the yarn to remain visible without the interference of harsh, blinding spots.
Unlike a softbox, a scrim panel is essentially a frame with a translucent fabric screen, making it lightweight and easy to transport to a park or a garden for those “lifestyle” craft shots. Its only real drawback is that it requires a calm day; even a light breeze can turn a portable scrim into a sail.
Godox Snoot with Gels: For Dramatic Color Spots
A snoot is a specialized modifier that funnels light into a very tight, narrow beam, similar to a spotlight. When combined with color gels, it allows you to create intense, moody portraits of your craft projects.
This is perfect for artistic shots where you want to draw the viewer’s eye to a specific detail, such as a hand-sewn button or an intricate colorwork motif. By using a complementary or contrasting color gel, you can elevate the mood of the photo to match the theme of the garment.
It is a specialized tool that should be used sparingly. Overusing a snoot can make a knitting project look like a product advertisement rather than a handmade work of art, so focus on using it to highlight only the most significant technical details.
How to Choose a Modifier for Your Specific Craft
Selecting the right modifier depends entirely on the fiber type and the specific goal of the photograph. If you are shooting a high-twist wool with distinct stitch definition, you need directional light to create small shadows that trace the structure of the yarn.
If your project is made of a fuzzy, delicate mohair or angora blend, you need extremely soft, diffused light. Harsh light will ignore the halo and focus only on the core ply, ruining the ethereal quality of the project.
- Textured Patterns (Cables/Bobbles): Use a grid or a snoot to create skimming light.
- Draping Garments (Shawls/Cardigans): Use a large softbox or a white reflector.
- Fiber Close-ups (Macro/WPI): Use a ring light to wrap the subject in even illumination.
Always remember that fiber reflects light differently based on its material. Natural animal fibers absorb light, while synthetic, shiny fibers reflect it; adjust the distance of your modifier accordingly to avoid distracting glare.
Hard Light vs. Soft Light for Showing Texture
Hard light—light that comes from a small, distant, or unfiltered source—creates sharp, distinct transitions between light and dark. It is excellent for emphasizing the sculptural quality of thick-gauge knitting, such as a chunky knit blanket or a cabled sweater.
Soft light, conversely, comes from a large source or a diffused source and creates subtle gradients. It is the better choice for lace knitting or delicate baby garments where harsh shadows would look messy rather than intentional.
A good rule of thumb is to move your light source closer to the subject to make the light softer and move it further away to make the light harder. Always evaluate how the light falls across the stitches; if the detail of the yarn is disappearing, the light is likely too soft or poorly angled.
Basic Lighting Setups to Emphasize Stitches
The most effective setup for showing stitches is the “side-lighting” technique. By placing your light source to the side of the project at a shallow angle, you allow the light to graze the surface, which causes the purl bumps and knit Vs to cast tiny shadows.
This technique is simple but highly effective for demonstrating the uniformity of your gauge. For a balanced look, keep a white reflector on the opposite side to gently lift the shadows without erasing them entirely.
If you are shooting a flat-lay, try placing the light directly overhead and using a diffuser to simulate a high-noon sun. For garments on a mannequin or a person, bring the light to a 45-degree angle to the side to create dimension and prevent the piece from appearing flat and one-dimensional.
DIY Light Modifiers You Can Make at Home
You do not need a professional studio kit to achieve high-quality results. A large piece of white foam board from a craft store makes an excellent, cheap reflector that provides a surprisingly soft bounce.
If you need a diffuser, a clean white bedsheet or a shower curtain can be stretched over a frame or a doorway to soften harsh window light. These homemade tools are perfect for experimenting with light before committing to more expensive, permanent equipment.
- DIY Diffuser: White bedsheet, thin muslin fabric, or parchment paper (for small lights).
- DIY Reflector: White foam board, aluminum foil (crumpled and taped to cardboard for a harder bounce).
- DIY Gobo: A piece of black cardboard used to block light and deepen shadows on one side of your project.
Ultimately, understanding the physics of light is far more valuable than buying expensive gear. Practice moving your light source around your knitting projects to see how the shadows change, and you will quickly develop an intuitive sense for what looks best.
Lighting is the final step in the crafting process, turning a long-term investment of time into a visual record of your technical skill. By experimenting with these modifiers, you gain the ability to showcase the depth, texture, and character of every stitch you cast on. Remember that the goal is always to reveal the craft, so stay flexible and keep adjusting until the light does justice to your needles.
