7 Best Labeling Tapes For Inventory Management
Streamline your warehouse operations with our top 7 labeling tapes for inventory management. Read our expert guide to choose the right solution for your business.
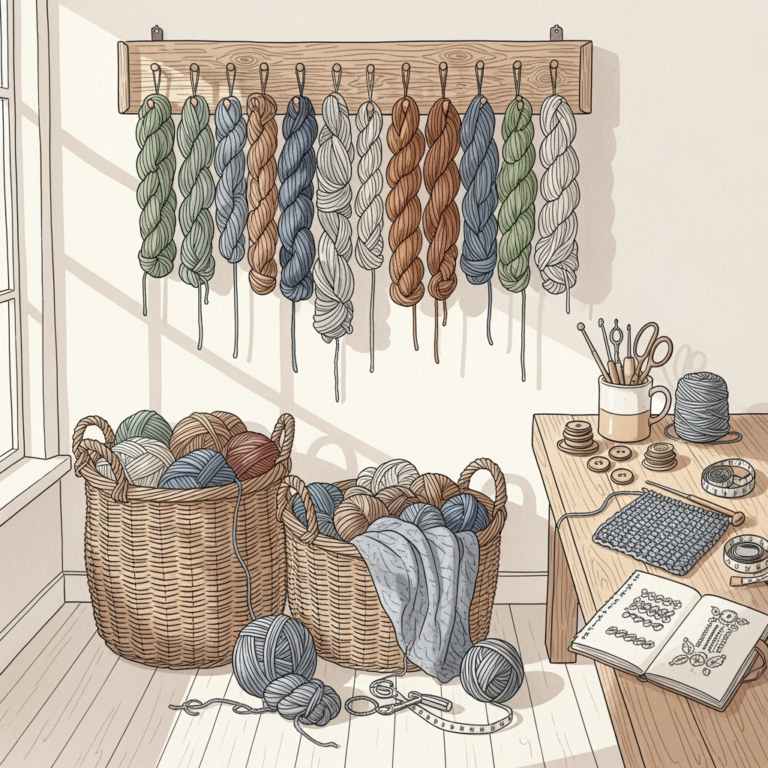
Organizing a yarn stash is as crucial to a successful project as choosing the right needle size for your gauge. Without clear identification, that half-skein of luxury mohair or hand-dyed wool can quickly lose its identity and vital washing instructions. Investing in the right labeling system saves precious time, ensuring that the next time a pattern calls for a specific fiber blend, the supply is ready for use. These seven labeling solutions address the unique needs of a fiber artist’s studio, from long-term storage to temporary project bags.
Brother P-touch TZe Tape: Best Overall Performer

The Brother P-touch TZe tape is the industry standard for a reason. These laminated tapes are resistant to water, oils, and the occasional spilled dye, which is essential when organizing stash bins in a humid basement or a craft room.
For the serious knitter, the primary advantage is legibility and durability. A label printed with the fiber content, yardage, and dye lot number will remain crisp for years, preventing the common frustration of guessing whether a yarn is machine-washable superwash wool or a hand-wash-only highland blend.
While the upfront cost of the label maker is higher, the long-term reliability is unmatched. It is the gold standard for those who want their stash to look professional and remain searchable for decades.
MT Washi Tape: Most Stylish & Removable Option

MT Washi tape offers a gentler approach for knitters who frequently cycle through their project bags. Because this paper-based tape is low-tack, it can be peeled off plastic bins or yarn cakes without leaving a sticky, residue-prone mess.
This option shines when labeling project-specific containers that change every few months. It is perfectly suited for documenting needle sizes currently in use or marking the number of repeats completed on a complex lace chart.
However, avoid using Washi tape for long-term storage in dusty environments. The adhesive can dry out or lose its grip over time, causing labels to curl and fall off the bin.
DYMO Rhino Vinyl Labels: Toughest for Deep Stash
When stash storage involves heavy-duty plastic totes tucked away in a garage or attic, DYMO Rhino vinyl labels are the correct tool. These labels are built to withstand extreme temperature fluctuations and physical abrasion.
Vinyl is naturally more robust than paper, meaning these labels won’t tear or smear if bins are dragged across a floor. They are ideal for listing bulk purchases, such as multiple sweater-quantities of yarn kept in deep storage.
The adhesive on these tapes is industrial strength, which is both a benefit and a drawback. Expect to need a solvent or a heavy-duty scraper if the time comes to remove them from a container.
Avery Dissolvable Labels: For Temporary Projects
Avery dissolvable labels are a ingenious solution for knitters who rotate yarn through the same set of project bowls. These labels disappear completely under running water, leaving no trace behind when the project is finished and the bowl is ready for the next colorway.
They are particularly useful for keeping track of dye lots when winding multiple skeins into cakes. Simply stick the label on the center pull, then rinse it away once the yarn has been incorporated into the project.
Do not use these labels on yarn that is moisture-sensitive, such as raw, unspun fleece or delicate silk fibers. Moisture in the air might activate the dissolvable adhesive prematurely.
Chalkboard Vinyl Tape: Best for Reusable Bins
Chalkboard tape allows for the most flexibility in a rotating stash environment. It turns any smooth surface into a reusable writing space that can be wiped clean with a damp cloth whenever a bin’s contents change.
This is the most sustainable option for knitters who reorganize their space seasonally. Instead of printing new labels, simply grab a chalk marker and update the information as fibers move from the “active project” pile to long-term storage.
Use fine-tip liquid chalk markers to ensure the writing remains legible despite the textured surface of the tape. Avoid standard wax chalk, as it tends to smudge and rub off during routine bin handling.
Lineco Acid-Free Paper Tape: Safest for Yarn
For the preservation-minded knitter, Lineco acid-free tape is the only choice when a label must come into direct contact with precious fibers. Standard adhesive tapes contain chemicals that can yellow, degrade, or discolor expensive natural fibers like silk, alpaca, or cashmere.
Acid-free paper tape is archival quality, meaning it won’t leach harmful agents into your yarn over time. It is the perfect material for creating custom tags that can be pinned or looped through the center pull of a yarn cake.
Because it lacks the aggressive adhesives of industrial tapes, it is safe for delicate hand-dyed yarns. It is the preferred method for organizing heirloom-quality fibers that require special storage considerations.
U-Mark U-Phase Cloth Tape: Best for Handwriting
Cloth-based tapes like U-Mark offer a tactile surface that is much easier to write on than slick plastic. For those who prefer a handwritten note listing WPI (wraps per inch) or specific needle recommendations, this tape provides excellent friction for ink pens and markers.
The fabric construction allows the tape to contour slightly to uneven surfaces, such as rounded yarn ball winders or uniquely shaped storage baskets. It stays in place well but is generally easier to peel back than vinyl if repositioning is required.
It is a low-tech, high-utility choice that integrates well into a hand-knitted aesthetic. Keep in mind that cloth tapes can pick up lint from wool, so place them where they won’t rub directly against fuzzy yarn cakes.
Choosing a Label: What Knitters Need to Know
Selecting the right label depends entirely on the “shelf-life” of your organizational system. If you are a prolific knitter who finishes projects quickly, temporary labels like Washi or dissolvable options are best.
For those managing a multi-year stash, prioritize permanent, laminated labels like the P-touch system. Ensure the label material is compatible with the surface of your storage containers—smooth plastic is easy for almost anything, while fabric or woven baskets may require a tie-on tag system instead of adhesive tape.
Always consider the environment of the storage area. Moisture, sunlight, and fluctuating temperatures will break down cheap adhesives, potentially leading to a pile of unlabeled mystery yarn.
What to Write on Your Yarn and Fabric Labels
A useful label must bridge the gap between purchase and the final blocking process. At a minimum, include the fiber content (e.g., 100% Superwash Merino) and the suggested needle size provided by the manufacturer.
If you are a serious pattern-follower, write down the dye lot number and the yardage. This is critical for large projects like sweaters, where running out of one specific dye lot halfway through a sleeve can be disastrous.
For hand-spun or specialty fibers, note the WPI and the intended purpose, such as “lace weight, shawl project.” Include the date of purchase if you are tracking the aging of your stash, which can be helpful for identifying when yarn might be due for a periodic check for pests.
Removing Old Labels Without Damaging Your Bins
Removing stubborn adhesive requires patience and the right touch to avoid marring your storage bins. For most plastic surfaces, a light application of a citrus-based cleaner or a dab of rubbing alcohol will break down the adhesive bond without damaging the plastic.
Avoid using sharp metal scrapers on clear plastic bins, as these will leave permanent scratches that make the bins look cloudy over time. Instead, use a plastic putty knife or even the edge of an old credit card to lift the label edges after the adhesive has softened.
If you have used cloth tape or Washi, a simple warm water soak often does the trick. Always test a small, inconspicuous area of the bin with any solvent to ensure it does not cause discoloration or melting before applying it to the entire surface.
Effective labeling is not just about keeping a tidy craft room; it is an act of care for the fibers that define your creative practice. By matching the right tape to the specific needs of your inventory, you ensure that every skein remains an asset ready for your next cast-on.