6 Best Shuttle Tatting Patterns For Beginners To Try
Master the art of lacemaking with these 6 best shuttle tatting patterns for beginners. Follow our step-by-step guide and start your first project today!
Shuttle tatting is an elegant, structured form of lace-making that relies on a series of locked knots to create intricate, geometric designs. Much like learning to manage tension in stranded colorwork, tatting requires a rhythmic understanding of thread flow and knot formation. While the mechanics differ significantly from knitting, the meditative focus required to maintain uniform stitches remains the same. Mastering these foundational patterns transforms a simple ball of thread into delicate, heirloom-quality fabric.
Classic Ring & Chain Edging: The Essential Start
The ring and chain are the two fundamental building blocks of all shuttle tatting, functioning much like the knit and purl stitches of the lace world. Every complex design, regardless of size, eventually breaks down into these two elements.
Starting with a simple edging allows for a focus on tension control without the pressure of complex motif geometry. Because the length of an edging is theoretically infinite, there is ample room to practice until the stitches look consistent.
Consistency in the loop size is the primary goal here. If the rings are too tight, the lace will pucker; if too loose, the structure will lack definition. Aim for a tension that allows the thread to slide firmly without snapping, mirroring the balance required for consistent gauge in a delicate shawl.
Mary Konior’s Bookmark: A First Real Project

Mary Konior is a foundational name in the tatting world, known for designs that are as logical as they are beautiful. Her bookmarks provide the perfect bridge between repetitive edging practice and a finished, functional object.
This project introduces the concept of joins, which are essential for connecting one part of the lace to another. A join is equivalent to picking up a stitch from a previous row; it must be secure enough to hold the shape but loose enough to prevent unsightly tugging.
Completing a bookmark offers a sense of accomplishment that simple practice swatches cannot match. It is a tangible reward that reinforces the importance of reading a pattern and tracking progress across multiple rounds.
Beginner Butterfly Motif: Your First Cute Shape
The butterfly motif is the standard rite of passage for new tatters. It introduces basic symmetry and the necessity of managing two shuttles simultaneously to create contrasting chains.
This shape highlights the importance of the “picot,” the small decorative loop used both as a design element and a join point. Like a yarn-over in lace knitting, the picot requires specific spacing to ensure the finished piece blocks out into the correct proportions.
Focus on maintaining the butterfly’s wings during the creation of the body. If the tension is uneven, the butterfly may lean or twist, requiring more aggressive pinning during the final blocking stage to correct the shape.
Jane Eborall’s Earrings: A Quick, Wearable Win
For those who want immediate gratification, earrings are the ideal small-scale application. Using a finer thread, such as size 40 or 80, transforms a simple pattern into a sophisticated piece of jewelry.
These designs typically involve a single ring or a small cloverleaf pattern. Because the scale is small, the project remains manageable even if a mistake necessitates pulling out the work, much like correcting a dropped stitch in a delicate lace cuff.
The choice of thread weight matters immensely here. A thicker thread (size 10) results in chunky, bold earrings, while finer threads offer a delicate, professional look that rivals commercial lace.
Georgia Seitz’s Snowflake: A Festive Favorite
Snowflakes serve as an excellent exercise in circular progression. They teach the tatter how to manage increasing stitch counts while maintaining a flat, even surface that doesn’t cup or ripple.
Many of these patterns utilize the “split ring” technique, a common hurdle for beginners. While the technique feels awkward at first, it is essentially a way to move the thread across the work without breaking and retying, saving time and potential loose ends.
Treat this as a lesson in blocking. Because snowflakes are geometric, they demand precise stretching and pinning on a blocking board to reveal their full, crisp beauty.
Simple Flower Motif: For Versatile Embellishment
A basic floral motif is perhaps the most practical pattern in a fiber artist’s repertoire. These can be appliqued onto hats, sweaters, or woven bags, providing a professional finish to other handmade items.
The key to a successful flower is the transition between the center ring and the outer petals. Keeping the connection points tight ensures the petals radiate outward correctly, rather than drooping against the center.
Consider using variegated threads for these motifs to add visual depth without changing colors mid-pattern. This is a low-stakes way to experiment with color theory, similar to choosing a variegated yarn for a simple garter stitch washcloth.

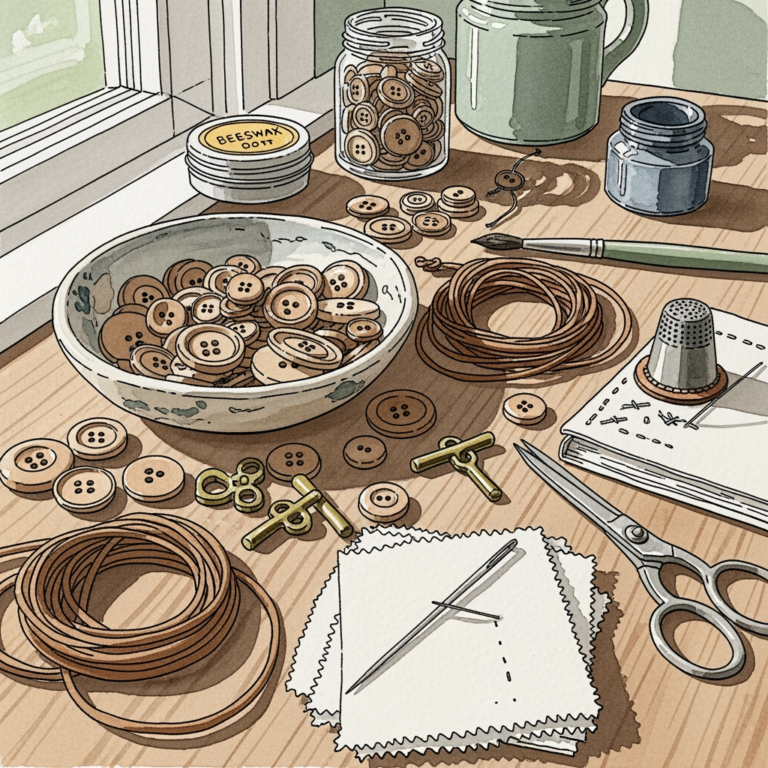
How to Choose Your First Shuttle and Thread
Choosing a shuttle is akin to choosing a circular needle: it is entirely dependent on personal hand feel and the weight of the thread. A shuttle that fits comfortably in the palm will prevent cramping during long sessions.
Start with a standard, medium-sized shuttle that can hold enough thread for a full motif. Avoid overly intricate or heavy metal shuttles until the basic mechanics are second nature.
- Size 10 thread: Best for practicing because it is easy to see and handle.
- Size 20 thread: The industry standard for most motifs; provides a good balance of durability and detail.
- Size 40-80 thread: Reserved for jewelry and fine lace; requires thinner, sharper shuttles.
Shuttle vs. Needle Tatting: Which Is for You?
Shuttle tatting is the traditional method, known for the “flip” that creates a firm, durable knot. Needle tatting, by contrast, uses a long, blunt needle to mimic the look of shuttle tatting without the complexity of the knot-flipping mechanic.
The primary difference lies in the “hand” of the final fabric. Shuttle-tatted lace is typically firmer, more structured, and mimics the appearance of hand-knotted netting.
Needle tatting is often described as easier to learn because it bypasses the need for the “flip.” However, needle-tatted lace can sometimes feel softer and less secure than its shuttle-tatted counterpart.
How to Read a Beginner Tatting Pattern Diagram
Tatting patterns are typically read in a clockwise direction, often labeled with numbers representing the count of “double stitches.” A double stitch is the fundamental unit of measurement.
Diagrams are vital because they provide a visual roadmap of the structure. Look for the arrows that indicate the direction of travel and the dots that represent picots.
If a pattern seems confusing, compare the written instructions to the diagram simultaneously. The text provides the sequence, but the diagram explains the logic of the connections.
Mastering the “Flip”: The Key to Perfect Knots
The “flip” is the secret to all high-quality shuttle tatting. It is the moment where the stitch moves from the working thread onto the core thread, locking the knot in place.
If you skip the flip, the knot will not close correctly, and the lace will look uneven or “twisted.” Think of it like the difference between a clean stockinette stitch and a twisted stitch in knitting; one is structurally sound, while the other creates a distorted fabric.
Practice this motion slowly. Once the feeling of the thread “snapping” into place becomes muscle memory, the speed and accuracy of the work will improve exponentially.
Mastering shuttle tatting is a journey of patience and steady hands, much like perfecting a complex cable pattern or delicate lace chart. By starting with these classic patterns and focusing on the mechanics of the flip and tension, you will build a strong foundation for a lifetime of lace-making. Enjoy the process of creating intricate beauty, one knot at a time.