
7 Best Beading Patterns For Beginners To Master
Master your jewelry-making skills with our 7 best beading patterns for beginners. Follow our easy step-by-step guide and start creating your own designs today.
Adding beads to a knitting project transforms a simple accessory into a textured, shimmering heirloom. While the concept of threading tiny glass bits onto yarn might seem intimidating, it is merely a matter of mastering the rhythm of placement. Beginners often shy away from beading, fearing it complicates the foundational mechanics of knit and purl stitches. Once the basic techniques are demystified, the creative possibilities for adding sparkle to garments become nearly limitless.
Beaded Rib Scarf: Best for First-Timers


A ribbed scarf provides the ideal canvas for a first venture into beading because the stitch pattern is inherently repetitive and forgiving. Focusing on a basic knit-two, purl-two rib allows the knitter to develop a consistent tension before worrying about complex lace charts or structural increases. By placing a bead every few rows on the knit stitches, the rhythm becomes intuitive rather than distracting.
Choose a worsted-weight yarn with a smooth ply to ensure the beads sit evenly against the fabric. Avoid fuzzy mohairs or highly textured novelty yarns, as these will catch on the bead edges and make the work tedious. Sticking to a solid or semi-solid colorway ensures the beads stand out clearly as a design element rather than getting lost in a busy variegation.
The primary goal here is to establish a habit of bead placement without disrupting the flow of the stitch count. Aim for a symmetrical placement to build confidence before experimenting with random scatter techniques.
Beginner’s Beaded Cuff: Best Quick Project
Wrist cuffs offer an immediate sense of accomplishment because they require minimal yardage and can be completed in a single afternoon. Because the surface area is small, the knitter can concentrate entirely on the mechanics of pulling the bead through the loop. This short-term commitment allows for experimentation with different bead sizes or weights without the fear of wasted effort.
When knitting cuffs, pay close attention to the elasticity of the bind-off. The addition of beads adds physical weight to the fabric, which can cause the cuff to sag if the tension is not controlled. Using a slightly smaller needle size for the final edge will help maintain the structure and ensure the piece hugs the wrist securely.
Focus on creating a clean finish, as the cuff is highly visible during daily wear. A simple seed-stitch or garter-stitch base makes the beads pop significantly more than complex cable patterns would.
Nymphalidea Shawl: Best Free Pattern Pick
The Nymphalidea Shawl is a classic in the knitting community for its elegant integration of beads into a simple, repetitive lace motif. Because the pattern is widely available and well-documented, beginners benefit from the collective troubleshooting found in online forums and project notes. It serves as an excellent introduction to how beads can act as weights in lace, helping the finished fabric drape beautifully.
Lace patterns are notoriously sensitive to gauge, and the added weight of beads can alter the final dimensions significantly. Always work a test swatch to observe how the beads sit and whether they pull the yarn in a way that distorts the stitches. If the fabric feels too heavy, consider using a lighter-weight seed bead or a thinner fiber.
This pattern teaches the vital skill of reading a lace chart while managing the additional complexity of the bead. Start with a pattern that has a high bead-to-stitch ratio to get comfortable with the technique before attempting more sparse designs.
Sparkle Hat: Best for Beading in the Round
Knitting a hat in the round eliminates the need for purling, which often makes the process faster and more rhythmic. When beading in the round, the beads are typically added to the knit stitches as they appear on the needle, creating a vertical line or a scattered sparkle effect. This is the perfect project to practice color coordination between the yarn and the chosen bead finish.
A common pitfall is allowing the beads to migrate as the work progresses. Use a stitch marker to clearly denote the beginning of the round so the bead placement pattern remains consistent throughout the crown decreases.
Select a hat pattern that uses a standard beanie construction. This ensures the focus remains on the bead application rather than complicated shaping or intricate colorwork.
Beaded Edge Washcloth: Best Low-Stakes Practice
If the idea of ruining an expensive sweater keeps progress at a standstill, a washcloth is the ultimate low-stakes testing ground. Cotton yarn is non-elastic and durable, making it perfect for practicing the tug-of-war required to pull a bead through a stitch loop. It provides an immediate, tactile sense of how different bead weights affect the hand of the fabric.
Use a mercerized cotton for a slight sheen that complements the sparkle of the glass beads. Because washcloths are intended for utility, choose beads that are heat-resistant and color-fast to ensure they do not dull or bleed during frequent washing.
Treat this as a laboratory project. Practice different placement intervals—every stitch, every second stitch, or at the end of every row—to see which aesthetic suits a personal style best.
Beaded Handwarmers: Best Practical Gift Knit
Handwarmers are the perfect intersection of style and function, especially when embellished with beads. They are small enough to be portable but offer enough surface area to showcase a thoughtful design. Because they are worn on the hands, choose beads that are smooth and rounded to prevent any snagging on delicate fabrics like silk or wool sweaters.
When gifting beaded items, prioritize durability. Use a high-twist wool that will not pill, as pills can trap beads and make them look cluttered or messy. It is also important to secure the beads firmly by ensuring the loops are pulled tight against the stitch.
Consider the recipient’s lifestyle before adding heavy embellishments. If the handwarmers will be worn while working at a desk, keep the palm side free of beads to prevent discomfort.
Knitted Beaded Necklace: Best for Jewelry Lovers
A knitted necklace allows the knitter to move away from garment construction and into the realm of wearable art. These projects often utilize thinner threads or fine-gauge yarns, which require smaller beads like size 8/0 or 11/0. This is the most efficient way to learn how to manipulate tiny components without the complexity of traditional knitting patterns.
Precision is key when the beads are the primary feature of the piece. Use a rigid, thin yarn like a silk-blend or a high-quality lace-weight linen to ensure the structure of the necklace does not stretch over time.
If the necklace feels too limp, consider inserting a thin wire or a core cord inside the knit tube. This hidden structure provides the support necessary to keep the piece from sagging while maintaining the soft feel of the yarn.
Crochet Hook vs. Pre-Stringing: Which to Use?
The two primary methods for adding beads are pre-stringing them onto the yarn before starting the project or applying them stitch-by-stitch using a fine crochet hook. Pre-stringing is often favored for projects where beads are distributed evenly throughout the entire piece. However, it requires an exact calculation of the number of beads needed before casting on, which can be frustrating if a mistake is made.
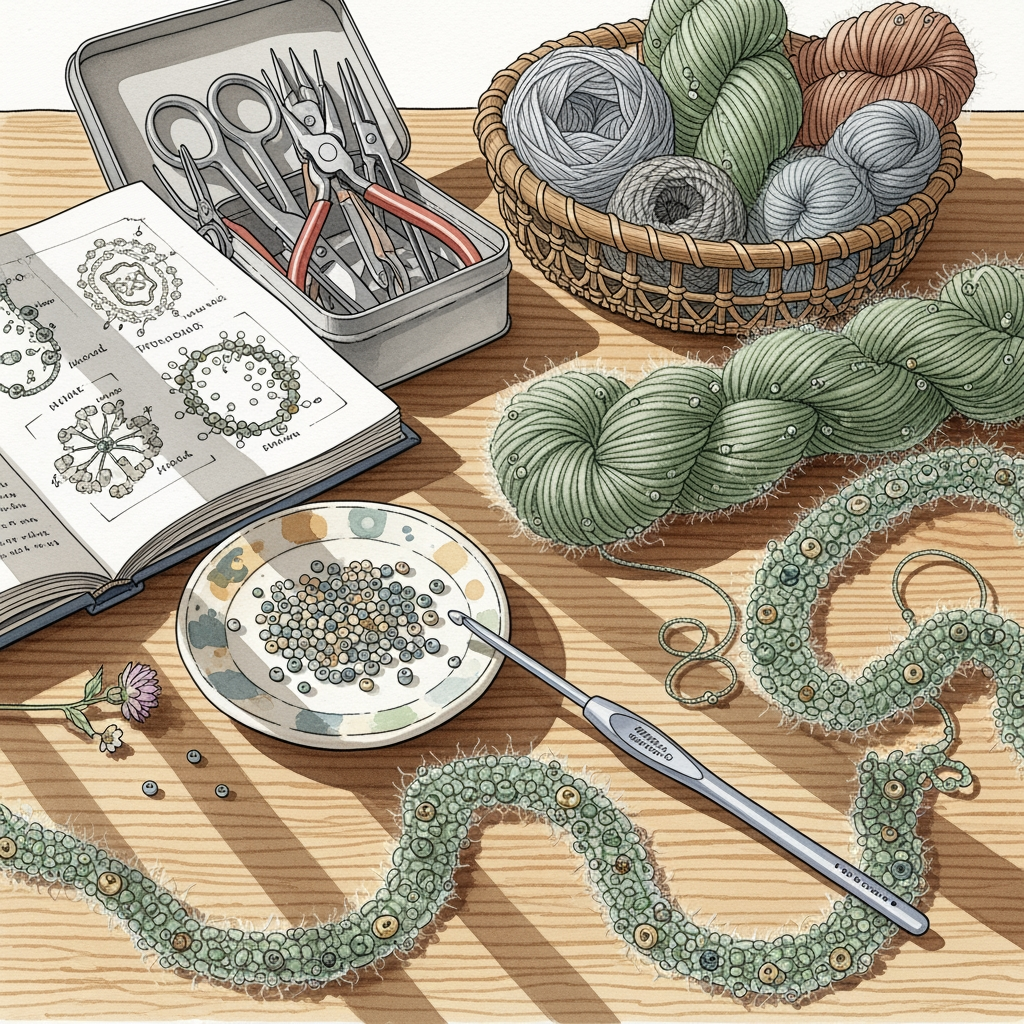
Using a fine crochet hook—typically 0.6mm or 0.75mm—allows the knitter to add beads at any time, even mid-row. This method provides the flexibility to improvise or change the bead count on the fly without having to un-knit the entire row. It is generally the preferred method for beginners who might need to adjust their project scope.
Decide based on the desired density of the beads. If every stitch requires a bead, pre-stringing is faster. If the beads are meant to be sporadic accents, a crochet hook is significantly more practical.
How to Choose the Right Beads for Your Project
The weight and size of the bead are as important as the color. Glass seed beads are the gold standard because they are uniform and available in an array of finishes, from matte to metallic. When selecting beads, look at the hole size to ensure it is large enough to accommodate the yarn gauge; a hole that is too small will fray or break the fiber.
Consider the following factors when browsing bead supplies: * Weight: Heavier beads will stretch the fabric, so use them sparingly in lighter-weight yarns. * Finish: Metallic finishes may wear off over time, whereas glass-lined beads retain their brilliance longer. * Consistency: Always buy more than the calculated amount, as some beads in every package will likely have clogged holes or sharp edges.
If the project involves frequent washing, avoid plastic beads, which can melt or deform. Always test a bead sample with the intended yarn to ensure the combination creates the desired drape and visual impact.
Caring for Your Knits: Washing Beaded Items
Beaded knits require a gentler touch than standard garments. Always hand wash in lukewarm water with a mild wool-safe detergent to protect both the fibers and the beads. Avoid soaking for extended periods, as some seed beads—particularly those with silver linings—can react to water over time.
Lay the item flat to dry on a towel, and never hang it, as the weight of the beads will cause the wet fabric to elongate and distort permanently. For extra security, roll the item in a towel to gently squeeze out excess moisture rather than wringing it out.
Store beaded items flat in a breathable storage bag to prevent them from catching on other garments. With proper care, the combination of yarn and glass remains a durable, stunning testament to a knitter’s skill.
Mastering the art of beading is a journey of finding the balance between fiber and adornment. By starting with smaller, manageable projects, any knitter can confidently add texture and shine to their craft. Remember that the beauty of a handmade item lies in the precision of the technique and the patience of the maker. Embrace the process, and let the beads elevate every stitch into a work of art.

