6 Best Pom Pom Makers For Textured Edges To Try
Discover the 6 best pom pom makers for creating textured edges. This guide evaluates top tools to help you craft professional, high-quality yarn accents easily.
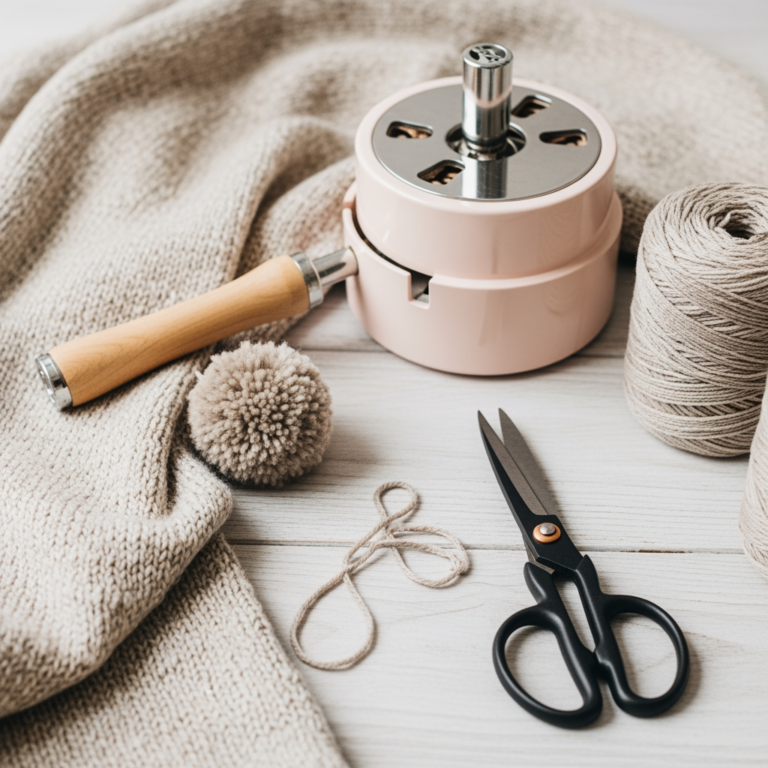
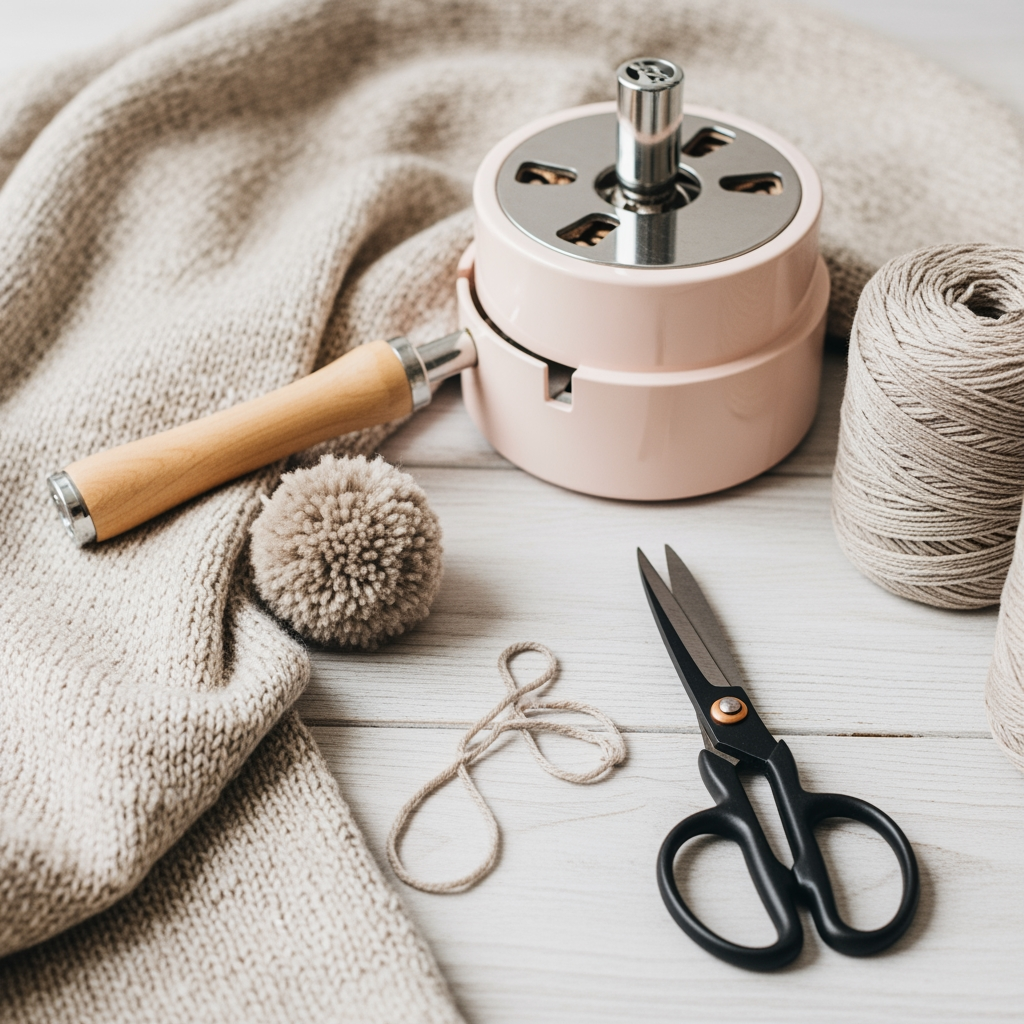
Transforming leftover yarn scraps into perfectly spherical pom poms is one of the most satisfying ways to use up your stash. While cardboard cutouts were the standard for decades, modern tools offer precision that significantly elevates the final look of your hats, scarves, and home decor. Choosing the right maker depends on whether you value speed, durability, or the ability to blend complex colors. Here is how to navigate the current market to find the perfect tool for your crafting kit.
Clover Pom Pom Maker: The Gold Standard Set
Clover makers are ubiquitous in yarn shops for a reason: they are incredibly consistent and user-friendly. The hinged arch design allows you to wrap yarn evenly on both sides without the tool slipping or shifting in your hands.
For anyone who has struggled with the "fiddly" nature of cardboard templates, these are a revelation. The plastic is smooth enough that your yarn doesn’t snag, even when working with delicate mohair or high-twist wools.
The trade-off here is the plastic hinge; if you force the arms open too aggressively or use extremely thick, bulky-weight yarn, the plastic can eventually fatigue. However, for standard worsted or DK weights, these are the most reliable tools for achieving a uniform, dense sphere.
Loome Tool: Versatile All-in-One Crafting


The Loome is less of a dedicated pom pom maker and more of a multi-functional fiber workstation. It’s a small, handheld wooden frame that allows you to weave, make tassels, and create pom poms all with one compact tool.
If you are a knitter who enjoys mixed-media projects or wants to create intricate, multi-colored pom poms, this is your best bet. Because it doesn’t have the restrictive "arms" of a Clover maker, you have more freedom to layer different yarn textures and weights.
The learning curve is steeper, as you have to manage your own tension and binding process. It isn’t as "point-and-shoot" as plastic makers, but it offers a level of creative control that standard tools simply cannot match.
Boye Pom Pom Maker: Best Budget Option
Boye offers a classic, straightforward design that is often the most accessible for beginners on a budget. These tools usually come in sets that provide a variety of sizes, making them a great entry point for someone just starting their stash-busting journey.
They are functional and get the job done, though they lack the refined, snag-free finish of more expensive plastic tools. You might notice the plastic feels a bit more brittle, so be mindful when pulling your yarn tight during the final binding phase.
If you are only planning on making a handful of pom poms for a seasonal project, there is no need to overspend. These tools will provide a perfectly adequate result, provided you take your time with the trimming process.
Nancy’s Knit Knacks: Durable Plastic Discs
These tools harken back to the traditional disc method but are engineered with modern, high-quality materials. They are essentially two sturdy plastic circles that you wrap yarn around, which creates a very dense, compact pom pom.
Because these discs are solid, they are incredibly durable and won’t snap under the pressure of tight wrapping. They are excellent for those who prefer to pack as much yarn as possible onto the tool to ensure a "full" look.
The downside is that they require a bit more manual dexterity to slide the scissors between the discs. If you have arthritis or struggle with fine motor tasks, the hinged-arm style of other makers might be more comfortable for your hands.
Susan Bates Easy-Wrap Pom Pom Maker Tool

The Susan Bates tool utilizes a unique design that makes the wrapping process feel very intuitive. It is particularly effective for those who find the "wrap-and-close" method of other tools confusing.
This tool is fantastic if you are working with slippery fibers like silk or bamboo blends. The design helps anchor the yarn ends securely, preventing the dreaded "unraveling" that can happen before you’ve even tied the center knot.
While it excels at holding the yarn in place, it can be slightly bulkier than other options. It’s a solid, reliable choice for makers who want a tool that feels substantial and secure in the hand.
Prym Pom Pom Maker: Precision for Texture
Prym makers are known for their precision engineering, which shows in the clean, crisp edges of the finished pom pom. If you are aiming for a professional, "store-bought" look, the alignment of these tools is superior.
They are particularly good at handling varied yarn weights in a single project. If you are mixing a thin alpaca with a chunkier wool, the Prym maker keeps the layers aligned so you don’t end up with a lopsided or "balding" pom pom.
The plastic is smooth and high-quality, ensuring that your yarn slides off easily once the center is tied. It is a tool designed for the knitter who treats their pom pom making with the same level of care as their lace knitting.
How to Choose the Right Size Maker for Your Yarn
The size of your maker dictates how much yarn you need and how "full" the final result will be. A common mistake is using a small maker with a super-bulky yarn, which leads to a pom pom that looks more like a messy ball of fuzz than a structured sphere.
- Lace/Fingering Weight: Use smaller makers (under 45mm) to ensure the pom pom doesn’t become too heavy or floppy.
- Worsted/Aran Weight: These are the "sweet spot" for 65mm–85mm makers, providing excellent density.
- Bulky/Super Bulky: Use the largest makers available (90mm+) to accommodate the volume of the yarn.
Always remember that the thicker the yarn, the fewer wraps you need to achieve density. If you wrap bulky yarn as many times as you would lace weight, you won’t be able to close the maker properly.
Mastering Tension for Perfectly Dense Pom Poms
Tension in pom pom making is just as critical as tension in your knitting gauge. If your wrapping is too loose, the pom pom will be airy and fall apart; if it’s too tight, you’ll struggle to tie the center knot securely.
Aim for a consistent, firm wrap that covers the tool evenly without distorting the shape of the maker itself. When you go to tie the center, use a strong, non-stretchy yarn or even a piece of waxed dental floss for the inner knot.

This "inner knot" is the skeleton of your pom pom. If it isn’t tight enough, the individual strands will slip out over time, leaving you with a sad, stringy mess after just a few wears.
Trimming Techniques for a Professional Finish
Trimming is where the real magic happens. Even a perfectly wrapped pom pom will look amateurish if the trimming is uneven or rushed.
Start by cutting the loops with sharp, dedicated fabric scissors. Once the pom pom is free, don’t just hack away at it; hold it in the palm of your hand and rotate it slowly, trimming small amounts at a time.
Think of it like shaping a hedge. Go slow, keep your scissors parallel to the surface, and periodically "fluff" the pom pom to reveal hidden long strands that need to be caught.
Troubleshooting Common Pom Pom Maker Pitfalls
The most common issue is the "center slip," where the pom pom falls off the tool before you’ve secured the knot. This usually happens because the yarn wasn’t wrapped tightly enough or the center tie wasn’t pulled with enough force.
If your pom pom looks lopsided, it’s usually because you wrapped more yarn on one side of the tool than the other. Always count your wraps or use a visual marker to ensure both sides are balanced.
Finally, if you find your pom poms are shedding, you likely didn’t tie the center knot tight enough. Don’t be afraid to use a double or triple knot with a sturdy, non-elastic yarn to lock everything in place for the long haul.
Creating the perfect pom pom is an art form that rewards patience and the right equipment. Whether you choose a high-precision tool like the Prym or a versatile frame like the Loome, the key is to prioritize tension and careful trimming. Don’t be afraid to experiment with different yarn textures to see how they impact the final density and drape. With these tools in your kit, your finished projects will finally have that polished, professional flourish they deserve.