6 Best knitting needles gauges for metric conversions
Mastering needle sizes is key. This guide breaks down the 6 essential metric conversions to ensure your knitting projects always meet the correct gauge.
Every knitter has experienced the frustration of picking up a stray needle only to find the size markings worn away by years of friction. Navigating the world of needle sizing is rarely as simple as reading a label, as international standards often conflict and create confusion. Mastering these conversions is the difference between a sweater that fits perfectly and one that ends up two sizes too small. This guide will help you decode the numbers so you can focus on the rhythm of your stitches rather than the math behind them.
Understanding Knitting Needle Gauge Systems
Knitting needle sizing is a historical mess, rooted in the era of industrial manufacturing before standardization existed. Most sizing systems were originally based on the diameter of the wire used to create the needles, which varied wildly between manufacturers and regions.
Today, we deal with three primary systems: the US numeric system, the UK/Canadian imperial system, and the global Metric system. While the Metric system is the most logical—measuring the diameter directly in millimeters—the others remain entrenched in our patterns and toolkits.
Understanding that these numbers are arbitrary labels rather than universal constants is vital. A "size 8" in the US is not the same as a "size 8" in the UK, and relying on these labels without checking the millimeter equivalent is a recipe for gauge disaster.
Metric vs. US vs. UK Needle Sizing Standards
The Metric system is the gold standard for accuracy because it relies on physical measurement rather than a manufacturer’s historical code. When a pattern calls for a 4.0mm needle, you know exactly what size the shaft is, regardless of where the needle was produced.
US sizing, however, uses an ascending number system where higher numbers indicate larger needles, but the jumps between sizes are inconsistent. For instance, the difference between a US 1 and a US 2 is significantly smaller than the jump between a US 10 and a US 11.
The UK system operates in reverse, where higher numbers actually indicate smaller needles, which is notoriously confusing for new knitters. Always look for the millimeter (mm) measurement in your pattern to bypass these regional discrepancies entirely.
The Importance of Precision in Needle Sizing
Your needle size dictates the size of your stitches, which in turn determines the drape and fit of your finished garment. Even a 0.25mm difference in needle size can result in a significant deviation in your final gauge, potentially ruining the fit of a fitted sweater.
If you are knitting a sock with a delicate wool-nylon blend, using a needle that is even slightly too large can lead to a loose, saggy fabric that wears out prematurely. Conversely, a needle that is too small can make your fabric stiff, dense, and uncomfortable to wear.
Precision is not just about following the pattern; it is about controlling the fabric’s integrity. When you match your needle size to your yarn weight and personal tension, you ensure that your project will stand the test of time.
Converting US Sizes to Millimeters for Patterns
When you encounter a pattern written in US sizes, keep a conversion chart handy or memorize the most common sizes you use. A US 2 is 2.75mm, a US 6 is 4.0mm, and a US 8 is 5.0mm.
These conversions are essential when you are substituting yarn or using different needles than those specified in the pattern. If your chosen yarn is slightly thicker than the one suggested, you might need to adjust your needle size to maintain the intended gauge.
Always prioritize the millimeter measurement over the US or UK number. If your pattern specifies a 3.75mm needle, don’t assume a "size 5" will suffice, as some manufacturers label their 3.5mm needles as size 5.
Navigating UK and Canadian Needle Size Systems
UK and Canadian sizing systems are based on the Standard Wire Gauge (SWG), which can be deeply counterintuitive. In this system, the needle size is determined by the gauge of the metal wire; as the wire gets thicker, the gauge number decreases.
This means that a UK 10 is actually larger than a UK 12, which is the exact opposite of the US system. Many vintage patterns still use these labels, so it is crucial to keep a conversion chart that maps these specific imperial numbers to their metric equivalents.
If you are working from a heritage pattern, never guess. Use a reliable gauge tool to verify the diameter of the needles you have on hand before you cast on your first row.
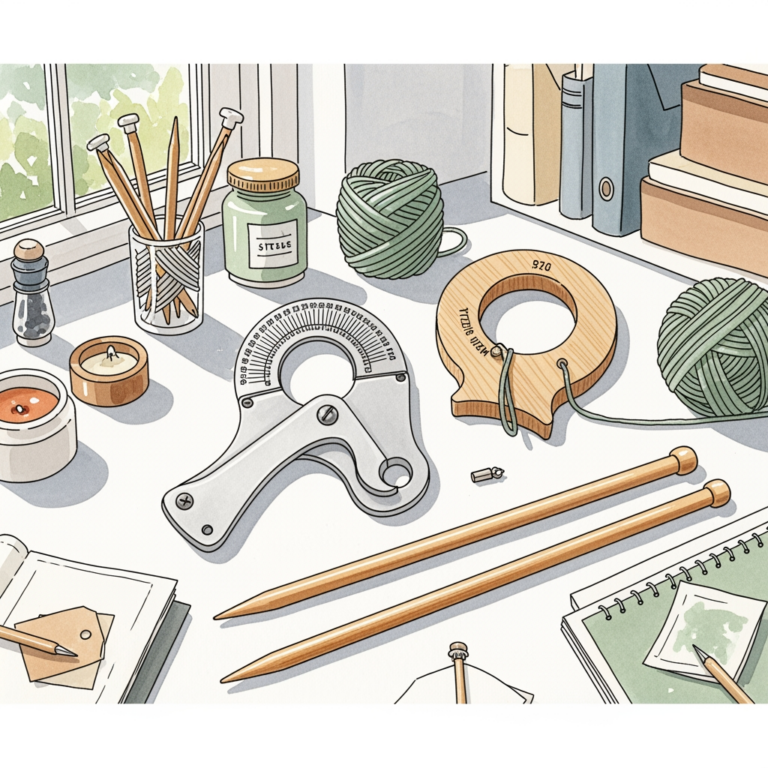
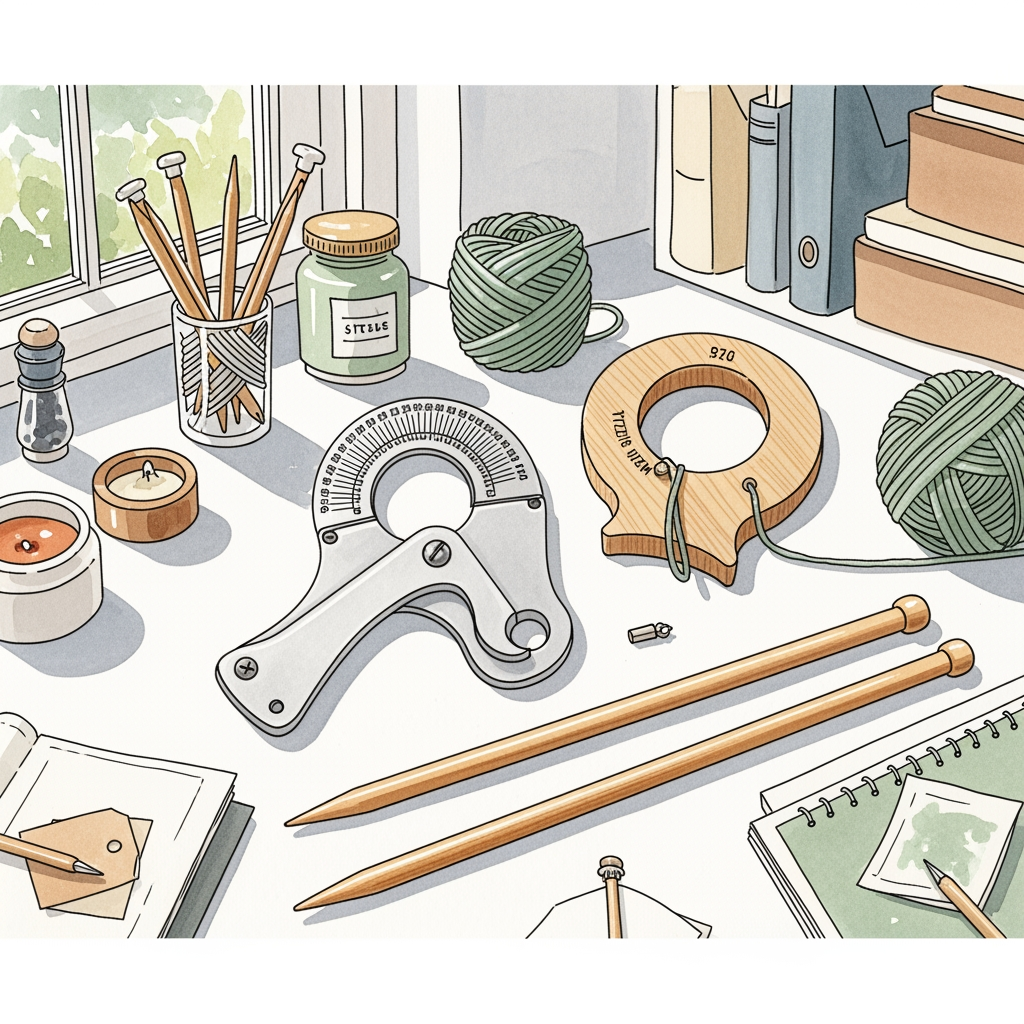
Why Needle Gauge Tools Are Essential for Knitters
A needle gauge tool is the most humble yet indispensable item in your knitting bag. These simple plastic or metal cards feature calibrated holes that allow you to slide a needle through to determine its exact metric diameter.
They are particularly useful for identifying needles that have lost their size markings through years of use. Because the holes are cut to precise millimeter standards, they act as the final authority when you are unsure about an unmarked needle.
Invest in a durable, high-quality gauge tool that includes both metric and US sizing. A sturdy metal gauge is often more accurate than a cheap plastic one, which can warp or crack over time and provide false readings.
How to Measure Worn Needles Without Markings
If you have a collection of heirloom needles with faded labels, don’t discard them; just measure them. Simply slide your needle into the holes on your gauge tool until it fits snugly without forcing it.
If the needle feels loose in one hole but won’t fit into the next smallest, you have found your size. Be careful not to force the needle, as this can damage both the needle and the gauge tool, leading to inaccurate readings in the future.
For needles that fall between standard sizes, use a digital caliper if you have one. This is the most accurate way to measure, especially for older needles that may have been manufactured to non-standard diameters.

Tips for Accurate Needle Gauge Measurements
Always measure your needle in a well-lit area to ensure you are seeing the fit clearly. When using a gauge card, ensure the needle is held perpendicular to the card to prevent tilting, which can give you a false sense of the size.
If you are measuring wooden or bamboo needles, be aware that they can wear down over time. A needle that was once a 4.0mm might have become slightly thinner through years of use, which will affect your gauge significantly.

Check your needles periodically, especially before starting a large project. It is much easier to replace a worn needle before you have spent hours knitting a garment that won’t fit.
Common Pitfalls in Needle Size Conversions
The most common mistake is assuming that all brands of needles are created equal. Even within the same brand, different materials like nickel-plated brass versus bamboo can have subtle differences in how they feel and interact with your yarn.
Another pitfall is ignoring the "swatch" step. Even if you have the correct needle size, your personal tension—how tightly you wrap the yarn—will change your gauge. Always knit a swatch to see how your chosen needle and yarn combination performs.
Don’t rely solely on the label on the needle. Always verify the size with your gauge tool, especially if you are mixing and matching needles from different sets or brands.
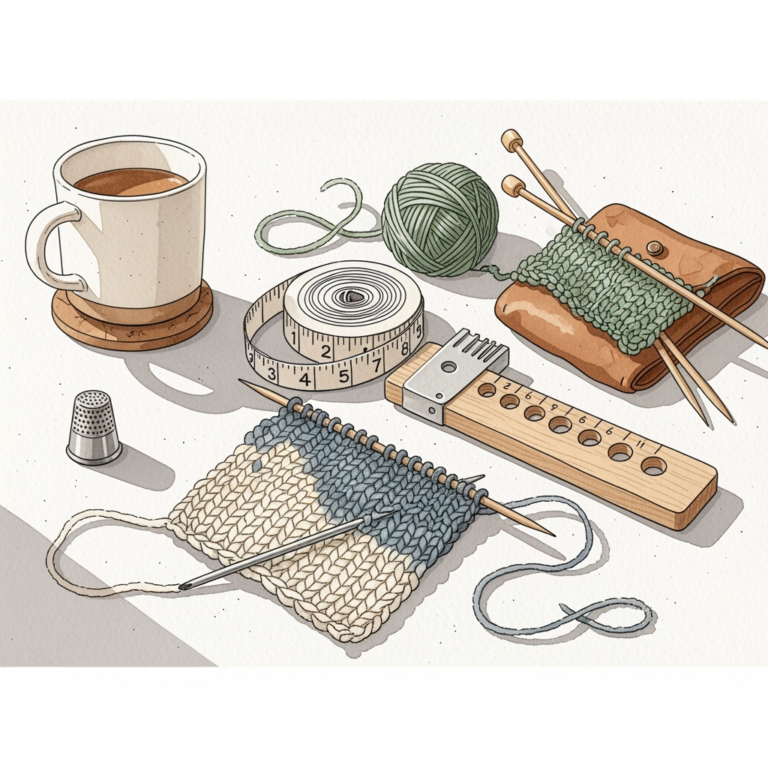
Keeping Your Knitting Notions Kit Organized
An organized notions kit saves you time and prevents the frustration of searching for the right size. Keep your gauge tool in a dedicated pocket in your knitting bag so it is always within reach when you need it.
Consider storing your needles in a case that labels them by both US and metric sizes. This makes it much easier to grab the right tool for your project without having to re-measure every time you switch needles.
Labeling your needle storage containers with both systems is a small investment of time that pays off every time you sit down to knit. When your tools are organized, you can spend your energy on the creative process rather than the logistics of sizing.
Knitting is a craft of precision, and your needles are the primary instruments of that accuracy. By understanding the relationship between metric, US, and UK sizing, you remove the guesswork that often leads to ill-fitting garments. Use your gauge tool religiously, measure your needles before every project, and always trust the metric measurement over an ambiguous label. With these habits, you will approach every new pattern with the confidence of a master knitter.