6 Best Light Boxes For Tracing Button Patterns
Find the best light boxes for tracing button patterns. Our guide reviews 6 top-rated models, focusing on brightness, portability, and surface durability.
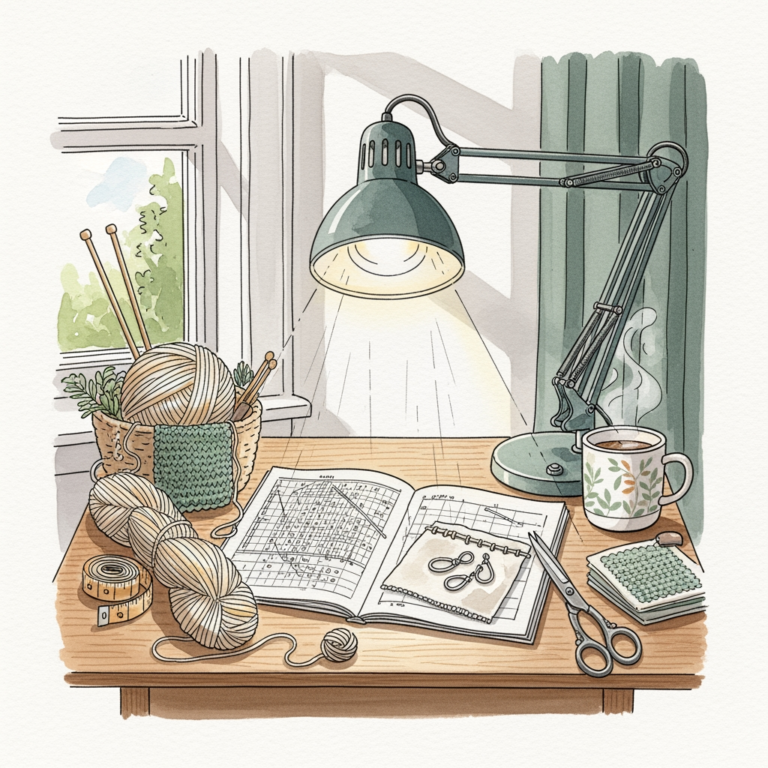
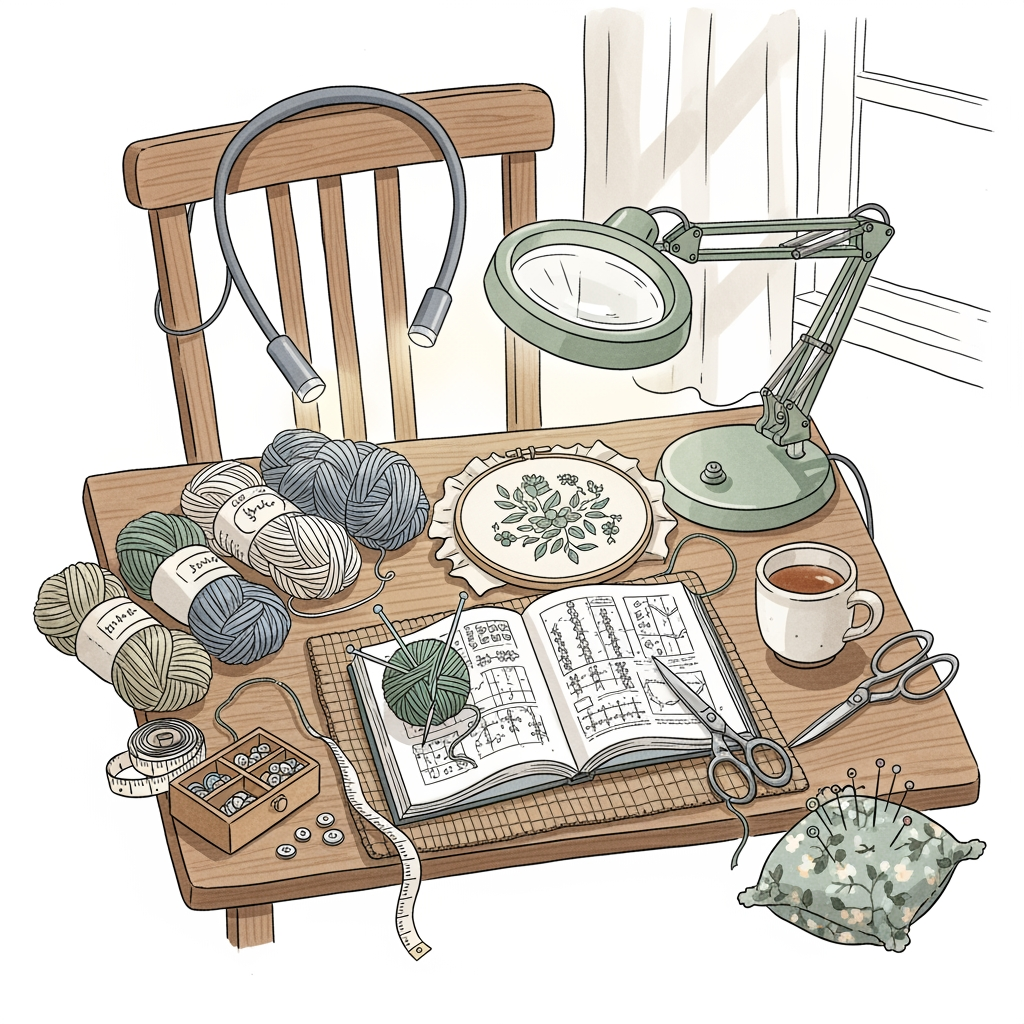
Precision in pattern drafting is just as vital as maintaining consistent tension across a complex cable project. When you are transferring intricate button placements or custom garment schematics, a reliable light source acts as your best assistant. These tools eliminate the guesswork of eyeballing alignment, ensuring your finished pieces look professional and symmetrical. Choosing the right light box can turn a tedious marking task into a seamless part of your design process.
Huion L4S Light Pad: Best Overall for Pattern Work
The Huion L4S stands out because it balances a sleek, professional build with a truly consistent light output. If you are drafting patterns for heavy-duty cardigans, you need a surface that won’t flicker while you meticulously mark buttonholes.
Its touch-sensitive brightness control is a game-changer when you’re working with varying paper thicknesses. Whether you are tracing onto thin tissue paper or sturdy cardstock, the light intensity remains steady across the entire surface.
The bottom line: It’s a reliable workhorse that won’t let you down during a long design session. It offers the professional-grade stability needed for complex pattern adjustments.
LitEnergy A4 Light Box: Best Value for Designers

If you are just starting to experiment with drafting your own button placements, the LitEnergy A4 is an approachable entry point. It provides enough illumination to see through standard pattern paper without breaking your budget.
For a knitter who is mostly concerned with occasional modifications to existing sweater patterns, this unit is perfectly adequate. It is lightweight and easy to tuck away in a project bag alongside your circular needles and stitch markers.
Tradeoffs exist, however, as the build is purely plastic and lacks the heavy-duty durability of higher-end models. It is a fantastic tool for the hobbyist who needs functionality without the premium price tag.
Artdot A4 LED Light Pad: Best for Pattern Tracing

The Artdot A4 is designed with a focus on high-contrast visibility, which is essential when you are working with small, detailed button markings. The LED distribution is remarkably even, preventing those annoying hot spots that can obscure your lines.
When you are scaling a design for different sizes, you need to see your reference lines clearly through multiple layers. This pad excels at cutting through the glare, making it easier to align your pattern pieces accurately.
It is a solid, no-nonsense tool that prioritizes clarity above all else. If you value precision in your pattern grading, this pad provides the visual feedback you need to avoid costly cutting mistakes.
Gamenote Ultra-Thin Light Box: Best Portable Pick
Portability is key for knitters who take their work to guild meetings or retreats. The Gamenote is incredibly thin and lightweight, making it easy to slide into a laptop sleeve or a large tote bag.
Despite its slim profile, it doesn’t sacrifice brightness, which is often a point of failure in portable electronics. You can power it via USB, meaning you can plug it into a portable battery pack while sitting on the couch.
It is the perfect companion for the mobile designer. Just be mindful that its light weight means it can slide around on smooth surfaces, so consider using a small non-slip mat underneath.
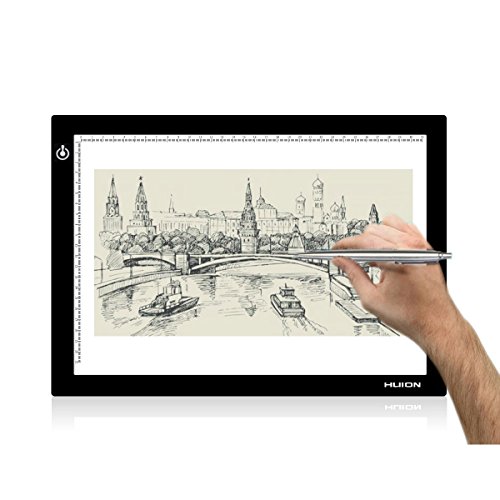
Tiktecklab A4 LED Light Box: Best for Small Spaces

If your craft corner is already crowded with yarn stashes and project bins, the Tiktecklab A4 is an ideal space-saver. Its compact footprint ensures you don’t have to clear off your entire desk just to mark a few buttonholes.
It operates quietly and stays cool to the touch, which is important when you are working in a cramped area. You won’t have to worry about the heat affecting your delicate drafting paper or nearby skeins of fiber.
This is a functional, space-conscious choice for the knitter who values organization. It keeps your workspace tidy while providing the necessary utility for pattern adjustments.
Yesker A3 Light Pad: Best for Large Scale Layouts

Sometimes a standard A4 size just isn’t enough when you are mapping out a full-length coat or a complex sweater schematic. The Yesker A3 offers a expansive surface that allows you to view larger sections of your pattern at once.
Working on a larger surface prevents the need to constantly shift your paper, which can lead to alignment errors. It is a significant investment in your workflow, particularly if you are drafting patterns from scratch.
While it takes up more room, the added real estate is worth it for serious garment designers. It is the best choice for those who need to see the "big picture" of their design without interruption.
Key Features to Consider for Pattern Tracing Tools
When shopping for a light box, prioritize dimmable LEDs so you can adjust the light based on the ambient brightness of your room. A flickering light is a recipe for eye strain, which is the last thing you want after a long day of knitting.

Consider the power source as well. USB-powered devices offer the most flexibility, allowing you to use them with wall adapters, laptops, or portable power banks.
- Surface Material: Look for acrylic or tempered glass for durability.
- Brightness Levels: Variable settings are essential for different paper weights.
- Portability: Thin, lightweight designs are better for travel.
- Power Compatibility: USB connectivity is standard and highly convenient.
How Brightness Levels Affect Your Tracing Accuracy
Brightness isn’t just about visibility; it’s about reducing the fatigue that leads to errors. If the light is too dim, you will find yourself squinting, which can cause you to misplace a buttonhole by a few millimeters.
Conversely, if the light is too bright, it can wash out faint pencil lines on your tracing paper. The ideal setup allows you to dial in the intensity until your markings pop against the background.
Always test your light box with the specific paper and marking tools you intend to use. Adjusting the brightness to match your materials is a skill that improves your overall drafting accuracy.
Why Surface Size Matters for Drafting Tailoring
In knitting, we talk about gauge swatches to ensure a garment fits; in drafting, we talk about surface area to ensure the pattern is accurate. A surface that is too small forces you to move your pattern frequently, increasing the risk of shifting.
For simple button placement, an A4 size is usually sufficient. However, if you are drafting necklines or armscyes, the extra room provided by an A3 size is invaluable for maintaining consistent curves.
Think of it like choosing the right needle length for a project. Just as you wouldn’t use 60cm circulars for a tiny sock, you shouldn’t struggle with a small light box for a large pattern.
Essential Tips for Transferring Button Patterns
Before you start tracing, secure your base pattern and your tracing paper with low-tack painter’s tape. This prevents any accidental movement that could ruin your alignment.
Use a sharp, hard-lead pencil for tracing to ensure your lines are crisp and thin. Thick, soft leads can smudge and lead to inaccurate button placement, which will be painfully obvious once the sweater is blocked and finished.
- Check alignment: Always double-check your center-front line before marking holes.
- Use a ruler: Even with a light box, use a straight edge for consistent button spacing.
- Measure twice: Verify your buttonhole size against your chosen buttons before finalizing the marks.
Investing in a quality light box is a practical step toward elevating your garment design from "homemade" to "hand-crafted professional." By choosing a tool that fits your specific workflow and space, you remove the barriers between your vision and the finished piece. Remember that precision in the drafting phase saves you hours of frustration during the assembly process. May your button placements always be perfectly aligned and your stitches remain ever consistent.