6 Template Rulers For Geometric Shapes To Help You Draft
Streamline your technical drawing process with these 6 template rulers for geometric shapes. Explore our top picks and improve your drafting precision today.
Drafting your own knitting patterns or designing custom garment charts often requires more than just a sketchpad and a pencil. Precise geometry is the secret to a professional-looking finished piece, ensuring that necklines curve correctly and motifs align perfectly within your stitch counts. Acrylic rulers serve as the architectural backbone of your design process, turning abstract measurements into actionable grids. Choosing the right tool requires an understanding of how these templates translate to the specific demands of yarn, fabric, and gauge.
Omnigrid 6″ x 24″ Ruler: The Essential Basic
The long, rectangular profile of this ruler is the standard for a reason. Its primary strength lies in its length, which allows for drawing long, continuous lines for garment side seams or scarf borders without needing to reposition the tool.
When drafting custom schematics, having a straight edge that spans the entire width of a sweater panel prevents those subtle, jagged errors that occur when shifting a shorter ruler. The clear acrylic provides high visibility, which is essential when aligning your drawings with the printed graph paper used for stitch mapping.
While its size is a benefit for large-scale drafts, it can feel cumbersome for delicate, small-scale work like sock gussets or mittens. Rely on this tool when laying out the foundation of a project, but keep a smaller option nearby for the finer details.
Creative Grids 60-Degree Ruler: For Hexagons

Specialty rulers like the 60-degree template are game-changers for knitters exploring modular knitting or intricate geometric colorwork. This tool eliminates the tedious manual math required to calculate precise angles for equilateral shapes.
If the goal is to design a quilt-inspired blanket made of knitted hexagons, this ruler ensures every piece maintains the exact same dimensions. Consistency is the primary challenge in modular knitting; even a two-degree deviation in an angle can make blocks impossible to graft together neatly.
Do not be intimidated by the specialized design of this tool. While it is marketed for quilting, it acts as a perfect template for creating precise geometric charts that map perfectly to a stitch-by-stitch grid.
June Tailor Shape Cut Pro: For Fast, Repeat Cuts
The Shape Cut Pro is designed for efficiency, featuring dedicated slots for a rotary cutter to slide through at precise intervals. For the designer who plans to create multiple prototypes or needs to cut several swatches of stabilizer for embroidery, this tool saves immense time.
The mechanical nature of the ruler ensures that every cut is identical, removing the potential for human error during the layout phase. This is particularly useful when creating consistent geometric templates that will be traced repeatedly.
Because this tool relies on a specific groove system, it is less versatile for free-form sketching. Reserve this ruler for production-heavy phases where speed and exact repetition are the highest priorities.
Dritz See-Thru Ruler: Best for Pattern Tracing
The Dritz See-Thru model is a classic workhorse for those who spend hours tracing existing patterns or refining their own hand-drafted lines. The transparency is crisp, allowing for absolute clarity when layering the ruler over complex, multi-colored graph paper.
Its grid markings are subtle, which prevents visual clutter when working on dense, detailed charts. This clarity is a major advantage when you are trying to calculate stitch-to-row ratios and need to see exactly where your lines intersect.
Because the plastic is thinner than heavy-duty quilting rulers, handle it with care to avoid cracking the edges. If your drafting process involves heavy pressure with a mechanical pencil or fabric marker, consider the rigidity of the plastic before committing to this model.
Fiskars Acrylic Quilter’s Ruler: Top Durability

Durability is the standout feature of this ruler, as it is constructed from high-grade acrylic that resists warping and edge-chipping over time. If your studio space is crowded or you find yourself moving tools frequently, this ruler will withstand the wear and tear of a busy design desk.
The markings on this ruler are highly contrasting, making them easy to read even under dim lighting or after many hours of design work. This legibility reduces eye strain, which is a significant factor when you are deep into the late-night process of mapping out a complicated cable or lace repeat.
While it is thicker than some budget alternatives, this extra weight helps hold the paper steady against your desk surface. It provides a reliable, heavy anchor that won’t slide around while you are drawing intricate chart boundaries.
Arteza Quilting Ruler Set: Best Value for Beginners
Investing in a set of three different sizes allows for modular flexibility without breaking the budget. This is the most practical choice for a knitter who is just starting to draft their own charts and is not yet sure which lengths and widths will become their personal preferences.
A set provides the variety needed to handle everything from tiny glove thumb gussets to full-length sweater fronts. Having options ensures that you don’t struggle to make a large ruler work for a small, detailed area of your design.
Remember that while sets offer great utility, they may lack the individual polish and edge-reinforcement of specialized, single-purchase rulers. Treat these as your daily drivers, and upgrade to single, purpose-built tools only as your specific drafting needs become clear.
How to Choose the Right Ruler for Your Project
Selecting the right ruler depends entirely on the scale of your design. For large garment schematics, look for length; for intricate charts or small accessory shaping, look for detailed, fine-increment markings.
Consider the material’s thickness, as a thicker ruler is often easier to hold and provides a better guide for a cutting blade or a permanent marker. Always prioritize clear, high-contrast grid lines that don’t obscure the paper underneath.
Avoid the trap of buying the largest, most expensive ruler available if your primary work involves small, detailed items. The perfect ruler is the one that stays out of your way while providing the guidance you need for a specific, measured result.
Understanding Your Ruler’s Lines and Markings
Most rulers utilize a dual-color marking system to differentiate between half-inch and quarter-inch increments. Learning to interpret these at a glance is essential for translating real-world measurements into stitch counts.
Pay attention to the corner markings, which are often oriented to help you square off corners precisely. A well-designed ruler will feature these markings clearly, allowing you to align the edge of your paper perfectly with your drawing.
If you find yourself frequently confused by a ruler’s markings, the tool is a poor fit for your workflow. Choose a ruler with a layout that mimics the way you think about your pattern drafting—whether that is by the inch or by the centimeter.
How to Care For and Store Your Acrylic Rulers
Acrylic is prone to scratching and can become brittle if exposed to extreme temperatures or direct sunlight for extended periods. Keep your rulers flat in a dedicated drawer or hang them on a pegboard to prevent the edges from warping or chipping.
Clean your rulers with a soft, lint-free cloth and mild soapy water if they become dusty or covered in pencil lead residue. Never use harsh chemical cleaners, as they can cloud the acrylic and make it difficult to see your lines during the drafting process.
Treating your tools with respect ensures they remain accurate for years. Even a tiny, unnoticeable chip on the edge of a ruler can lead to skewed lines that will cause a garment’s seams to twist or a geometric pattern to become misaligned.
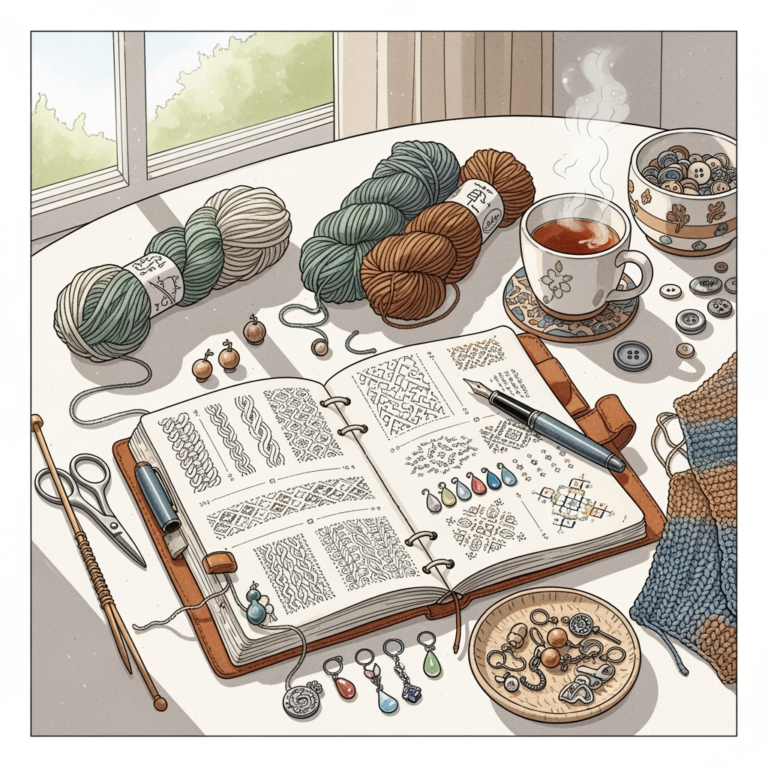
Using Rulers to Draft Your Own Knitwear Charts
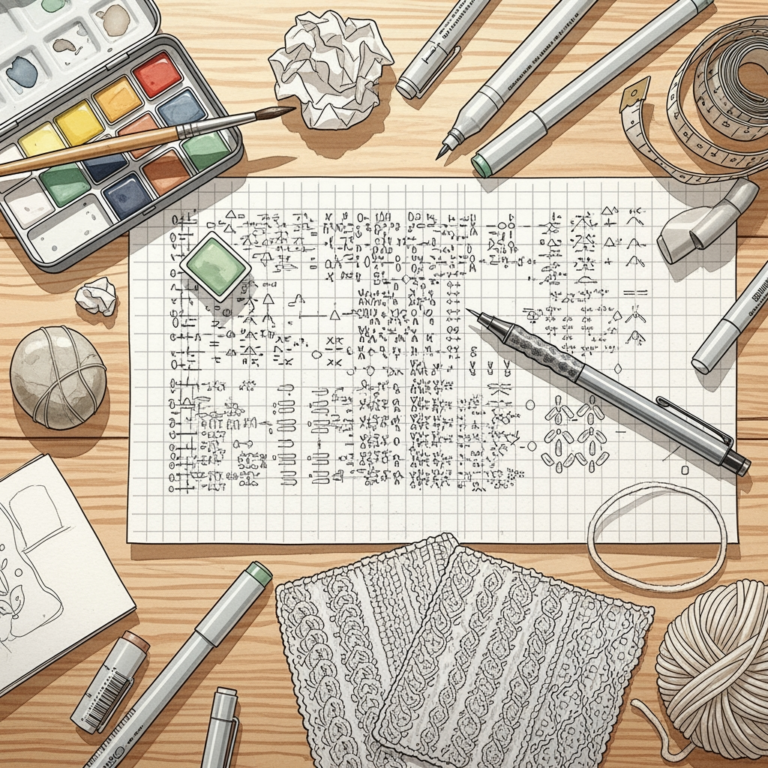
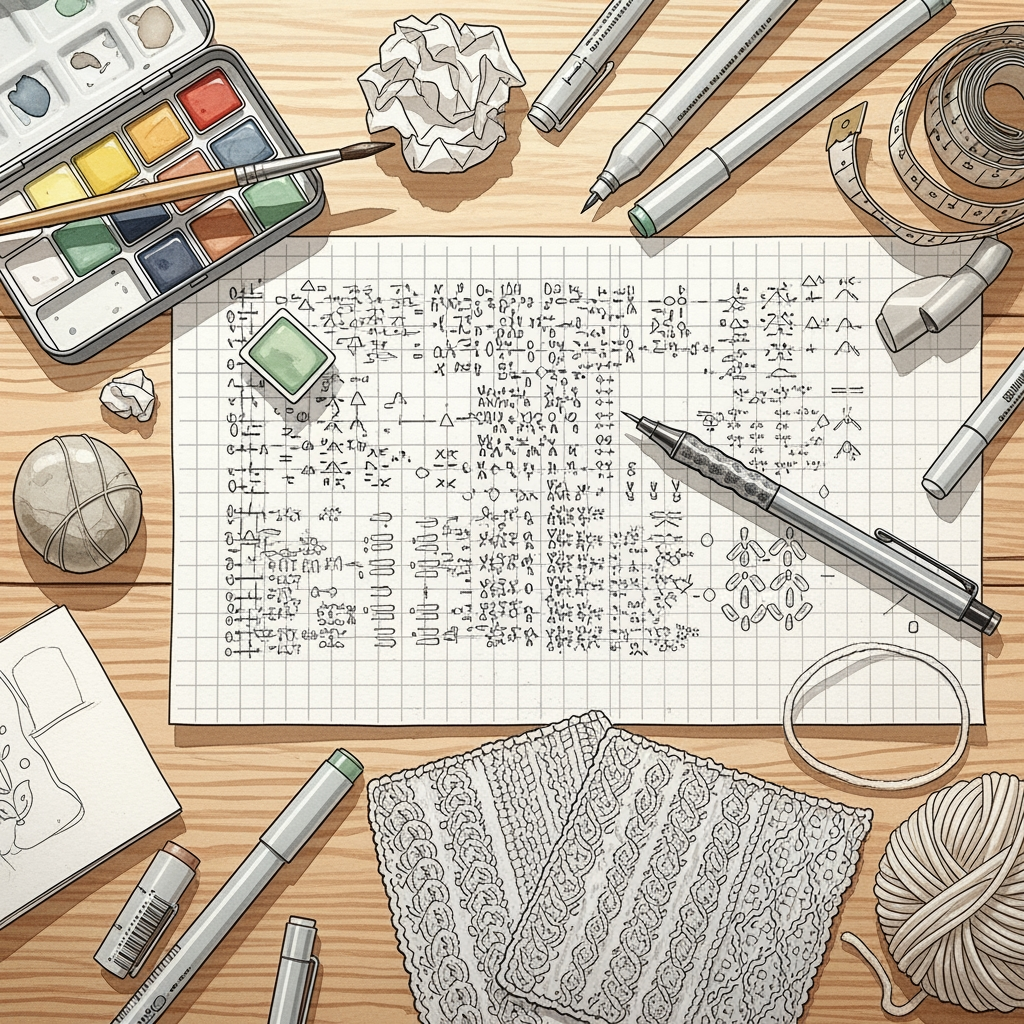
Drafting your own charts is the final step in moving from a maker to a designer. Use your rulers to map out your stitch gauge on graph paper, ensuring that the number of squares representing your width and height corresponds to your measured tension.
Start by drawing your desired silhouette with your ruler, then overlay a grid that matches your stitch gauge. Use the ruler to ensure all diagonal lines for armholes or V-necks are consistent and mathematically sound before you cast on a single stitch.
A ruler is more than just a straight edge; it is the tool that validates your creative ideas. With clear geometry on paper, you can confidently navigate complex shaping and colorwork knowing the foundation of your project is precise and accurate.
Mastering the use of acrylic rulers is a bridge between the creative instinct to design and the technical requirement to execute. By selecting tools that match your specific drafting habits and maintaining them with care, you provide yourself with the precision necessary to turn a complex vision into a perfectly fitting, well-constructed garment.