6 Best Dry Erase Sheets For Temporary Notes To Use
Looking for the best dry erase sheets for temporary notes? Discover our top 6 picks to organize your workspace efficiently. Shop our expert recommendations today.
Tracking complicated lace repeats or tracking row counts in a stranded colorwork yoke requires more than a simple paper tally. Dry erase surfaces transform any flat area into a dynamic, erasable workspace that keeps charts accessible without the clutter of scrap paper. Finding the right surface depends on how often the project moves and how much space the chart requires. These tools bridge the gap between digital convenience and the tactile satisfaction of a paper pattern.
Post-it Dry Erase Surface: Best Overall Pick


The Post-it Dry Erase Surface stands out for its versatility and ease of installation on existing hard surfaces. Its adhesive backing sticks securely to table corners, desks, or even the inside lid of a project box, allowing for a dedicated charting space that doesn’t occupy permanent room.
When managing a large-scale project like a complicated cabled sweater, this surface acts as a secondary brain. Use it to record current gauge, specific needle sizes used for different sections, or sudden modifications made to accommodate fiber characteristics. Because the film is flexible, it can be trimmed to fit irregular spaces.
The trade-off involves the adhesive; while reliable, it is intended for semi-permanent placement. If the knitting desk rotates frequently, consider applying the sheet to a rigid backing board rather than directly onto furniture. For a robust, low-profile note center, this is the gold standard.
Think Board Clear Film: Best for Pattern Charts
Think Board Clear Film is essentially a transparent, adhesive whiteboard that transforms any surface into a reusable chart holder. By applying this over a printed paper chart, the knitter can mark progress directly onto the clear film without damaging the original pattern.
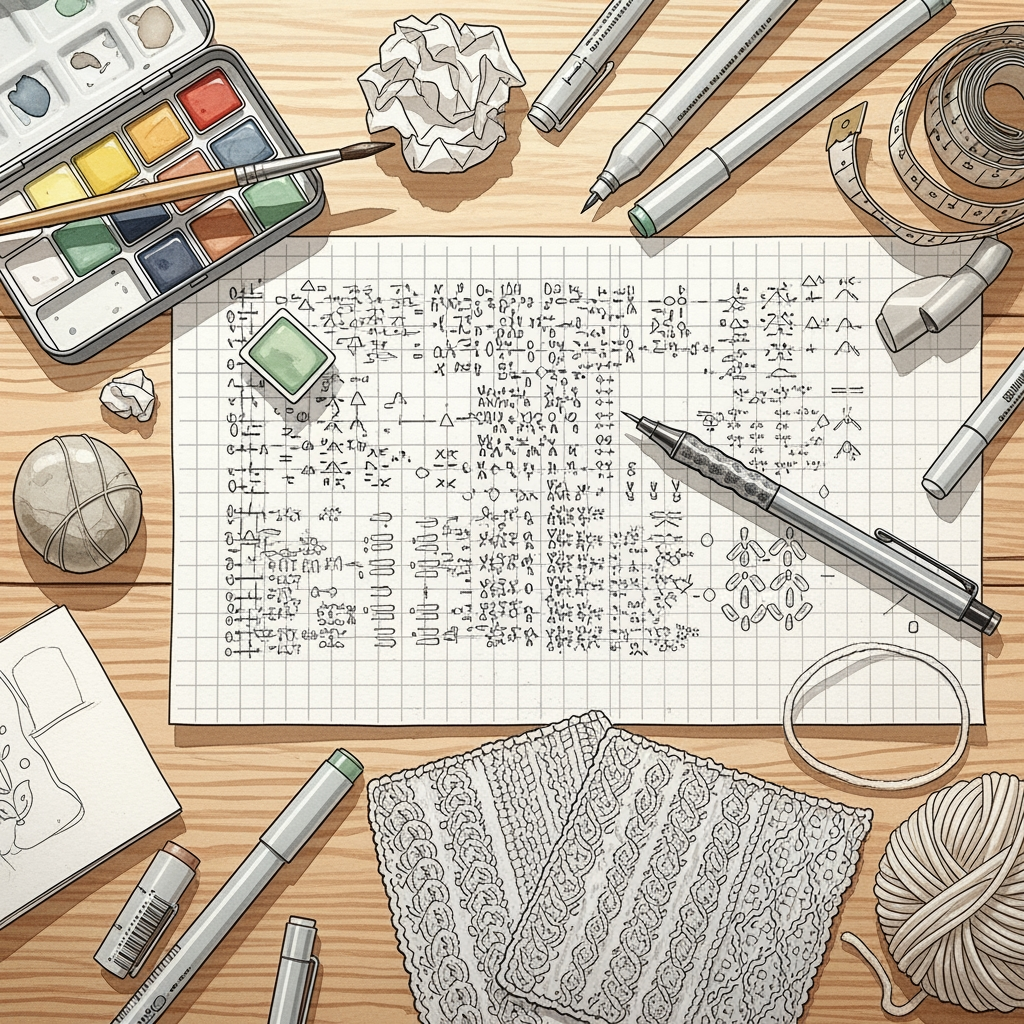
This is invaluable for intricate lace or colorwork where seeing the symbols clearly is paramount. It resists the common “ghosting” seen in cheaper films, ensuring that black-and-white charts remain crisp even after dozens of erasures. It turns a fragile paper pattern into a durable, wipeable work document.
The application requires a steady hand to avoid air bubbles, which can distort the view of the pattern underneath. Once installed, it is essentially invisible. It serves as an excellent barrier against stray fiber bits or accidental yarn oil transfer.
Scribbledo Magnetic Sheets: Best for Metal Boards
Scribbledo Magnetic Sheets function best when paired with an existing magnetic knitting board. These sheets offer the stability of a magnetic backing, which is essential if the project area is prone to being bumped or moved.
If the pattern requires frequent adjustments to stitch counts or reminders about specific increases, these sheets stay exactly where placed. They do not slide around like adhesive-free films, providing a solid surface for writing notes mid-row. This is a significant advantage when knitting complex garments that require multiple modifications.
Remember that these are slightly heavier than standard dry erase stickers. They are best suited for stationary setups rather than mobile project bags. For those who keep their charts on a magnetic easel, these provide the most secure writing experience.
Avery Removable Dry Erase Sheets: Best for Value
Avery Removable Dry Erase Sheets offer a cost-effective way to trial different note-taking locations around a knitting station. Because they use a lighter adhesive than other options, they can be peeled up and moved without leaving a sticky residue on finished wood or laminated surfaces.
These sheets are ideal for the knitter who likes to change their setup based on the project. If working on socks, a small strip can be placed near the yarn bowl; for a large blanket, a larger sheet can be mounted near the chair. The flexibility in sizing makes them incredibly adaptable to varying workspace needs.
While they are highly affordable, they are thinner than premium boards and may eventually show signs of wear. Treat them as a disposable, long-term resource that can be swapped out once the surface begins to lose its smoothness. They provide a practical, low-stakes entry point for better project organization.
Ubrands Frameless Tiles: Best Modular System
Ubrands Frameless Tiles provide a rigid, professional-grade surface that attaches to walls or boards via adhesive strips. Their modular design allows the knitter to create a grid of tiles, effectively building a “command center” for multiple active projects.
These are particularly useful for those managing several WIPs (works-in-progress) simultaneously. One tile can track row counts, while another holds notes about yarn lot numbers and dye batches. The rigid surface allows for firm pressure, which is helpful if handwriting becomes cramped or rushed during a marathon knitting session.
Because they are rigid, they cannot be wrapped around circular surfaces or small notebooks. They require a clear, flat wall space within arm’s reach of the knitting chair. If space is at a premium, a single tile can still hold a significant amount of critical data.
Wipe-it Note Card Set: Best for Your Project Bag
Wipe-it Note Cards are the portable solution for the mobile knitter. These small, credit-card-sized dry erase surfaces fit easily into notions pouches, making them perfect for knitting on the go, whether at a coffee shop or a fiber guild meeting.
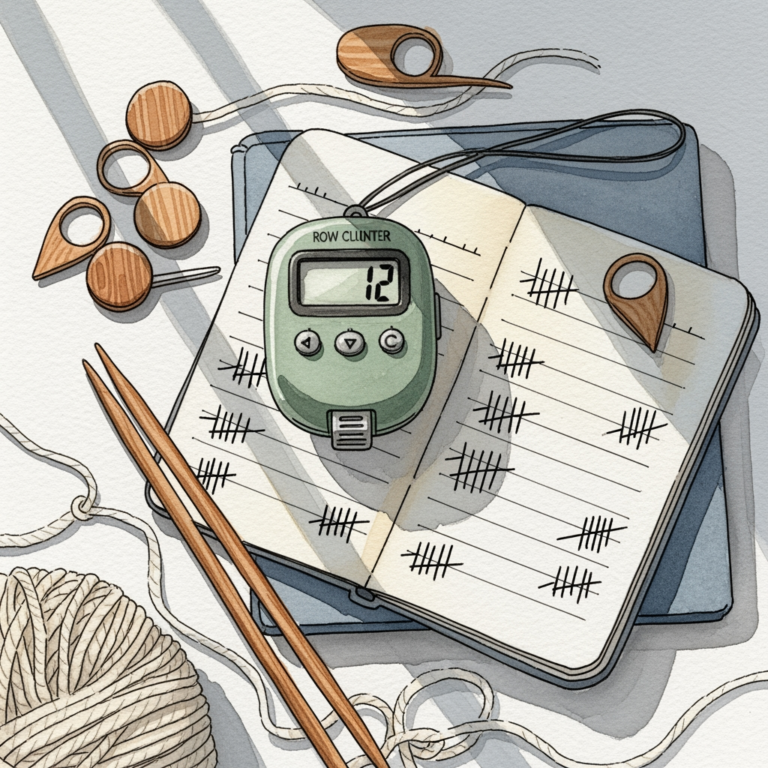
Use them to jot down the row count before packing a project away, or to write down a quick calculation for an improvised bind-off. Their size makes them less intimidating than a full-sized board, and they are durable enough to survive being tossed into a loaded knitting bag. They replace the endless pile of post-it notes that often get lost in the bottom of a project tote.
These cards are small, meaning they won’t hold full-page patterns. Think of them as high-utility scratchpads rather than chart keepers. They are the ultimate tool for avoiding the “lost count” scenario that occurs after an unplanned break in knitting.
How to Choose the Right Sheet for Your Project
Selecting the right surface hinges on how you track your work. If your patterns are digital, a wall-mounted board like the Ubrands tiles works well. If you prefer paper patterns on a clipboard, the Think Board clear film is the superior choice for preserving your source material.
Consider the surface where you knit most often. If your desk is cluttered, look for magnetic options that can latch onto existing metal stands. If you knit in a chair without a nearby table, opt for portable items like the Wipe-it cards that can be held comfortably in the lap.
Finally, evaluate your handwriting style and note-taking habits. Those who press hard with their markers need the structural integrity of a rigid board. Those who just need a quick row tally can get by with the lightweight adhesive films.
Using Clear Sheets Over Your Knitting Patterns
When layering clear dry erase film over paper, accuracy is everything. Use a dry cloth to clean the pattern surface thoroughly before application to ensure no dust or stray fibers are trapped underneath. Trapped particles can act like grit, making it difficult to write smoothly.
Apply the film slowly from one side to the other, using a plastic scraper or a credit card to push air bubbles out toward the edges. Once the film is secure, verify that the chart’s contrast remains high. If the film is too glossy, it might create glare under direct lighting, so position your project lamps at an angle.
If the pattern is particularly complex, like a multi-chart lace sequence, use different marker colors for different types of stitches. This creates a visual layer that helps distinguish between knits, purls, and yarn-overs at a glance. Just ensure the markers used are indeed dry erase, as permanent ink will ruin the pattern beneath.
Keeping Your Dry Erase Sheets Clean and Ghost-Free
Even the best dry erase surfaces will suffer from “ghosting”—the faint, lingering remnants of previous notes—if they aren’t maintained. Avoid using household cleaners with heavy solvents, as these can strip the specialty coating off the surface, making future marks difficult to remove.
For stubborn residue, a dedicated whiteboard cleaner or a mixture of isopropyl alcohol and water works best. Apply the solution to a clean microfiber cloth rather than spraying the board directly, which prevents liquid from seeping into edges or behind the adhesive. Regular wiping after each project finish will keep the surface pristine.
If the surface starts to feel tacky or slow, it’s often a sign of dried ink buildup. A light buffing with a dry microfiber cloth is usually enough to restore the surface smoothness. Maintaining a clean board is as important as maintaining your needles; it removes friction from the creative process.
Fine-Tip Markers and Tools for Your Setup
The quality of your marker matters as much as the quality of the board. Standard office markers are often too thick for complex charts, leading to messy, illegible marks. Always seek out “fine” or “ultra-fine” tip dry erase markers specifically designed for detailed work.
Store your markers horizontally or tip-down to ensure the ink flows reliably. When working with fine-tip markers, avoid applying excessive pressure; the felt tip can fray, causing the ink to bleed or pool. If the tip does fray, it is better to replace the marker than to continue using it and risking a permanent smudge on your chart.
Finally, keep a small, magnetic eraser or a piece of felt attached to your board setup for quick corrections. A messy mistake on a stitch chart can lead to a dropped stitch or an incorrect repeat. Keeping your marking tools sharp and accessible keeps your knitting pace steady and your work accurate.
Investing in a dedicated dry erase surface streamlines the most tedious parts of knitting, allowing more time for the actual craft. By choosing a surface that matches your space and habits, you eliminate the mental load of keeping track of your progress, leaving more room to focus on tension and technique. A well-organized workspace is the secret to tackling those complex, multi-chart projects with confidence.