6 Best Wood Burning Transfer Papers For Patterns
Discover the 6 best wood burning transfer papers for patterns to achieve crisp, professional results on your next project. Click here to read our expert review.
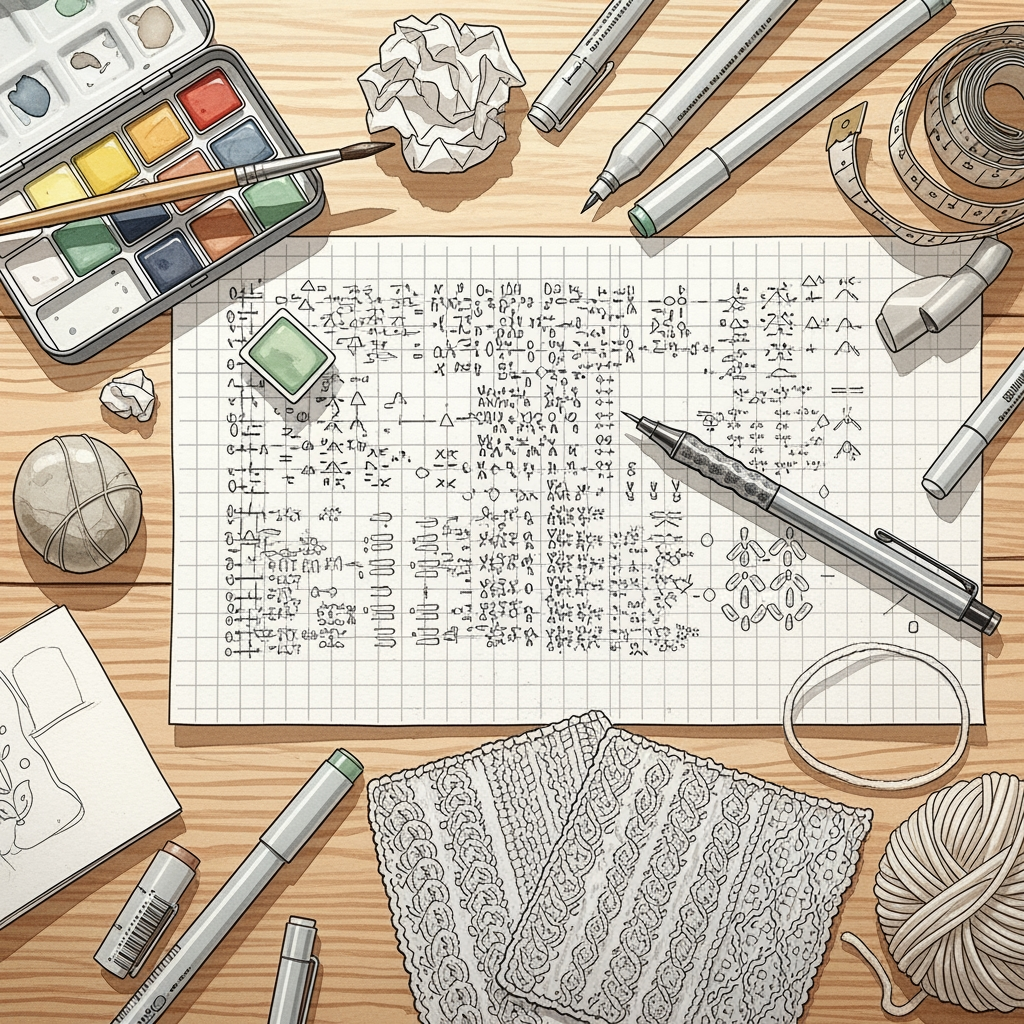
Transferring a precise pattern onto wood before burning is much like mapping out a complex fair isle chart before picking up the needles. Just as a misread stitch can ruin the symmetry of a snowflake motif, an imprecise line on your wood project leads to uneven shading and distorted designs. Choosing the right transfer paper ensures the guide lines remain crisp while the wood burner moves across the surface. This collection of tools offers reliable ways to bridge the gap between a design on paper and the finished piece of art.
Saral Transfer Paper: The Gold Standard Choice


Saral is widely regarded as the industry standard because it provides a clean, wax-free line that remains stable under the heat of a wood-burning tip. Much like selecting a high-quality, non-splitting wool for intricate lace work, choosing this paper prevents unnecessary frustration during the creative process.
Because it is wax-free, the transfer won’t repel the wood or gum up the burner tip. It is particularly effective for those who need to sketch fine details, such as the delicate ribbing on a cabled sweater design, without the lines smudging or blurring under hand pressure.
Keep in mind that this paper is a professional-grade tool and comes with a price tag to match. It is the best choice for large-scale, intricate projects where a single mistake in the transfer could ruin hours of preparation.
Walnut Hollow Graphite Paper: Made for Pyrography

Walnut Hollow designs their graphite paper specifically for the heat-intensive requirements of pyrography. This ensures that the transfer lines remain visible while navigating the grain of the wood, much like using a high-contrast stitch marker to track rows in dark-colored yarn.
The graphite formulation is designed to be easily manipulated and, more importantly, easily removed. When working on woods with varied densities, this paper provides a consistent line that won’t require excessive pressure to achieve a clear mark.
Avoid using too much pressure when tracing your pattern onto soft wood, as graphite can sometimes embed itself too deeply. A light, steady hand is all that is needed to leave a crisp guide for the burner to follow.
MYARTEE Carbon Transfer Paper: Best Budget Pack
MYARTEE offers a high-volume solution that is ideal for beginners or those who prefer to keep a large stash of materials on hand. It functions similarly to buying affordable acrylic yarn for test swatches; it performs the core task well enough without unnecessary bells and whistles.
While carbon paper can occasionally smudge if rubbed, it provides a very dark, bold line that is difficult to miss. This is an excellent choice for bold, graphic patterns that require heavy outlines rather than fine, subtle shading.
Be aware that carbon transfer lines can sometimes be permanent if the wood burner gets too hot, as the carbon can bake into the fibers. Always perform a small test patch on a scrap piece of wood to ensure the line depth suits the intended finish.
Royal & Langnickel Graphite Paper: Artist’s Pick
Royal & Langnickel caters to artists who require precision and variety in their line weights. This paper is a staple for those who view wood burning as fine art, akin to selecting the perfect bamboo needle for a smooth, controlled gauge in fine-weight cashmere.
The graphite formulation is exceptionally smooth, allowing for fluid lines that mimic the flow of a pencil on paper. This makes it ideal for patterns featuring organic shapes or floral motifs that require soft, sweeping curves.
Because it leaves a lighter trace than carbon, it is best suited for light-colored woods like basswood or birch. If the project requires deep, heavy-handed burning, the lightness of the graphite might be an advantage, as it won’t leave behind dark, distracting marks if the burner strays off-line.
Dritz Tracing Paper: A Versatile Craft Staple
Dritz is a name already familiar to anyone who works with sewing or quilting, and their tracing paper is remarkably effective for wood projects as well. This versatility is a major asset, similar to owning a set of interchangeable needles that works across multiple project types.
The lines produced by this paper are reliable and standard, making it a safe choice for general-purpose crafting. It works well on a variety of wood species, though it is best suited for lighter-colored woods where the contrast can be clearly seen.
One of the biggest benefits is its accessibility at most local craft shops. It is a perfect choice when a project needs to start immediately and waiting for specialty shipping is not an option.
Sunnyscopa Waterslide Decal Paper: For Inkjet
Waterslide decal paper offers a completely different approach by allowing an inkjet printer to create the design directly on a film. This is the wood-burning equivalent of using a programmed knitting machine; it takes the human error out of the tracing phase.
Once printed, the image is soaked in water and slid onto the wood surface, providing a perfect, high-resolution copy of any digital pattern. This is a game-changer for hyper-realistic portraits or incredibly complex geometric patterns that would be impossible to trace by hand.
The primary trade-off is the extra step of preparing the wood surface to ensure the decal adheres correctly. When it works, the results are flawless, but it lacks the organic, handmade touch of a traditional hand-traced graphite line.
How to Choose the Right Paper For Your Project
Selecting the correct paper is a balance between the complexity of the design and the type of wood being used. A highly detailed pattern with small, tight stitches—figuratively speaking—requires a fine-point graphite, while a bold, large-scale design benefits from the high-contrast lines of carbon paper.
Consider the heat level of your wood burner as well. If you intend to do deep, dark shading, you want a transfer method that won’t leave behind messy residues that interact poorly with high heat.
Always prioritize the ease of removal after the burning is complete. If the transfer lines remain visible after the burning is done, they must be easily erasable to ensure the finished piece looks clean and professional.
Graphite vs. Carbon Paper: What’s the Difference?
Graphite paper is made from a lead-like material that is generally easier to erase and less likely to smear. It is the go-to choice for fine detail work where the burner will follow delicate, precise lines.
Carbon paper uses a waxy ink that is bolder and darker, but it is also more prone to smudging and can be harder to remove from porous surfaces. It is best used for patterns that are large, simple, or require heavy outlining.
Think of graphite as a light pencil draft on a knitting chart and carbon as a thick marker; one is for guiding the work, the other is for making a bold statement. Choose graphite for control and carbon for intensity.
Tips for a Clean, Smudge-Free Pattern Transfer
Before beginning the transfer, ensure the surface of the wood is sanded perfectly smooth. Any imperfections in the wood grain will catch the transfer material, causing the lines to blob and blur, much like how a snag in a sweater can cause the yarn to pill or distort.
Use painter’s tape to secure your pattern and the transfer paper to the wood before you start tracing. Even a slight shift in the paper while tracing will result in a double-line effect, which is nearly impossible to correct once burned.
If you are concerned about smudging while working, place a piece of parchment paper under your hand as you trace. This protects the wood surface from oils and prevents accidental graphite or carbon smudges from marking up the piece before the burner even touches it.
How to Erase or Fix Transfer Marks on Your Wood
A high-quality white plastic eraser is the most reliable tool for removing stray graphite lines without damaging the wood grain. Avoid using rubber erasers, as they can sometimes leave behind color or residue that interferes with the final finish.
If a carbon mark is being stubborn, a light touch with a fine-grit sandpaper—typically 320-grit or higher—will usually remove the mark quickly. Be careful not to sand too deeply, as this will create a visible depression in the wood that will be obvious once you apply a stain or sealant.
For deep, stubborn lines, a specialized wood-cleaning solution or a small dab of denatured alcohol on a cotton swab can help lift the pigment. Always test this on a hidden area of the wood first to ensure it does not lift the natural finish or stain of the wood itself.
Mastering the transfer process is the foundation of a successful pyrography project, much like achieving the perfect tension in your knitting. By matching the right paper to your specific project needs and treating the prep work with care, you set yourself up for clean, beautiful results every time the heated tip touches the wood.