6 Best Gauge Swatches For Garment Fitting Techniques
Master the perfect fit with these six essential gauge swatches. Learn how to test tension, drape, and stitch patterns to ensure your handmade garments succeed.
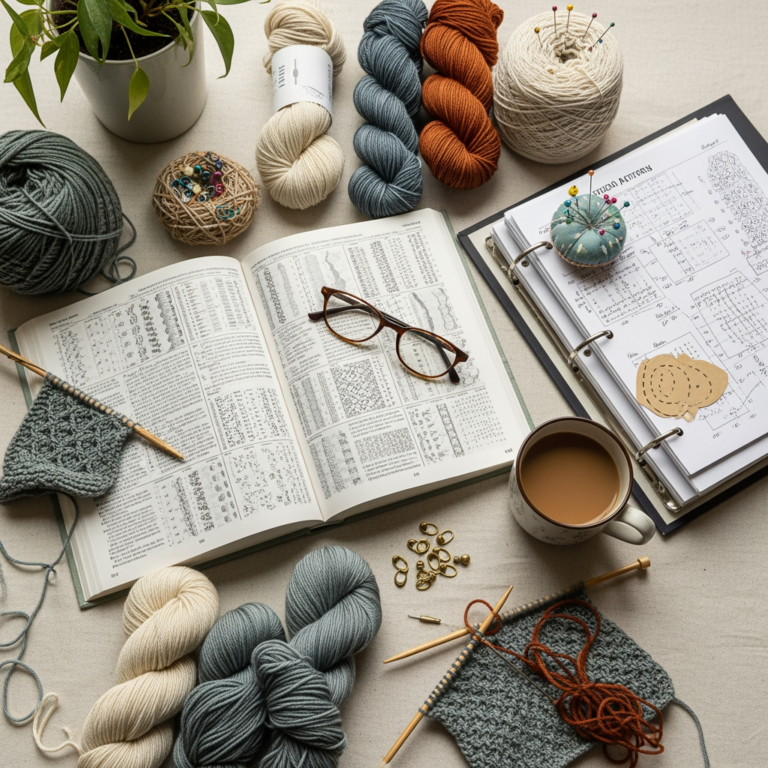
Mastering the art of the gauge swatch is the single most effective way to transition from a casual crafter to a confident garment maker. Many knitters view swatching as a tedious chore, but it is actually the most reliable insurance policy against a sweater that doesn’t fit. By understanding how different stitch patterns and construction methods behave, you can predict exactly how your finished piece will hang on the body. This guide will walk you through the essential swatches every knitter needs to master for professional-level results.
The Stockinette Swatch for Flat Garment Pieces
The stockinette swatch is the industry standard for a reason: it provides the baseline measurements for almost every flat-knit sweater pattern. Because you are knitting back and forth, you must account for the difference in tension between your knit rows and purl rows.
If you find that your purl rows are looser than your knit rows, your gauge will be inconsistent across the fabric. This often happens because the purl motion requires a different wrist movement than the knit motion.
To get an accurate reading, your swatch must be significantly larger than the area you intend to measure. Aim for at least six inches square to ensure the edges don’t distort your center stitches.
Circular Swatching for Seamless Garment Bodies
Many knitters are shocked to find their gauge changes when they switch from flat knitting to working in the round. This happens because you are only ever working the knit side, which eliminates the variability of the purl stitch.
If you are knitting a seamless sweater, you should absolutely swatch in the round. You don’t need to knit a full tube; you can carry your yarn across the back of the work to create a "jog" that keeps your stitches on the front.
This technique mimics the tension of a seamless body perfectly. It’s the only way to ensure your sweater won’t end up too tight or too loose once you join in the round.
The Garter Stitch Swatch for Edge Stabilization
Garter stitch is famously "stretchy" in length but dense in width, making it a tricky beast to measure. It is often used for borders, button bands, or structural hems where you need stability.
If you are planning a garment with a garter stitch hem, you must swatch it separately from the main body. The row gauge of garter stitch is almost always different from stockinette, which can lead to a wavy or flared edge if not accounted for.
Always measure your garter swatch after it has been fully blocked. This stitch pattern has a tendency to "grow" significantly once it hits water and gravity takes hold.
Swatching for Ribbing Tension and Recovery Rate
Ribbing is the foundation of a garment’s fit, providing the "snap" that keeps cuffs and necklines snug against the body. If your ribbing is too loose, your sleeves will sag and your neckline will lose its shape after a few wears.
When swatching for ribbing, use a needle at least one or two sizes smaller than you used for the main body. This creates a denser fabric that maintains its elasticity over time.
Test the recovery rate by stretching the swatch horizontally and seeing how quickly it returns to its original shape. If it stays stretched out, you need to go down another needle size or consider a yarn with more natural elasticity, like wool.
The Lace Pattern Swatch for Accurate Drape Tests
Lace stitches change drastically once they are blocked, often opening up to twice their size on the needles. A small 4-inch swatch is rarely enough to capture the true drape of a complex lace garment.
You need a large enough swatch to see how the yarn interacts with the pattern repeats. This allows you to evaluate whether the fabric is too airy or if the yarn choice is appropriate for the intended silhouette.
Remember that lace is highly susceptible to the weight of the garment. A heavy wool lace will behave very differently than a light silk or alpaca blend, so always swatch with the actual yarn you intend to use.
Colorwork Swatching for Float and Tension Control
Stranded colorwork creates a thicker, less elastic fabric because the unused yarn is carried across the back as "floats." If your floats are too tight, your garment will pucker and lose its ability to stretch.
Swatching for colorwork is non-negotiable because your tension will naturally tighten when you are juggling two colors. Many knitters find they need to go up a needle size specifically for the colorwork sections of a sweater.
Check the back of your swatch to ensure the floats are long enough to allow the fabric to move. If they are pulling the stitches together, you are knitting too tightly and need to consciously loosen your tension.
Why Washing and Blocking Your Swatch Is Essential
Fiber behaves differently once it has been introduced to water and heat. Washing your swatch simulates the life of the garment and allows the fibers to "bloom" and settle into their final position.
If you skip this step, you are knitting with a false sense of security. A swatch that looks perfect off the needles can shrink, grow, or skew once it hits the sink.
Always use the same method you plan to use for the finished garment. If you intend to machine wash your sweater, throw your swatch in the wash with it to see exactly how the yarn reacts to agitation.
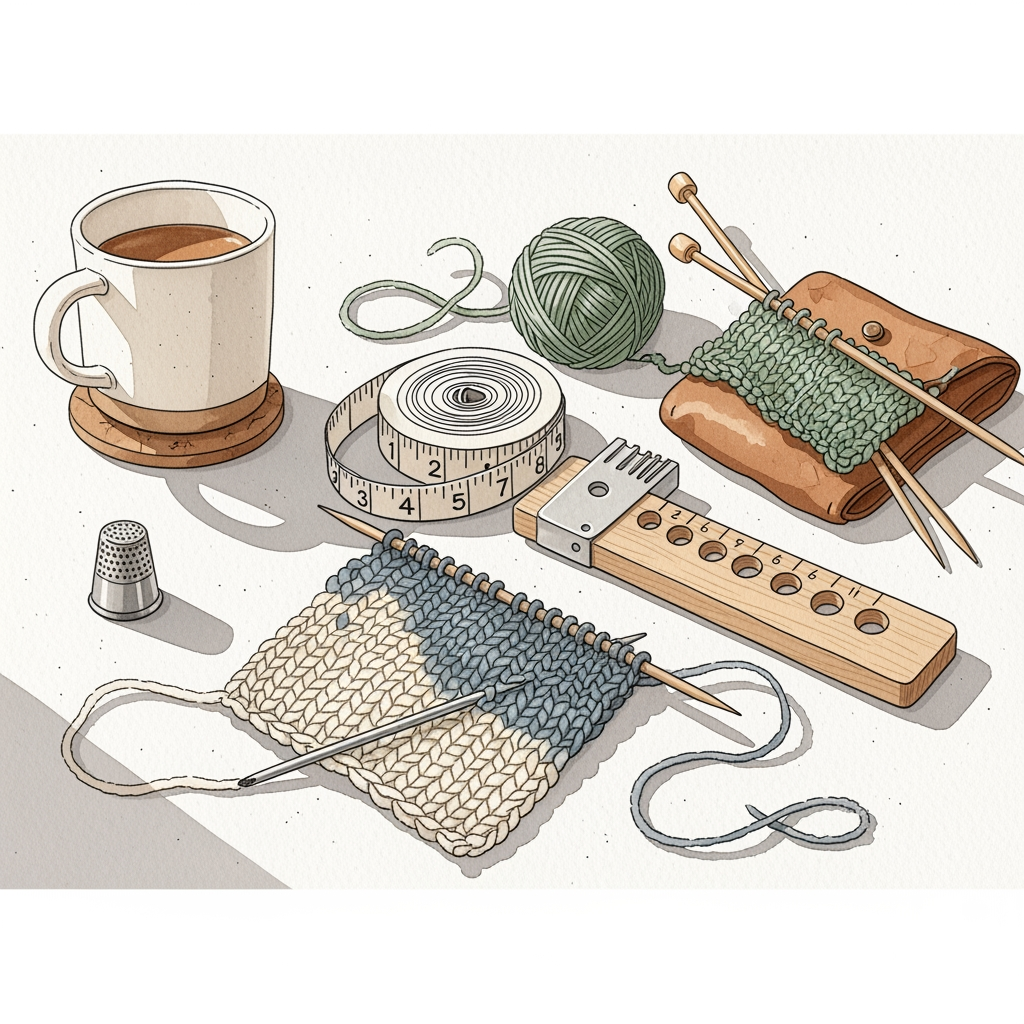
How to Measure Row and Stitch Gauge Accurately
Use a dedicated gauge ruler or a clear plastic square to measure your stitches. Avoid using a standard tape measure, which can stretch or curve, leading to inaccurate counts.
Count your stitches over four inches, but don’t count the very edge stitches, as they are often distorted. If your pattern calls for a specific stitch count, make sure you are measuring the same number of stitches across the width.
When measuring row gauge, count the "V" shapes formed by the knit stitches. Remember that row gauge is often more sensitive to tension than stitch gauge, so take your time to be precise.
Adjusting Needle Size to Meet Pattern Requirements
If your swatch is too small, your gauge is too tight; you need a larger needle to open up the stitches. Conversely, if your swatch is too large, your gauge is too loose and you need a smaller needle.
Don’t be afraid to experiment with different needle materials. A wooden needle might help you slow down if you are a tight knitter, while a metal needle can help a loose knitter maintain a consistent, faster pace.
Adjusting your needle size is a simple mechanical fix, but it is the most powerful tool in your kit. Never force your tension to match a pattern if it means sacrificing your comfort or the fabric’s quality.
Common Reasons Swatch Gauge Differs From Garment
The most common reason for gauge shift is the "project fatigue" factor. When you swatch, you are only knitting for twenty minutes; when you knit a sweater, you might be knitting for twenty hours.
Your tension will naturally change as you get tired, stressed, or distracted. This is why it’s vital to knit a large swatch and measure the center, rather than just the edges.
Another factor is gravity. As you add more fabric to your needles, the weight of the garment pulls on your stitches, which can actually change your gauge as the project progresses.
The journey to a perfectly fitting garment begins with the humble swatch, a small investment of time that pays massive dividends in wearability. By treating your swatches with the same care as your final project, you eliminate the guesswork and build confidence in your technique. Remember that there is no "perfect" gauge, only the gauge that creates the fabric you love. Happy knitting, and may your future sweaters fit exactly as you imagined.