7 Best Tapestry Needles For Grafting Seams To Try
Grafting seams requires precision. We review the 7 best tapestry needles to ensure seamless finishes and effortless yarn threading for your knitting projects.
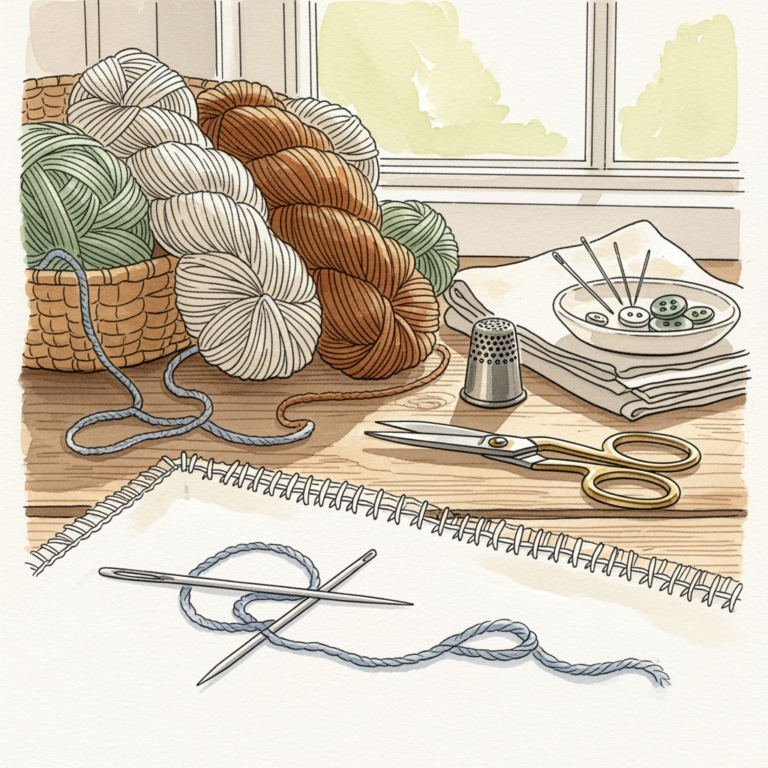
Finishing a project is where the magic happens, but a poor needle choice can turn a beautiful garment into a frustrating mess. Whether you are grafting delicate sock toes or seaming a heavy wool sweater, the right tool makes all the difference in your tension and ease. I have spent two decades refining my finishing techniques, and I’ve learned that the needle is just as important as the yarn itself. Here are seven needles that will elevate your finishing work from "handmade" to professional-grade.
Clover Chibi Bent Tip Needles: Best Overall Choice

If you have ever struggled to pick up a stitch while grafting, you know the value of a bent tip. The slight curve at the end of these needles allows you to slide under stitches without piercing the yarn fibers, which is essential for maintaining a clean, professional seam.
These needles are iconic for a reason, coming in a handy, durable case that prevents them from disappearing into the depths of your knitting bag. The metal is smooth enough to glide through most fibers, yet it has just enough grip to keep the yarn from slipping off unexpectedly.
While some knitters prefer straight needles for flat seaming, the bent tip is a game-changer for Kitchener stitch. It acts like a tiny hook, grabbing the stitch exactly where you need it to go. They are my go-to recommendation for anyone who wants a reliable, multi-purpose tool.

Bohin France Size 18 Tapestry Needles: Best Steel

Bohin needles are the gold standard for those who value precision and durability. Made in France, these steel needles are exceptionally rigid and feature a high-quality finish that prevents snagging on delicate fibers like silk or fine merino.
The Size 18 is a versatile middle-ground for worsted and DK weight yarns. Because they are made of hardened steel, they won’t bend or warp over time, even if you are working with heavy, rustic wools that require a bit of force to pull through.
There is a distinct "click" and smoothness to these needles that makes the grafting process feel rhythmic and meditative. If you are tired of cheap needles that rust or develop burrs after a few uses, investing in a set of Bohin steel is a smart long-term choice.
Tulip Hiroshima Tapestry Needles: Best Smooth Tip

Tulip needles are renowned for their incredible polish and refined points. When you are working with high-twist yarns or luxury fibers like cashmere, you want a needle that won’t split the ply, and the Hiroshima needles are engineered specifically for that purpose.
The tip is tapered just enough to navigate dense fabric without being so sharp that it pierces your stitches. This balance is difficult to achieve, but it is vital for seamless grafting where you want the needle to travel through the existing loops, not through the fiber itself.
I recommend these for knitters who take pride in the "invisible" aspect of their seams. They glide through even the most stubborn, sticky alpaca yarns with minimal resistance, making the final stages of your project feel effortless.
Dritz Yarn Darner Needles: Best Budget Option
You do not need to spend a fortune to get a functional tool. Dritz yarn darners are widely available, affordable, and perfectly adequate for the majority of everyday knitting projects.
These needles are often sold in multi-packs, which is a lifesaver when you inevitably lose one between the sofa cushions. While they may not have the premium finish of a boutique needle, they get the job done reliably for basic seaming and weaving in ends.
If you are a beginner who is still learning the ropes, start here. You can experiment with different sizes and styles without worrying about the cost, and once you get a feel for what you like, you can upgrade to a more specialized set later.
Cocoknits Steel Tapestry Needles: Best Magnetic

We have all been there: you finish your final seam, look down, and realize you have lost your needle. Cocoknits solved this perennial knitter’s problem by creating steel needles that are designed to be picked up by a magnet.
This set comes with a small, powerful magnet that you can attach to your project bag or a needle minder. It is a simple, brilliant addition to the knitting experience that saves you from the frustration of hunting for a lost needle on a carpeted floor.
Beyond the magnetic feature, these needles are sturdy, well-shaped, and come in a range of sizes that cover everything from lace weight to chunky yarn. They are a practical, thoughtful tool for any maker who values organization.
Susan Bates Finishing Needles: Best for Beginners
Susan Bates has been a staple in the knitting world for decades for a reason. Their finishing needles are simple, effective, and easy to find at almost any craft store, making them the perfect entry point for those new to finishing techniques.
These needles are generally slightly thicker and have a blunt, rounded tip that is very forgiving. If you are just starting to learn the Kitchener stitch, a blunt tip helps prevent you from accidentally splitting your yarn, which can be the biggest source of frustration for novices.
While they may lack the refined finish of high-end Japanese needles, they are built to last and provide a consistent experience. They are the "workhorse" needles of the knitting world—simple, reliable, and always there when you need them.
Brittany Birch Wood Needles: Best for Delicate Yarn

Sometimes, metal needles are just too slick or cold for the project at hand. Brittany Birch needles offer a warm, tactile experience that is particularly well-suited for delicate or slippery yarns like silk, mohair, or bamboo blends.
The wood provides a subtle "grip" that prevents the needle from sliding out of your hand or slipping through your stitches too quickly. This added control is invaluable when you are working on a complex lace project where every stitch must be placed with absolute precision.
Because they are made from natural birch, they are also lightweight and comfortable for long finishing sessions. Just be careful not to sit on them, as wood can snap under pressure; treat these with the same care you would give to your favorite wooden knitting needles.
Why Bent Tips Are Essential for Kitchener Stitch
The Kitchener stitch is essentially a mimicry of the knit stitch, and to do it well, you need to enter the stitch loops from the correct direction. A straight needle often forces your hand into an awkward angle, which can lead to uneven tension or accidental splitting of the yarn.
A bent tip acts as a guide, allowing you to approach the stitch from the "front" or "back" with a natural sweeping motion. This mimics the movement of your knitting needles, making it much easier to maintain the exact same tension as the rest of your fabric.
If your Kitchener seams look "bumpy" or inconsistent, the problem is rarely your technique; it is usually the tool. Switching to a bent tip allows you to keep the needle parallel to the fabric, ensuring that the new "stitch" you are creating sits perfectly alongside the existing ones.
Choosing the Correct Needle Eye for Your Yarn Weight
The biggest mistake knitters make is using a needle with an eye that is too small for their yarn. If you have to force the yarn through the eye, you are damaging the fibers before you even begin to seam, which will lead to a fuzzy, weakened join.
- Lace/Fingering Weight: Look for a thin needle with a narrow, elongated eye to prevent stretching the stitches.
- DK/Worsted Weight: A standard-sized eye is usually perfect, allowing the yarn to fold over without creating a bulky knot.
- Bulky/Super Bulky: Use a needle with a large, wide eye to accommodate the thickness of the yarn without creating a heavy, distorted seam.
Always test your yarn in the eye of the needle before you start. It should pass through with a gentle tug, not a fight. If it’s a struggle, go up a needle size; your yarn—and your final seam—will thank you for it.
How to Properly Weave in Ends for a Secure Finish
Weaving in ends is the final hurdle, and it is the step most people want to rush. However, a secure finish is the difference between a garment that lasts for years and one that unravels after a few washes.
The trick is to follow the path of the existing stitches. Use your tapestry needle to duplicate the path of the yarn on the wrong side of the fabric, moving horizontally or vertically to "lock" the end into place.
Avoid pulling the yarn too tight, as this will pucker the fabric and ruin your gauge. Once you have woven it through a few inches, trim the excess close to the fabric, but leave a tiny "tail" so the yarn has room to settle after the first block or wash.
Choosing the right tapestry needle is a small investment that pays off every time you finish a project. By matching your tool to your yarn weight and project needs, you ensure that your hard work remains beautiful and secure for years to come. Don’t be afraid to experiment with different materials and shapes until you find the one that feels like an extension of your own hand. Happy knitting, and may all your seams be invisible.