6 Best Finishing Tools For Neat Seams Worth Using
Upgrade your sewing projects with these 6 best finishing tools for neat seams. Follow our expert guide to achieve professional, polished results every time.
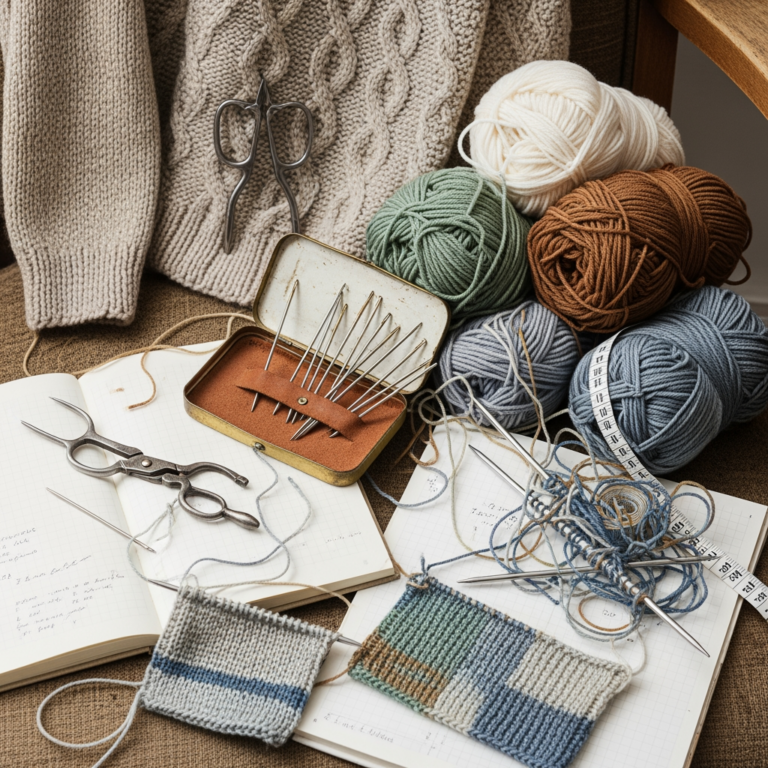
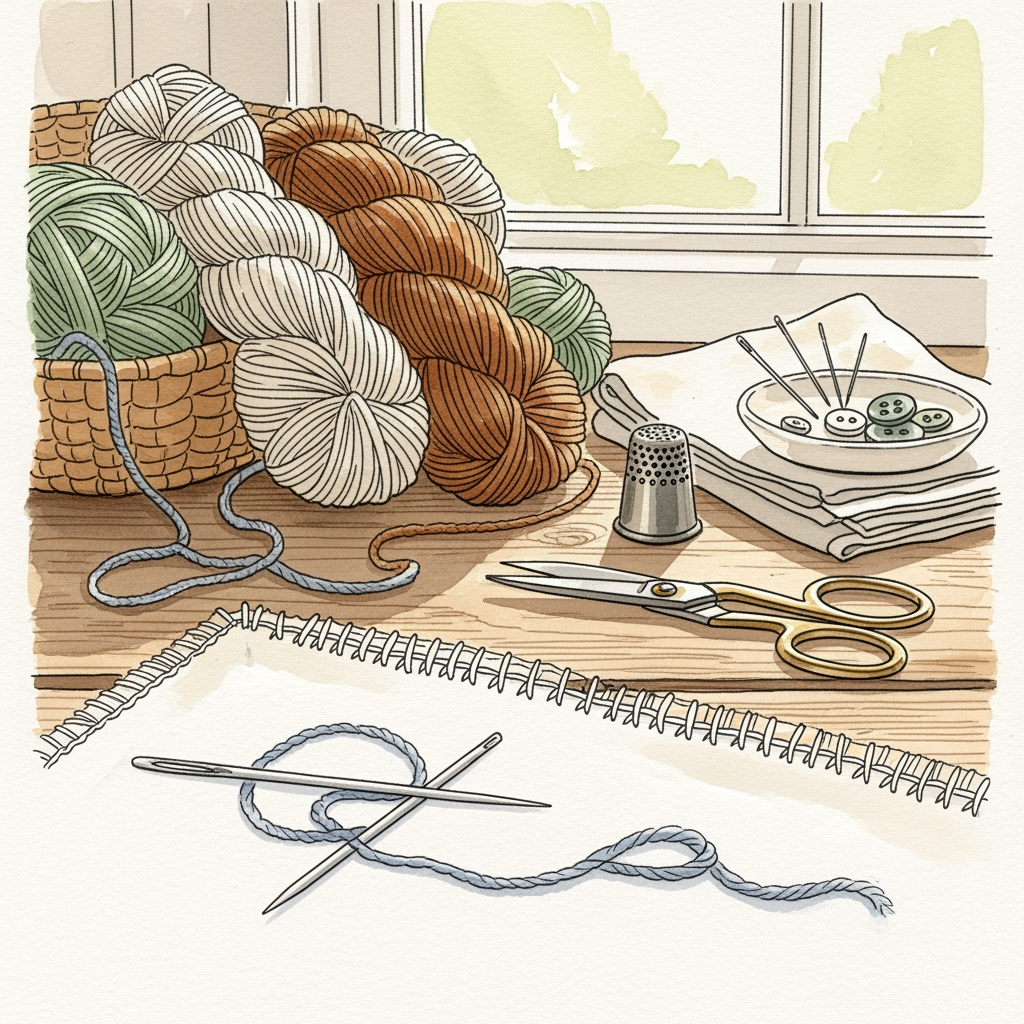
Every project deserves a finish that mirrors the care put into the stitches themselves. While the joy of knitting often centers on the needles and yarn, the final assembly is where a garment transitions from a collection of pieces into a professional-looking heirloom. Choosing the right finishing tools prevents common pitfalls like bulky seams, distorted edges, and fraying ends. Mastering these final steps turns hours of effort into a polished result that stands the test of time.
Clover Chibi Bent Tip Needles: Best for Seaming


Bent tip tapestry needles are a fundamental shift from traditional straight needles for one simple reason: they make picking up individual loops along a seam significantly easier. The curvature allows the needle to glide under stitches without needing to flip the fabric over or fish blindly through the layers.
These needles are particularly useful when working with high-twist or multi-ply yarns that tend to snag if a needle is too sharp. The blunt, bent tip pushes through the yarn structure rather than piercing the plies, which prevents the accidental splitting of stitches that ruins the appearance of a clean mattress stitch.
Consider the weight of the project when selecting the needle size. A lightweight fingering yarn requires a thinner needle to avoid stretching the fabric, while bulky wools demand a larger eye to accommodate the fiber volume. Always aim for a needle that feels like a natural extension of the seam line.
Knitter’s Pride Blocking Mats: For Perfect Shapes

Blocking mats are essentially the foundation for professional finishing. Unlike improvised surfaces like towels or carpet, these interlocking foam tiles provide a consistent, grid-based surface that ensures every edge is pulled to the exact same tension.
The primary advantage here is the inclusion of grid lines, which act as a map for symmetrical pieces like sweater sleeves or lace shawls. When working with delicate natural fibers like alpaca or wool, being able to monitor the geometry of the piece prevents the “accordion” look that happens when edges aren’t properly aligned.
Some knitters worry about the chemical odor of new foam mats or the potential for heat damage. It is a best practice to air out new mats for 24 hours and always use a protective pressing cloth if applying steam directly near the foam. For the best longevity, store them flat to prevent warping over time.
KnitPicks T-Pins: Secure Your Work While Blocking

T-pins are the heavy-duty workhorses of the blocking process. While delicate pins might bend under the tension of a heavy, damp wool sweater, the steel structure of a T-pin remains rigid, holding the fabric firmly in place while it dries.
The “T” head is the most critical feature. It allows for a secure grip during insertion and prevents the pin from sinking entirely into the fibers, which is a common frustration with smaller, flat-headed pins. This makes them ideal for pinning out complex lace points that require high-tension stretching to open up the pattern.
Avoid using cheap, non-rust-proof pins on wet projects at all costs. Nothing destroys a hundred hours of work faster than a rust stain from a low-quality pin. Always verify that pins are marked as stainless steel or rust-resistant to ensure the integrity of the project during the critical drying phase.
Susan Bates Finishing Needles: A Versatile Set

Having a variety of needle sizes and materials on hand is essential for a diverse project list. This set provides the necessary range for everything from delicate lace-weight sock yarn to heavy, rustic wools that require a wider eye for threading.
The versatility of this set shines when dealing with different fiber types. Slicker, plastic-coated needles are perfect for sticky mohair, as they offer less friction, while metal needles provide the durability required for rough, high-friction fibers like linen or hemp.
Don’t fall into the trap of using one needle for every project. Using a needle that is too thick will leave gaping holes in the seam, while one that is too thin will be impossible to thread. Keep the set organized to ensure that the right tool for the specific yarn weight is always within reach.
Fiskars Micro-Tip Scissors: For Clean Yarn Cuts

Precision cutting is often overlooked until a fraying yarn end causes an entire seam to unravel. Micro-tip scissors are specifically designed to reach into tight spaces, allowing for an incredibly close cut against the fabric without risking a nick to the surrounding stitches.
These scissors are a godsend for the “tail-trimming” stage of finishing. Because the blades are slender and sharp all the way to the point, they eliminate the need to pull the yarn excessively to reach it, which protects the tension of the weave.
Consider keeping one pair strictly for yarn and fiber. Even high-quality steel will dull rapidly if used to cut paper or plastic, and a dull scissor blade crushes fibers instead of slicing them. A clean, sharp cut is the first step in ensuring that a woven-in end stays hidden for years.
Knitters Pride Lace Blocking Wires: For Crisp Edges
Wires are the secret to achieving razor-sharp edges on triangular shawls and rectangular scarves. By threading the wire through the selvedge of the piece, the tension is distributed evenly across the entire edge rather than being localized to individual pin points.
This method prevents the dreaded “scalloped” edge that often occurs when a project is pinned too sparsely. It is particularly effective for lace knitting, where the dramatic opening of the stitches requires consistent, uniform pressure to highlight the pattern repeats.
The tradeoff is a slightly higher learning curve for threading the wires through the loops. Take care to ensure the wires are stainless steel to avoid the same rust risks associated with poor-quality pins. Once the technique is mastered, the jump in the professional appearance of the finished lace is undeniable.
How to Choose the Right Darning Needle for Your Yarn
Selecting the correct darning needle is a balance between the diameter of the yarn and the tightness of the knitted fabric. A general rule of thumb is to choose a needle that is slightly thinner than the yarn itself to allow it to pass through the stitches without dragging or creating unwanted holes.
If the yarn is bulky or has a complex texture, a needle with a large eye is non-negotiable. For fine lace or sock yarn, opt for a small, sharp needle that can navigate between the plies of the yarn.
- Small Eye/Sharp: Best for detailed embroidery or weaving into dense, tight fabrics.
- Large Eye/Blunt: Best for seaming bulky weight yarns and avoiding splitting the ply.
- Bent Tip: Essential for mattress stitch and picking up stitches along a finished edge.
A Quick Guide to the Invisible Mattress Stitch Seam
The mattress stitch is the gold standard for creating seams that appear to vanish into the fabric. To execute it, lay the two pieces to be joined right-side up, side-by-side. Use the bent-tip needle to pick up the horizontal bar between the first and second stitch on both edges, alternating back and forth.
The key to an invisible seam is the pull. Do not tighten the yarn after every single stitch; instead, pull the seam taut every three or four stitches to ensure the tension is uniform. This prevents the seam from looking puckered or uneven once the garment is worn.
When seaming horizontal edges (like shoulder seams), the technique shifts slightly. Pick up the full stitch (the “V”) on one side and the corresponding loop on the other. This creates a stronger, more supportive seam that won’t sag under the weight of the garment.
Wet Blocking vs. Steam Blocking: Which Is Better?
Wet blocking involves soaking the item in water and a gentle wool wash before shaping, while steam blocking uses the heat and moisture from an iron to relax the fibers. Wet blocking is the superior choice for natural animal fibers like wool, as it allows the fibers to fully expand, bloom, and reorganize into their final shape.
Steam blocking is a faster, more targeted approach that works wonders for synthetic blends or acrylics. However, extreme caution is necessary; steam can “kill” acrylic yarn, permanently flattening the stitch definition and removing the springy quality that makes knitwear comfortable.
Always perform a swatch test if unsure about how the yarn will react to heat. If the goal is to improve drape or change the shape of a shawl, wet blocking is the only way to achieve consistent results. Save steam blocking for touch-ups or blocking small sections that don’t require total reshaping.
Tips for Weaving in Ends So They Never Come Out
The goal of weaving in ends is to mimic the structure of the knit fabric so the tail becomes invisible and immovable. Follow the path of the yarn in the fabric itself, replicating the knit stitch pattern (the “V”) rather than sewing in a straight line, which will eventually work its way loose.
Never knot the yarn ends. Knots create small, hard bumps that can be felt against the skin and are likely to untie over time as the garment moves. Instead, weave the end through the back of the stitches for at least three to four inches, changing direction at least once to “lock” the yarn in place.
For superwash wools, which can be quite slick, consider splitting the yarn tail into two smaller strands and weaving them in opposite directions. This adds friction and ensures that even with repeated washing and wearing, the ends remain securely tucked inside the fabric structure.
Selecting the right tools for finishing is the final investment in the long process of creating a garment. By moving away from “good enough” and toward purposeful, high-quality finishing techniques, every project will reach a new level of sophistication. Keep these tools organized and maintained, and the transition from needles to finished wear will become the most rewarding part of the process.