7 Best Design Walls For Planning Quilt Layouts
Organize your fabric pieces easily with our top 7 design walls for planning quilt layouts. Read our expert guide to find the perfect setup for your studio today.
Visualizing a complex quilt layout often feels like managing a multi-color intarsia project without a proper pattern. Just as keeping track of intricate cable crosses requires clear stitch markers and a steady hand, assembling quilt blocks demands a vertical workspace to assess color flow and geometric balance. Without a dedicated design wall, blocks often end up shuffled on the floor, subject to dust and unintended displacement. Selecting the right surface transforms a chaotic pile of fabric into a cohesive, organized masterpiece.
Fons & Porter Design Wall: The Classic Choice
The Fons & Porter design wall remains the industry standard for quilters who prioritize reliability and simplicity. It features a soft, high-quality flannel surface that grips cotton fabric with enough friction to hold blocks securely without pins.
This choice is ideal for those who prefer a traditional, no-frills setup. It hangs easily from a tension rod or wall hooks, allowing for quick installation in any sewing corner.
The primary tradeoff involves its static nature; it does not offer grid lines or folding mechanisms. For quilters who rely on intuitive layout rather than rigid measurement, this simplicity is a significant benefit.
Cheryl Ann’s Design Wall: Most Durable Option


Cheryl Ann’s design wall is engineered for the long haul, using a specialized, heavy-duty flannel that resists pilling and sagging over time. It is a premium investment for the quilter who treats their workspace as a permanent studio installation.
The texture of this fabric is notably superior at grabbing various weights of cotton. Even if working with thicker batting pieces or heavier home-decor fabrics, the surface keeps materials firmly in place.
While the price point is higher, the longevity provides excellent value for high-volume makers. It serves those who want to avoid the “fuzzy” wear that accumulates on cheaper flannel surfaces after years of active use.
June Tailor Gridded Wall: For Perfect Alignment
Precision is the hallmark of the June Tailor gridded wall. By printing a 1-inch grid directly onto the flannel surface, this tool acts like a graph-paper cheat sheet for your quilt blocks.
This is the ultimate tool for quilters obsessing over geometric alignment or precise borders. When working with complex block patterns that require strict vertical and horizontal orientation, the grid acts as an immediate visual check.
The limitation here is that the grid can occasionally distract the eye when focusing on overall color placement. Use this wall when the technical geometry of the design matters as much as the aesthetic appeal of the color palette.
Omnigrid Fold-Away Station: Best for Small Spaces
Small-scale sewing areas require tools that provide utility without constant footprint. The Omnigrid Fold-Away Station features a hinged, tri-fold design that can be set up in minutes and tucked behind a door when not in use.
This is perfect for the quilter who shares a space with other hobbies or uses a dining room table as a workspace. The surface is stable enough for upright work but collapses into a compact, flat profile for easy storage.
While portable, the folding seams can occasionally disrupt the placement of large-format designs. Plan to work around these hinges when laying out large, cohesive central panels.
Martelli Table Top Wall: Ideal for Portability
The Martelli table top system offers a vertical workspace that sits directly on the sewing desk. It is a brilliant solution for those who prefer to remain seated while auditioning fabric blocks.
The wall is often adjustable, allowing for different angles that prevent neck strain during long layout sessions. It brings the work to eye level, mirroring the experience of drafting a knitting pattern on a tabletop easel.
Because of its smaller stature, this unit is better suited for auditioning individual blocks or small wall hangings rather than massive bed quilts. It excels in environments where wall space is unavailable.
The Gypsy Quilter Mat: A Stick-and-Go Surface

The Gypsy Quilter mat brings a unique, sticky-back technology to the design wall category. It acts as an oversized gripping surface that holds fabric through static and texture rather than relying on standard flannel fuzz.
This mat is exceptional for quilters who travel for retreats or workshops. It is lightweight, flexible, and can be rolled up without losing its gripping properties, making it the most portable option on the market.
Be mindful that the “stickiness” can attract lint or pet hair more readily than traditional flannel. Keep a lint roller nearby to ensure the surface remains clean and effective for long-term use.
Roc-lon Flannel Fabric: Best for Custom DIY Walls
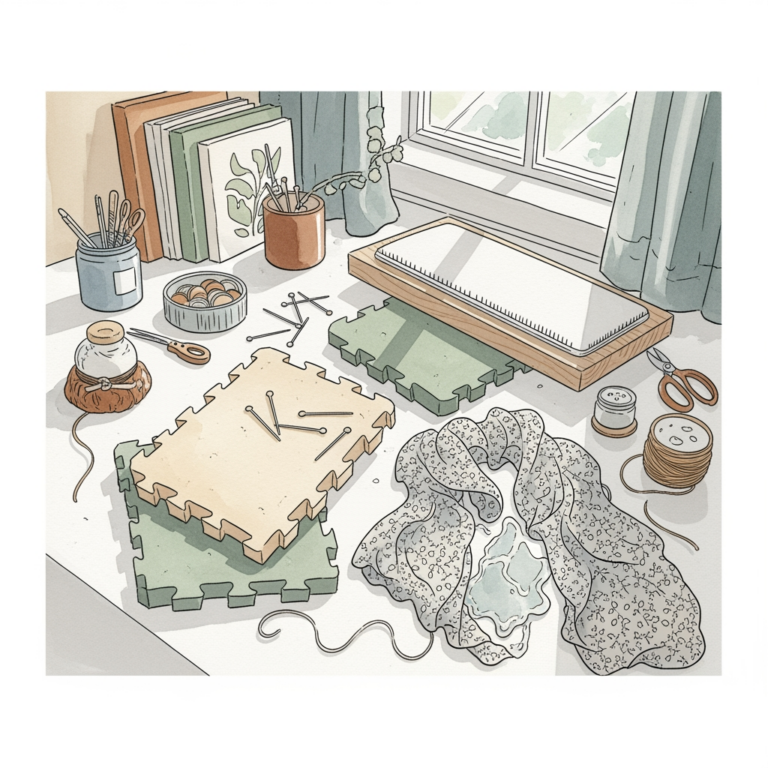
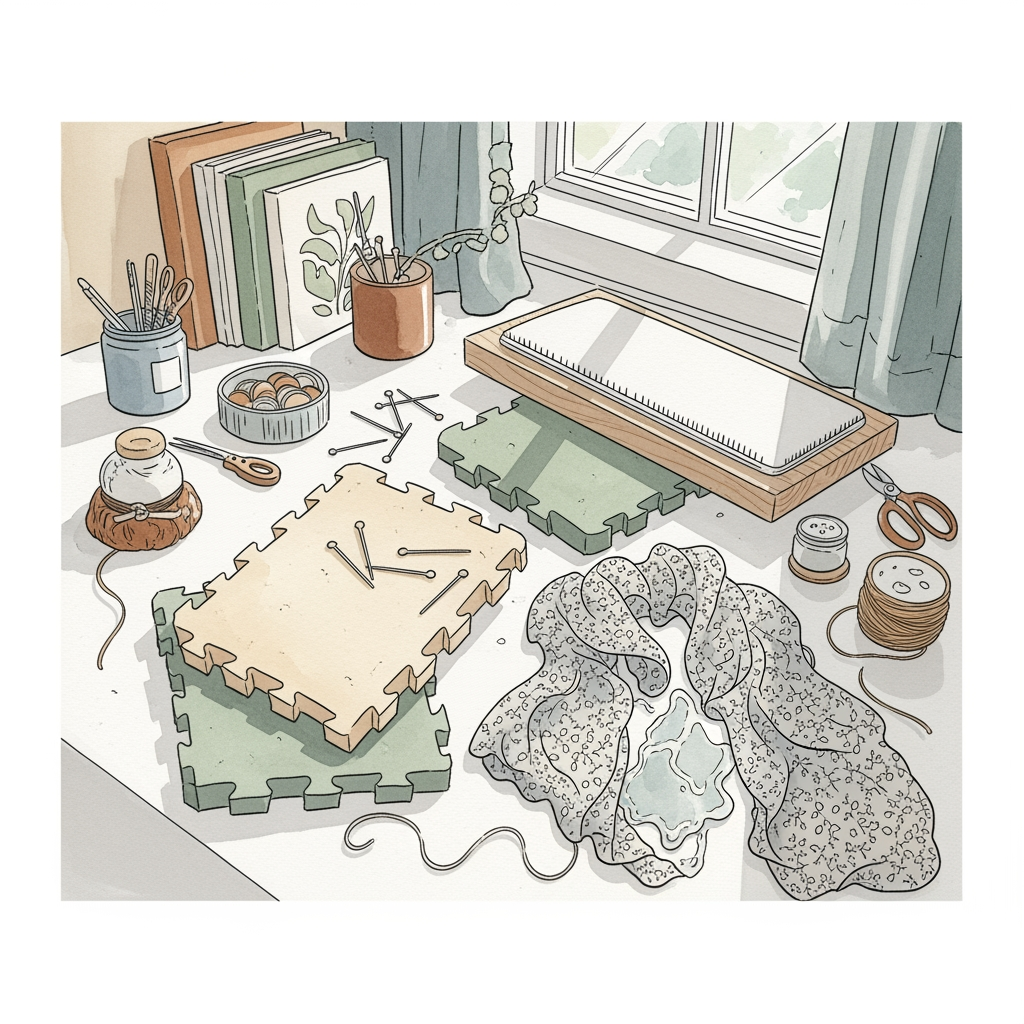
For those who want a custom-fit solution, purchasing a bolt of high-quality Roc-lon flannel is the most cost-effective path. Simply staple or tack this fabric over a piece of rigid insulation board to create a bespoke design wall.
This approach allows for exact customization of size and shape to fit unconventional wall spaces. It is the preferred method for dedicated sewing rooms where a permanent, wall-to-wall design surface is desired.
Ensure the board underneath is lightweight enough for wall mounting. When attaching the fabric, stretch it taut to avoid waves or ripples that could throw off the alignment of your fabric blocks.
How to Choose the Right Quilt Design Wall Size
Determining the size of a design wall requires an honest assessment of the projects most frequently undertaken. If you exclusively create small wall hangings or baby quilts, a 36-by-48 inch surface is usually sufficient for layout needs.
For larger queen or king-sized quilts, a wall that allows for at least two rows of blocks at a time is necessary. Working on a wall that is too small leads to “quilt fatigue,” where the inability to see the full design results in mistakes in block rotation.
Always measure the widest available stretch of empty wall in the sewing room. Remember that adding a 2-inch buffer on all sides prevents the frustration of fabric edges curling against the wall corners.
DIY vs. Purchased Walls: A Practical Comparison
Purchased design walls provide convenience and a professional finish, often featuring integrated grids or storage capabilities. They are ready to use immediately, which is ideal for makers who prefer to spend their time quilting rather than building infrastructure.
DIY walls, conversely, offer unparalleled value and the ability to dictate exact dimensions. Building a custom board ensures the surface perfectly fits the architecture of the sewing room, utilizing vertical space that off-the-shelf products might miss.
Consider the time-versus-money tradeoff carefully. If building a frame and stretching fabric feels like a chore, the upfront cost of a commercial wall is a justified expense for the hours of frustration saved.
Making Your Quilt Blocks Stick: Tips and Tricks
The physics of a design wall relies on the friction between the quilt back and the wall surface. If blocks are slipping, it is usually because the fabric is too heavy or the flannel is worn.
To improve grip, avoid washing the design wall fabric with fabric softener, as this reduces the “fuzz” necessary for adhesion. If blocks feel insecure, consider lightly misting the back of the cotton blocks with a temporary spray adhesive designed for fabric.
For heavy quilted sections, use small, flat-head pins to anchor the corners into the insulation board underneath the flannel. Never rely solely on the wall for permanent storage; remove blocks once the layout is finalized to prevent fabric stretching or dust accumulation.
A well-chosen design wall serves as the central hub for creative decision-making, acting as the visual anchor for every stitch. By selecting a surface that aligns with the specific space and scale of the projects, the transition from scattered blocks to a finished quilt becomes significantly more fluid and enjoyable.