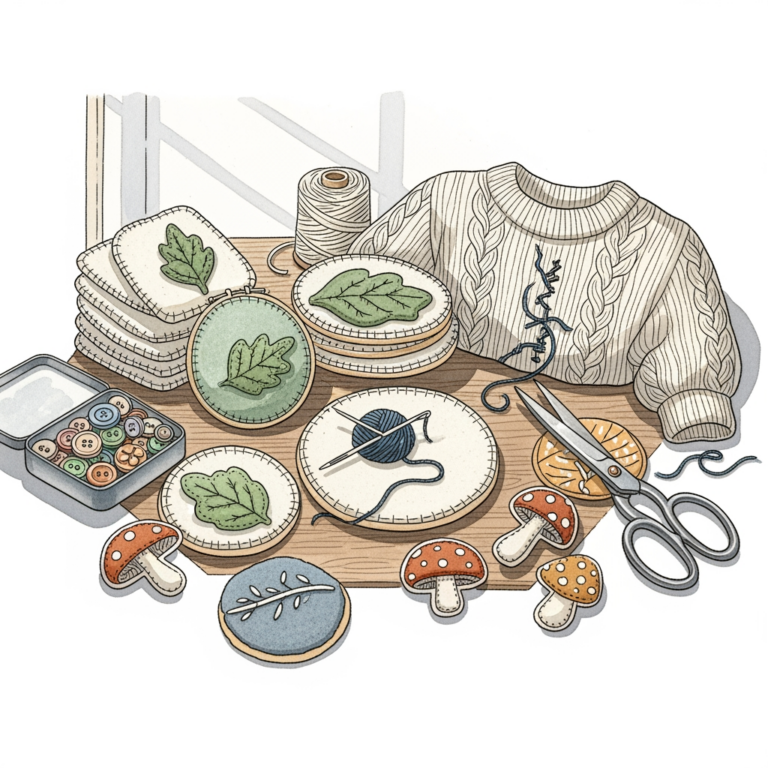
6 Cardboard Inserts For Lightweight Backing Options
Discover 6 durable cardboard inserts for lightweight backing needs. Protect your projects and ensure structural stability by reading our expert guide today.
When a finished lace shawl needs a permanent shape or a hand-knitted ornament requires a rigid internal structure, selecting the right backing board becomes as critical as choosing the correct needle size. Lightweight cardboard inserts provide the necessary architecture to display fiber arts without adding cumbersome weight or damaging delicate stitches. Choosing the wrong material can lead to long-term fiber degradation or warping, especially when mounting finished pieces for display or gift-giving. Understanding the physical properties of these backings ensures the hard work invested in every stitch remains showcased for years to come.
BCW Comic Book Boards: The Crafter’s Secret


Comic book boards are engineered to be thin, lightweight, and incredibly rigid, making them a hidden gem for small to medium-sized fiber projects. Because they are designed to fit inside protective plastic sleeves, they offer a crisp, uniform backing that prevents knitted squares from curling or folding during storage.
These boards are typically coated on one side, which provides a smooth surface for mounting embroidery or small tapestry-style knits. If the project involves delicate lace, the ultra-thin profile of these boards ensures the display remains sleek rather than bulky.
However, they are not intended for heavy, oversized garments. Stick to using these for mounted swatches, fiber-based wall art, or small flat ornaments.
Grafix Chipboard Sheets: Best for Custom Sizes
Chipboard is the workhorse of the crafting world, offering a dense, compressed paper structure that maintains its shape even under the tension of a stretched fabric. Unlike standard corrugated cardboard, chipboard does not have air gaps, which means it will not compress or dent when you pin or glue heavy wool yarns to it.
The primary advantage here is the ease of customization. You can score and fold these sheets to create custom display boxes or rigid inserts for knitted bags and clutches.
If you are reinforcing the bottom of a hand-knitted market bag, chipboard provides the necessary structural foundation without the internal corrugated ridges that might show through the fabric. Always match the thickness of the chipboard to the weight of the fiber; heavy, chunky-weight wool requires a thicker, more rigid sheet.
Lineco Acid-Free Board: For Archival Projects
When creating an heirloom piece, such as a Christening gown or a vintage-style sampler, acid-free backing is non-negotiable. Standard cardboard contains lignin, an organic substance that yellows and degrades fabric over time through off-gassing.
Lineco boards are specifically buffered to prevent this chemical migration, protecting the structural integrity of animal fibers like wool, alpaca, and silk. Using a board that isn’t archival-grade can lead to permanent discoloration of light-colored yarns or metallic threads.
Treat these boards as a form of insurance for your most precious projects. While they are a higher investment than bulk craft materials, the preservation of your fiber arts is worth the additional cost.
Darice Sticky Back Foam: Easiest No-Glue Option
For those who find the process of using spray adhesives or hot glue messy and intimidating, adhesive-backed foam is a game-changer. The light tack on these sheets allows for repositioning, which is ideal when you need to align the grain of a knitted piece perfectly with the edge of the board.
The foam provides a slight cushioning effect, which is perfect for mounting delicate knits that might look flattened if pressed against a hard, rigid surface. It also allows for the use of pins to secure the work around the edges.
Be cautious when using this with very loose, open-work lace, as the adhesive can sometimes pull at the fibers. Always perform a small test to ensure the fabric won’t be damaged by the adhesive backing.
Pacon Railroad Board: Most Colorful Choice
Railroad board is a solid-colored, smooth-surface paper stock that is ideal for vibrant, graphic knitting projects. If the goal is to make a specific color in your yarn pop, matching the board color to the background of the knitting creates a professional, cohesive look.
This material is significantly thinner than chipboard, making it better suited for lighter-weight projects or items that need to be framed behind glass. It is easy to cut with a standard craft knife, allowing for precise shapes to match intricate knitting patterns.
Because it is not a heavy-duty material, avoid using it for structural support in items like bags. It serves best as a decorative backing or an internal support layer for lightweight fiber crafts.
Uline Chipboard Pads: Best Bulk Value Option
For a maker who constantly produces mounted swatches, quilt-knit squares, or fiber-based greeting cards, buying in bulk is the only logical path. Uline chipboard pads provide the industrial consistency needed for large-scale projects without the markup of boutique craft store packaging.
These pads are utilitarian in nature, offering a raw, brown finish that is ideal for rustic or modern farmhouse aesthetics. If you prefer a cleaner look, simply wrap the board in a layer of linen or cotton fabric before mounting your knitting.
Because you are purchasing in higher quantities, you have the flexibility to double up the boards if a project requires extra rigidity. Always store these in a dry environment to prevent the compressed paper from absorbing moisture and warping.
Choosing the Right Board Thickness for Your Work
Thickness is measured in points (pt), with higher numbers indicating more rigidity. For delicate lacework or fine-gauge sock yarn projects, look for boards in the 20pt to 30pt range, as they won’t overwhelm the subtle drape of the fabric.
If you are mounting heavier weight wool or structured pieces like a knitted trivet, you should aim for 50pt to 80pt boards. Too thin, and your project will sag; too thick, and it will be difficult to mount without creating unwanted bulk.
Always consider the weight of the yarn itself. A dense, worsted-weight wool will require a sturdier, thicker base to prevent the backing from bowing under the weight of the fibers.
Acid-Free vs. Standard Board: Does It Matter?
The distinction between acid-free and standard board is entirely about longevity. Animal fibers, particularly natural, undyed wools, are susceptible to the chemical imbalances in standard wood-pulp cardboard.
Over several years, acid migration can cause white wool to turn a sickly yellow and can weaken the fibers themselves. If a project takes hundreds of hours to complete, it is a poor decision to mount it on materials that will contribute to its decay.
Always look for the term “archival” or “acid-free” on the packaging. If you cannot confirm the acidity of a board, use a barrier layer like acid-free tissue paper between the board and your knitting.
How to Cut Your Backing Board Without Fraying
The secret to a clean edge on a backing board is a sharp blade and a metal ruler. Using a dull blade causes the cardboard to tear rather than slice, which leaves jagged edges that are difficult to cover.
Always make several light passes with your utility knife rather than attempting to cut through the entire thickness in one go. A single heavy-handed pass increases the risk of the blade slipping and ruining both the board and the workspace.
If cutting foam-core or sticky-back materials, change your blade frequently. Foam dulls blades significantly faster than plain paperboard, and a sharp tip is essential for accuracy.
Mounting Your Fabric: A Quick Step-by-Step Guide
- Measure Twice: Ensure your board is cut slightly smaller than the knitted piece to allow for wrapping the edges, or exactly to size for an edge-to-edge finish.
- Blocking is Key: Before mounting, ensure your knitted piece is fully blocked to the final desired dimensions to prevent distortion later.
- Alignment: Place your knitting face down on a clean surface, center your board on the back of the piece, and fold the excess fabric edges toward the center of the board.
- Secure: Use a low-tack adhesive, pins, or archival-safe double-sided tape to secure the fabric to the back of the board, working from the center outward to keep the tension even across the surface.
Selecting the right backing board transforms a simple knitted square into a piece of art ready for display. By matching the weight, acidity, and structure of your board to the specific fiber and density of your project, you ensure your handiwork remains as beautiful as it was the day it came off the needles. Always prioritize the health of the fibers, and do not hesitate to test a small scrap before committing a finished piece to a new mounting material.