7 Best Specialized Stencils For Geometric Patterns
Create stunning geometric designs with ease. Discover the 7 best specialized stencils for geometric patterns and elevate your DIY projects today. Read more here.
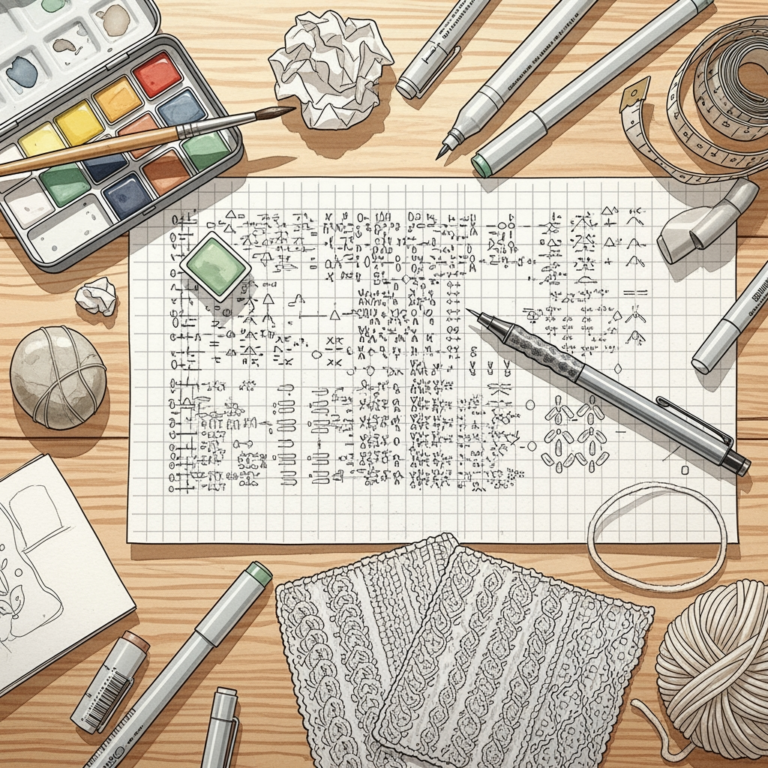
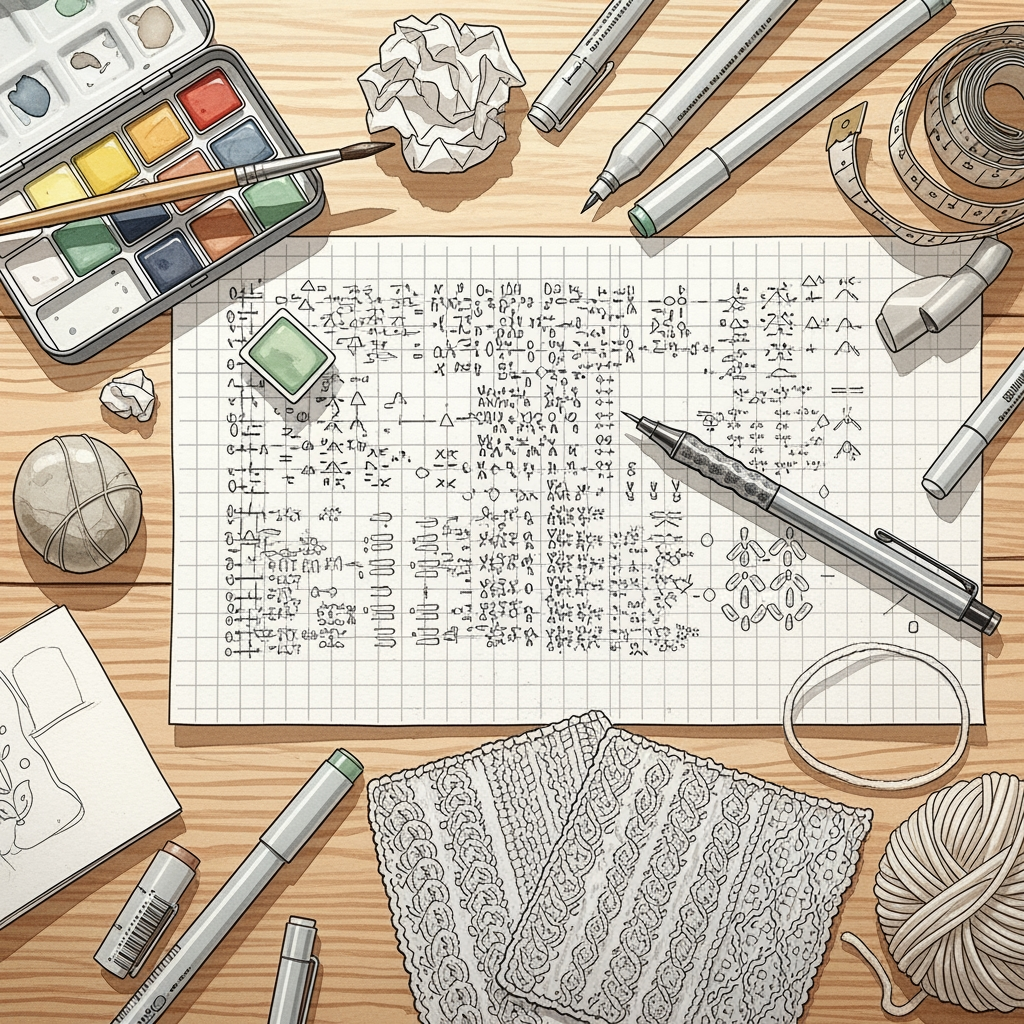
Precision in pattern placement is the silent partner of every great fiber arts project, whether surface-embellishing a hand-knit bag or marking fabric for custom quilt linings. Geometric designs demand a level of consistency that freehand drawing simply cannot replicate across complex fabric textures. Choosing the right stencil eliminates guesswork, allowing the maker to focus on the tension of the stitch rather than the symmetry of the motif. This guide identifies the top tools to bridge the gap between creative vision and technical execution.
Stencil Revolution Geo Pattern Set: Best Overall

This set provides a comprehensive range of repeating geometric shapes that hold their registration perfectly across both stable woven cottons and slightly drapey linen blends. The thickness of the material strikes an ideal balance, remaining rigid enough to prevent marker bleed while flexible enough to conform to curved surfaces like tote bags or pouches.
The primary advantage here is the inclusion of alignment markers, which simplify the process of tiling patterns. For those working on larger surface areas, these markers are essential for preventing the incremental errors that often plague hand-transferred designs.
Expect this set to function best when secured with low-tack painter’s tape. If the stencil shifts even a fraction of a millimeter, the geometric rhythm will be visibly broken, ruining the clean lines required for high-quality finishing work.
Clover Sashiko Stencil Pack: For Hand Stitching

Sashiko stencils are engineered specifically for the dense, rhythmic nature of needlework. Because these patterns often require following a consistent path for running stitches, the bridges between cutouts are designed to be exceptionally narrow and sturdy.
These stencils excel when paired with fabric markers that disappear upon contact with water or heat. Since the patterns are meant to be stitched over, the stencil design ensures that the intersection points of the geometry remain clear and easily navigable for the needle.
Be mindful that these patterns are frequently smaller in scale compared to industrial wall stencils. They are best suited for detailed work on clothing pockets or small decorative accessories rather than large-scale fabric yardage.
Arteza Flexible Fabric Stencils: Top Budget Pick

Budget-friendly options often compromise on material durability, but this line holds up surprisingly well for occasional use on light-to-medium weight fabrics. The Mylar construction is thin, which makes it ideal for projects where you need the stencil to wrap snugly around a cylindrical item like a fabric-covered knitting needle case.
However, the thinner material does present a trade-off: it is more prone to paint or ink creeping underneath the edges if too much pressure is applied. Use a light hand and a dabbing, rather than dragging, motion when applying pigment.
If the goal is to practice geometric placement without a significant financial investment, this is a reliable entry point. It allows for experimentation with different patterns before committing to more expensive, professional-grade tools.
June Tailor Shape Cut Pro: For Quilting Blocks
This is less of a traditional stencil and more of a precision cutting system designed to ensure every geometric segment is perfectly square or angled. For quilters who need to produce repetitive triangular or diamond-based patterns, this tool turns a tedious task into a quick, uniform process.
The system relies on a specific ruler and mat configuration to guide a rotary cutter through the stencil slots. It is an absolute necessity when the project requires perfect seam allowances, as any geometric inaccuracy will cause the entire quilt top to pull or ripple during assembly.
While it lacks the decorative flair of an open-style stencil, its utility in structural geometry is unmatched. It effectively minimizes fabric waste by allowing for tight nesting of shapes across a length of fabric.
Dritz Quilting Stencil Essentials: Classic Choice
Dritz has long been the standard-bearer for traditional quilting tools, and their plastic stencils remain a staple for a reason. These are sturdy, semi-rigid templates that resist warping over time, which is vital when working on long-term projects that take months to complete.
The classic geometric designs—such as clamshells, grids, and diamonds—are timeless and provide a structured aesthetic that works beautifully with wool or cotton batting. They are particularly effective when using tailor’s chalk or pounce powder to transfer markings to dark or textured fabrics.
While they do not offer the modern flair of newer laser-cut designs, their durability is superior. A set of these can last a lifetime if stored flat and kept away from excessive heat or crushing weight.
The Stencil Studio Mod-Geo Set: For Large Scale
When moving beyond small accessories to larger home decor projects like curtains or wall hangings, small stencils become difficult to manage. This set provides larger geometric sheets that allow for faster coverage and more consistent pattern distribution across wide swaths of fabric.
The modular nature of these designs means you can join pieces together to create expansive, seamless patterns. It is essential to measure twice and use a spirit level or a ruler to ensure the first application is perfectly plumb.
Because these stencils are large, the center of the sheet can sometimes bow slightly during use. To counter this, use a light spray of repositionable adhesive on the back of the stencil to keep the middle flush against the fabric surface.
MisterArt Stencil Film Roll: Best for Custom DIY
For the maker who has a vision that no off-the-shelf stencil can satisfy, a roll of stencil film is the ultimate creative tool. This material is designed to be cut with a craft knife or a digital cutting machine, allowing for fully bespoke geometric designs that match a specific project’s dimensions.
The film is durable enough to be reused multiple times but thin enough to be easily trimmed to fit awkward spaces. It is the perfect solution for those doing intricate colorwork-inspired embroidery where the pattern must align precisely with existing knit stitches.
The learning curve here is higher, as you must manage the negative space of the stencil carefully. When cutting your own, always leave at least a half-inch of “bridge” material between cuts to ensure the stencil maintains its structural integrity during application.
How to Choose a Stencil for Your Fabric Project
When selecting a stencil, start by evaluating the “hand” of your fabric. A stiff, heavy canvas can handle a rigid stencil, while a lightweight silk or a loose-gauge knit requires a thinner, more flexible template that won’t distort the fabric weave.
Consider the complexity of the geometric motif in relation to your chosen transfer medium. Fine lines require a stencil with narrow bridges and a marker that won’t bleed, whereas bold, thick lines are more forgiving of lower-quality stencil materials.
- For precision: Look for laser-cut Mylar with alignment notches.
- For flexibility: Choose thin polyester or Mylar sheets.
- For durability: Prioritize heavy-gauge, washable plastics.
Ultimately, your choice should be dictated by the end-use of the item. A bag meant for heavy utility needs deep, clear markings, while a delicate display piece benefits from lighter, less permanent transfer methods.
Best Markers and Pens for Transferring Patterns
The effectiveness of any stencil is only as good as the marker you pair with it. For most fabric work, heat-erasable pens are the current industry favorite because they allow for precise, fine-line markings that vanish completely once the project is ironed.
If working on dark fabrics, tailor’s chalk or chalk-based mechanical pencils are safer bets as they provide high contrast without the risk of permanent staining. Avoid standard ballpoint pens at all costs, as the ink can migrate through the fiber and cause permanent damage to your finished project.
Always test your chosen marking tool on a scrap of the exact same fabric you intend to use. Different fibers have different absorption rates, and you need to confirm that your marks will be visible during the process but invisible once the project is complete.
Tips for Clean Stencil Lines on Any Fabric Type
Clean lines start with preparation. Ensure your fabric is pressed flat and, if possible, lightly starched or stabilized before you begin. A stable, non-stretching fabric surface is the secret to avoiding the “fuzzy” edge that occurs when fabric fibers move under the stencil.
When applying your marker or ink, use a vertical, tapping motion. Dragging the tip of the pen or brush horizontally creates side-pressure that lifts the stencil edge, allowing ink to bleed underneath the pattern.
If you find that the stencil is sliding, do not rely on your hands alone. Use masking tape or a specialized repositionable adhesive spray to lock the stencil into place, ensuring your geometric pattern remains crisp, sharp, and professional-looking from the first segment to the last.
Mastering the use of stencils is a transformative step for any fiber artist, as it converts complex geometric concepts into reliable, repeatable patterns. By choosing the right material for the task and respecting the mechanical constraints of your fabric, you can elevate even the simplest project into a refined, high-end piece. With the right tools in hand, the barrier between a rough sketch and a polished, professional design effectively disappears.