7 Best Mannequin Heads For Hat Display To Consider
Displaying hats effectively requires the right base. Explore our top 7 mannequin head picks, focusing on material, durability, and style for your storefront.
You’ve spent hours perfecting your gauge, choosing the right fiber, and weaving in every last tail of your latest hat project. Now, you need a display that honors your hard work rather than distorting the stitch definition or stretching out the brim. Choosing the right mannequin head is as much about protecting your knitting as it is about aesthetics. Here are the best options to help your finished pieces shine.
1. Bonnlo Female Mannequin Head: Best Overall


This head offers a perfect balance of durability and a neutral aesthetic that doesn’t distract from your work. It provides a realistic silhouette, which is crucial for seeing how cables or lace motifs drape over a natural curve.
The material is sturdy enough to hold its shape through years of use without the crumbling mess often associated with cheaper foams. Because it mimics a standard adult head size, it gives you a true-to-life representation of how the hat will sit on a person.
If you are selling your knits online, this is the gold standard for a professional look. It keeps your hats looking intentional and high-quality, which is vital when you are asking customers to pay for your time and skill.
2. DisplayGifts Velvet Covered Head: Best Texture
Velvet-covered heads are a dream for anyone working with delicate fibers like alpaca or mohair. The soft, slightly grippy surface prevents hats from sliding off, even if you’re displaying them at a slight angle for a dynamic photo.
The velvet adds a touch of luxury that elevates the perceived value of your handknits. It’s particularly effective for lighter-colored hats that might look washed out against a stark white background.
Keep in mind that velvet can attract lint and pet hair, so keep a sticky roller nearby. If you are knitting with "sticky" wool that tends to cling, this texture is your best friend for keeping things in place.
3. Generic Styrofoam Heads: Best Budget Option

We have all seen these in craft stores, and there is a reason they remain a staple. They are incredibly lightweight, inexpensive, and easy to pin into if you need to secure a pom-pom or a specific brim fold.
However, be warned: they are notorious for shedding tiny white beads everywhere. I recommend wrapping them in a thin, neutral-colored fabric or a spare piece of jersey knit to prevent static-charged foam from sticking to your yarn.
They are ideal for makers who are just starting out or those who need a dozen heads for a craft fair booth. They aren’t the most beautiful, but they get the job done without breaking your yarn budget.
4. Trubest Realistic Mannequin: Best for Photos

When you are ready to move from casual snapshots to professional product photography, a realistic mannequin is worth the investment. The detailed features help potential buyers visualize the hat on a real person, which significantly increases conversion.
These heads are often molded with more accurate proportions, which helps prevent the "stretched-out" look that happens when a hat is forced onto a head that is too large. They are perfect for showing off complex colorwork or intricate cables.
Just remember that a very realistic face can sometimes compete with the hat for attention. Keep your lighting soft and your background simple to ensure the focus remains on your stitches.
5. MyGift Metal Wire Display: Best Minimalist
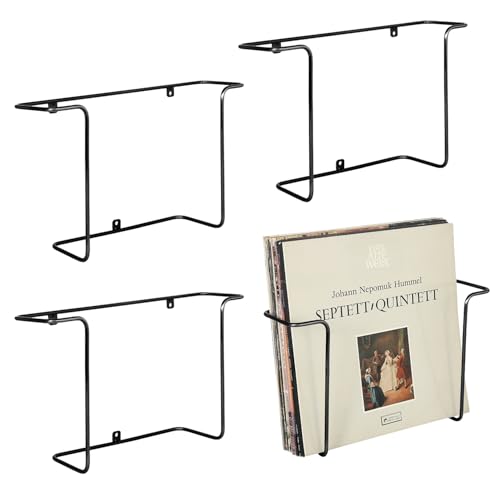
If your hat features an openwork lace pattern, a wire display is an excellent choice. It allows air to circulate and lets the light pass through the stitches, highlighting the delicate nature of your work.
These displays have a modern, industrial aesthetic that looks fantastic in a studio or a boutique setting. They are also incredibly sturdy and won’t degrade over time like foam or plastic.
The downside is that they offer no "filling," so a slouchy hat might look limp. If you choose this style, consider stuffing the inside with a bit of tissue paper to maintain the intended shape.
6. S-Lifeeling Canvas Block: Best for Blocking
Technically, this is a tool for wig makers, but it is a secret weapon for knitters who want to block hats into a specific, professional shape. The cork interior allows you to use T-pins to secure the brim or crown while the piece dries.
If you have spent hours on a complex fair-isle design, you know that proper blocking is what turns a "homemade" item into a professional one. This head ensures your hat maintains its symmetry and size.
Because it is firm and covered in canvas, it provides a stable surface that won’t give way under the tension of pins. It is a bit of an investment, but for a serious knitter, it is an essential piece of equipment.
7. Formina Adjustable Tripod Head: Best Utility

A tripod-mounted head is the ultimate solution for photographers and booth organizers. Being able to adjust the height means you can place your hats at eye level, which is much more engaging for potential customers.
The adjustability also allows you to tilt the head, which is perfect for capturing the details of a brim or the texture of a crown. It saves your back from hunching over to get the perfect angle.
This is the most "professional" setup on the list. If you are doing frequent pop-up markets or building a brand, the ability to control height and angle is a game-changer for your display consistency.
8. Why Hat Size Matters for Your Display Choice
A hat that is stretched too far will look distorted, while one that is too loose will look sloppy. Always check the circumference of the mannequin head against your pattern’s finished size.
- Standard Adult: Usually 21–22 inches.
- Small/Child: Usually 18–19 inches.
- Large/Men’s: Often 23+ inches.
If your mannequin is significantly smaller than your hat, use a bit of batting or a scarf inside to fill it out. Never force a hat onto a head that is too large, as this can permanently damage the elasticity of the ribbing.
9. Essential Tips for Photographing Handknits
Lighting is everything when you are trying to capture the depth of your stitches. Avoid harsh, direct flash, which can flatten the texture of your yarn and create ugly shadows.
- Use natural, indirect light: Near a window is best.
- Contrast matters: If you are knitting with dark yarn, use a light-colored background.
- Highlight the details: Take one wide shot and two close-ups of the stitch pattern.
Remember that people buy the "vibe" of the knit as much as the object itself. A well-lit photo that shows the softness of the fiber will always outperform a dark, blurry one.
10. How to Store Your Finished Hats Properly
Never store your finished hats in direct sunlight, as UV rays can fade natural fibers over time. Keep them in a cool, dry place to prevent mold or moth issues.
If you aren’t displaying them, fold them gently and place them in a breathable cotton bag. Avoid plastic bins, which can trap moisture and lead to that dreaded "stale" smell.
By treating your finished hats with the same care you gave them while they were on the needles, you ensure they stay beautiful for years to come. Proper storage is the final step in your project’s lifecycle.
Investing in a quality mannequin head is an act of respect for the hours you’ve poured into your needles and yarn. Whether you choose a simple foam head for your craft fair booth or a sturdy canvas block for professional blocking, ensure your choice aligns with your specific display needs. Take your time, consider your fiber type, and don’t be afraid to adjust your display to best suit the unique character of each hat. Your finished work deserves to be showcased with the same expertise you used to create it.