6 Best Foam Blocks For Large Scale Projects To Consider
Planning a large-scale project? Discover our expert picks for the 6 best foam blocks to ensure structural stability and quality results. Shop your supplies now.
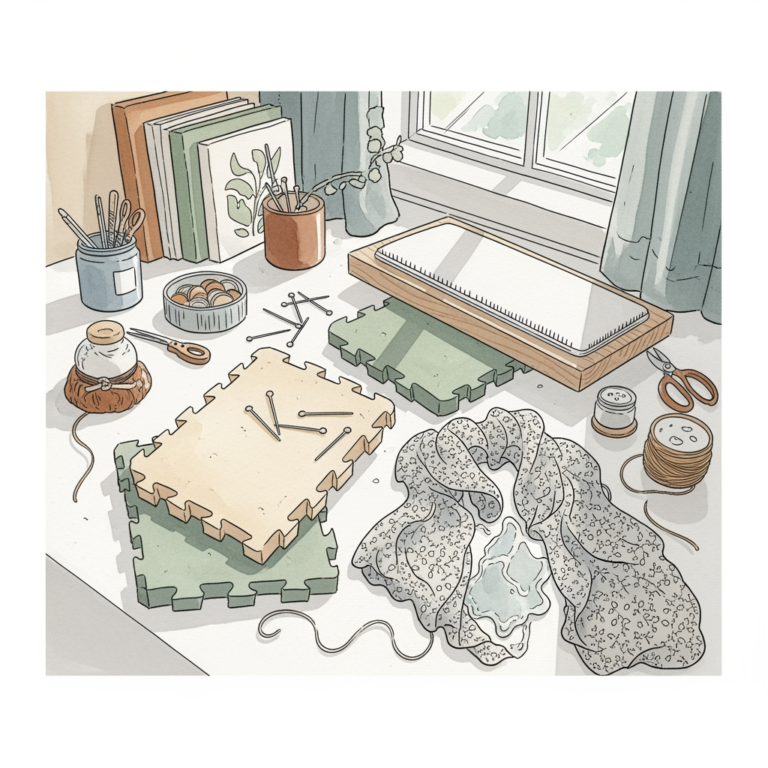
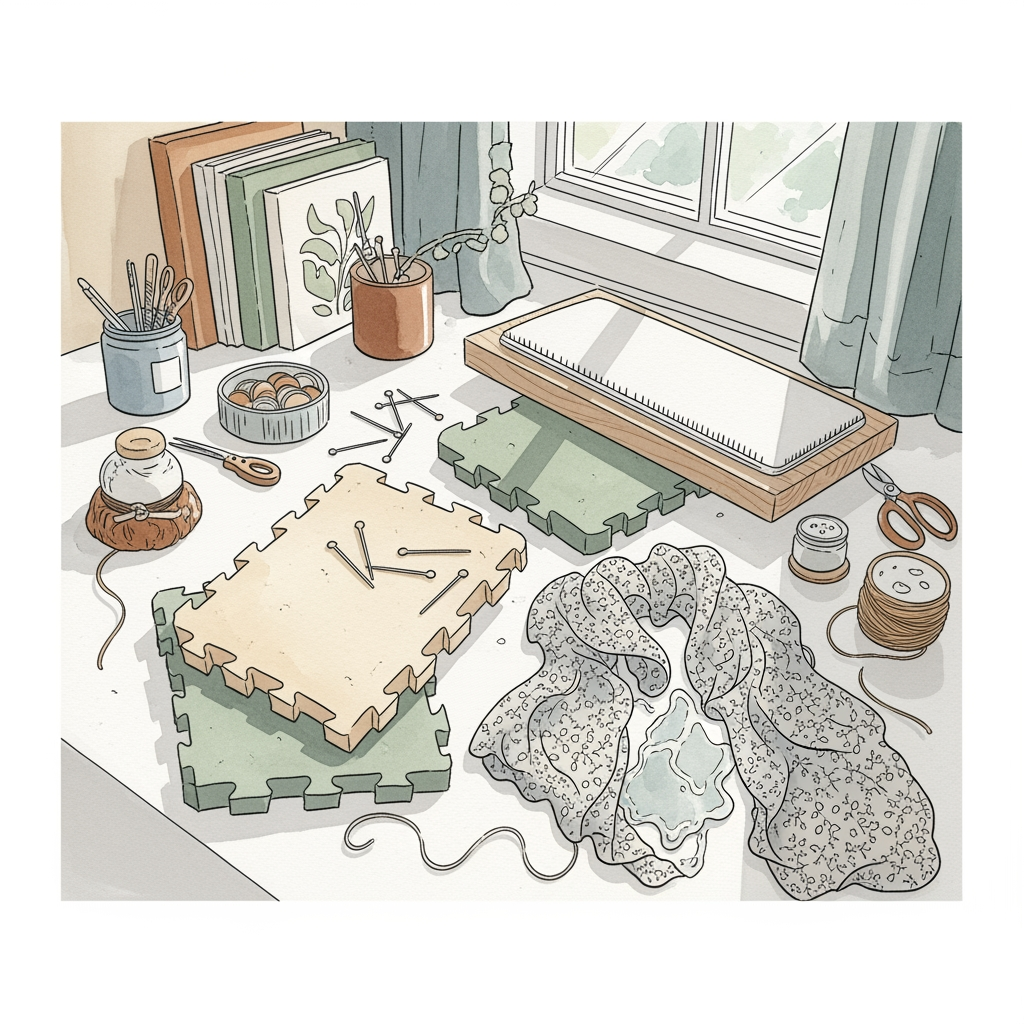
Blocking is the transformative final act of any knitting project, turning lumpy, uneven stitches into a professional, cohesive fabric. Without a reliable, stable surface, the delicate process of setting yarn fibers to their finished dimensions becomes a frustrating chore. A high-quality set of foam blocks ensures that lace patterns bloom, cables pop, and edges remain crisp after the garment leaves the needles. Selecting the right foundation for this process is as critical as choosing the proper yarn weight for a delicate shawl.
Knit Picks Blocking Mats: The Community Favorite


The Knit Picks mats serve as the industry standard for a reason: they strike an ideal balance between thickness and firmness. These blocks provide enough density to hold T-pins securely without allowing the pins to push straight through to the floor.
When working with heavy wools or dense, oversized sweaters, the stability of these mats prevents the edges from curling upward under tension. They remain a go-to choice because they offer consistent quality across multiple sets, ensuring that new blocks align perfectly with older ones.
If the goal is a reliable, no-nonsense setup that won’t degrade after a few seasons of heavy use, these are the primary contender. The bottom line is that these offer the most predictable performance for the widest variety of yarn fibers.
Cocoknits Knitter’s Block: Best Premium Set

The Cocoknits system elevates the blocking experience by pairing high-quality, heat-resistant tiles with a clever, printed grid layout. This set is designed for the knitter who demands precision, particularly when blocking modular garments that require exact, repeatable dimensions.
Beyond the tiles themselves, the inclusion of a specialized cover sheet allows for steam blocking without the risk of melting the foam surface. While the price point is higher, the investment is justified for those frequently working with expensive lace weights or complex colorwork patterns.
This set is not just about the foam; it is an integrated system for measuring and shaping. Choose this if precision-engineered results are the priority over a simple, budget-friendly surface.
Knitter’s Pride Mats: Best Gridded Surface
Knitter’s Pride mats distinguish themselves with a clearly printed grid on the surface, which is an invaluable asset for symmetrical projects. If you are blocking a rectangular shawl or a delicate scarf, having a visual reference point saves time that would otherwise be spent dragging out a measuring tape.
The material is slightly more porous than high-end premium options, which aids in airflow if the project is being pinned while slightly damp. However, this porosity means they can be prone to showing wear if aggressive pinning techniques are used repeatedly.
For those who struggle to keep garments square, the printed lines act as a built-in guide. These are best for knitters who find free-hand blocking difficult and want an immediate visual confirmation of squareness.
Boye Interlocking Boards: Most Budget-Friendly
Boye mats provide the essential functionality of a blocking surface without any unnecessary frills or premium branding. They are perfectly capable of pinning down a standard sweater or a pair of socks, making them an excellent entry point for newer knitters.
While they may be slightly thinner or softer than professional-grade alternatives, they perform the core task of holding T-pins effectively. For those on a strict budget, they offer the most square-footage per dollar, allowing for the creation of larger blocking configurations.
The trade-off is long-term durability, as the interlocking teeth may loosen slightly after several years of assembly and disassembly. If you need to cover a large floor space on a limited budget, this is the most practical solution.
We Are Knitters Set: The Best All-In-One Kit
The We Are Knitters blocking kit is designed for the knitter who wants a cohesive, aesthetically pleasing solution right out of the box. It typically includes not just the blocks, but essential accessories like T-pins and specialized wool-soak samples.
This kit eliminates the guesswork of sourcing individual components, making it an ideal gift or a convenient “start-up” purchase. The mats themselves are sturdy and provide a neutral, clean backdrop for documenting finished projects for social media or personal records.
While it lacks the technical grid precision of some premium brands, the convenience factor is high. This is the superior choice for someone looking to start their blocking journey with a single, comprehensive purchase.
ProsourceFit Play Mat: Best Budget Alternative
Many experienced knitters look outside the craft aisle to children’s foam play mats, which are often identical in composition to specialized blocking boards. These mats are frequently thicker and more durable than craft-store equivalents, providing excellent insulation from cold, hard flooring.
The primary difference is the lack of a branded “blocking” label, which often results in a significantly lower price point for a larger surface area. The potential downside is the texture; some play mats have a bumpy surface that can leave temporary impressions on delicate, damp fibers.
Before choosing these, check the surface finish to ensure it is smooth enough for your specific yarn type. Use these if you need an massive, industrial-scale surface for blocking blankets or large rugs without breaking the bank.
How to Choose The Right Blocking Mat Size
The rule of thumb for blocking is that the surface must be at least as large as the item being stretched, plus a three-inch margin for the pinning perimeter. A common mistake is buying a set that barely fits the garment, which prevents the edges from being properly tensioned.
- For Socks/Small Accessories: A single 24×24 inch area is often sufficient.
- For Sweaters/Large Shawls: A minimum of 4-6 tiles is required to accommodate the length of a torso or wingspan.
- For Large Blankets: Plan for at least 9-12 tiles to ensure the entire piece can be blocked at once.
Consider your available floor space first; there is no sense in purchasing a massive set if your only open floor space is a small table. Always measure your most ambitious project, then add an extra tile to your total to account for pinned-out edges.
Wet vs. Steam Blocking on Your New Mats
The method of blocking dictates how you treat your mats, especially regarding heat sensitivity. Wet blocking, where the garment is soaked and then squeezed out, requires a mat that won’t break down when exposed to moisture over long durations.
Steam blocking involves hovering an iron over the piece, which requires caution; direct heat can cause low-quality foam to warp or melt. Always test a small, inconspicuous area if you plan to use steam, and prioritize sets that explicitly claim heat-resistance.
If you are working with heat-sensitive synthetics or delicate silk blends, proceed with caution. Wet blocking is generally the safer, more forgiving method for beginners and ensures that fiber memory is fully reset.
Arranging Your Mats for Extra-Large Projects
When blocking large items, the configuration of the blocks matters as much as the blocks themselves. Arrange the tiles in a staggered, brick-lay pattern whenever possible to increase the structural integrity of the entire surface.
Ensure that the floor beneath the mats is level; even a slight slant in a room can cause a project to dry unevenly or pull toward one side. If the mats slide around on a hardwood or tile surface, placing a non-slip rug pad underneath the entire assembly will keep the blocks locked in place.
Do not attempt to block a project that is significantly larger than your mat setup by moving it halfway through. The uneven tension created by repositioning a damp garment often results in distorted stitches.
Proper Care and Storage for Foam Blocks
Foam blocks are prone to picking up dust, fibers, and pet hair, which can transfer to future projects if left uncleaned. After use, wipe the mats down with a damp cloth and allow them to air dry completely before stacking them away.
Avoid folding the mats or storing them in a bent position, as permanent creases will compromise the flat surface needed for future blocking. If you do not have a dedicated storage bag, a simple pillowcase or a plastic bin works perfectly to keep them clean and protected from crushing.
Treat these tools well, and they will support hundreds of hours of finishing work. Proper storage prevents the foam from drying out or becoming misshapen, ensuring your investment lasts for the entirety of your knitting career.
Choosing the right blocking mats transforms blocking from a dreaded chore into a satisfying finale. By balancing your budget against your specific project needs—whether it be the precision of a gridded surface or the sheer scale of an oversized blanket—you can ensure your hard work receives the professional finish it deserves. With the right foundation in place, your knitting will consistently look as polished as the day it was envisioned.