7 Best Felting Needle Gauges For Size Identification
Master needle felting with our guide to the 7 best gauge sizes. Learn how to identify and select the perfect needles for every unique fiber project you craft.
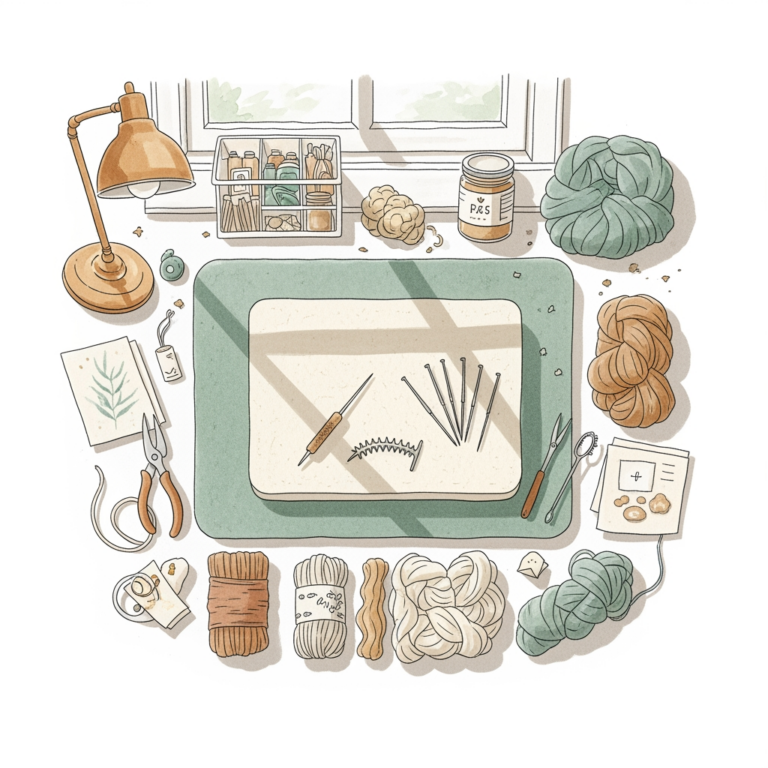
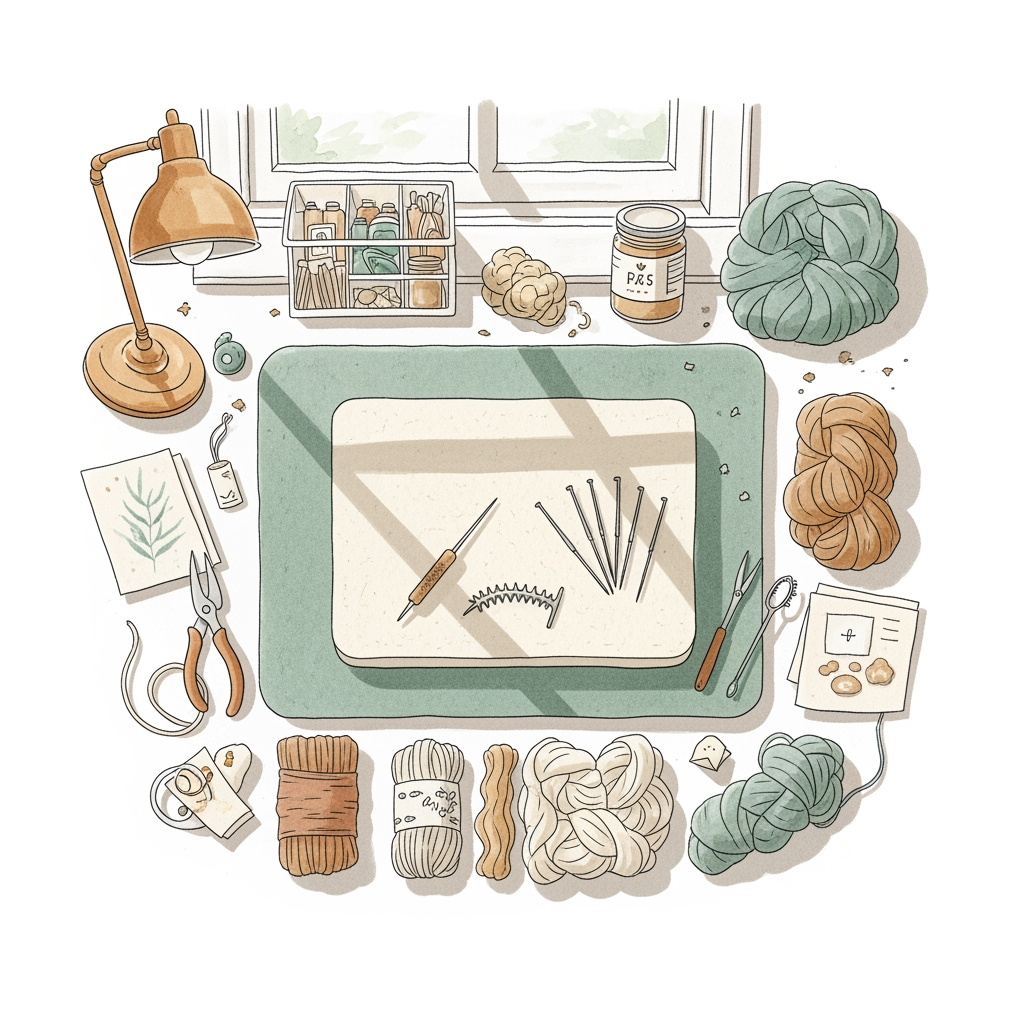
Selecting the right felting needle is as fundamental to needle felting as choosing the correct needle size for a delicate lace shawl. While many beginners grab the first needle they find, understanding gauge is the secret to achieving smooth, professional finishes without breaking your tools. This guide breaks down seven industry-leading needles to help you master fiber density and structural integrity. With the right gauge in your hand, you can transform loose roving into firm, sculptural art with ease.
Clover Felting Needle Tool: The Gold Standard

The Clover tool is the go-to for many fiber artists because it balances ergonomic design with consistent performance. It features a replaceable needle system that saves you from buying entire units when a single tip inevitably snaps.
If you are working on a large-scale project, like a wool-felted bag or a stuffed animal, the multi-needle configuration of this tool is a lifesaver. It covers more surface area, effectively "locking" the fibers together much faster than a single needle ever could.
However, keep in mind that the Clover tool is best for general construction rather than delicate surface details. Because it uses a cluster of needles, it can be too aggressive for fine-tuning facial features or adding subtle color gradients.
Groz-Beckert 36 Gauge: Best for Coarse Wool
Groz-Beckert is the industry heavyweight, often found in industrial machinery, but their 36-gauge needles are a staple for hand-felters. This gauge is the perfect "workhorse" for thicker, coarser wools like Corriedale or Romney.
When you are starting a project and need to build a firm core quickly, the 36 gauge provides the necessary bite. It has deep barbs that grab onto thicker fiber scales, pulling them deep into the core to create a solid foundation.
Avoid using this gauge on fine merino or delicate mohair, as it will leave visible, unsightly holes in your work. Stick to the 36 gauge for the "skeleton" of your project, and switch to finer needles once you move toward the surface.
Ashford 38 Gauge Star: Ideal for Detail Work
The star-shaped cross-section of the Ashford 38 gauge is a design marvel that allows for faster felting from multiple angles. Unlike triangular needles, the star shape has more barbs distributed around the circumference.
This needle is my top recommendation for intermediate felters who are moving past basic shapes and into more complex, three-dimensional forms. It is aggressive enough to shape wool quickly but small enough to leave a relatively clean finish.
Use this needle when you need to attach limbs to a body or create defined edges on a garment. It provides a great balance of speed and precision, making it one of the most versatile tools in any felter’s kit.
Schacht Spindle Company 40 Gauge: Precision

When you need to refine the surface of your work or hide the "pockmarks" left by larger needles, the Schacht 40 gauge is your best friend. It is a fine-gauge needle designed for smoothing and subtle sculpting.
Think of this needle as you would a small circular needle for finishing a neckline; it’s all about the final, meticulous work. It works best with fine, soft fibers like Merino or Alpaca that respond well to gentle manipulation.
Because it is quite thin, it is prone to snapping if you try to force it through dense, already-felted areas. Always use a light touch and let the barbs do the work rather than using physical pressure.
Hamanaka Fine 42 Gauge: Delicate Sculpting
The Hamanaka 42 gauge is the "lace needle" of the felting world, offering an incredibly fine tip for microscopic adjustments. If you are felting tiny details like pupils on eyes or intricate patterns on a miniature, this is the tool you need.
This needle is exceptionally delicate and requires a steady hand and a patient temperament. It is not designed for structural work; it is strictly for surface refinement and adding the final, polished touches to your art.
If you find your project looking "fuzzy" or uneven, a few passes with the 42 gauge will help tame those stray fibers. It’s the difference between a rough prototype and a professional, gallery-ready piece.
Bear Creek 32 Gauge: Best for Fast Felting
The 32 gauge is the heavy-duty option for those who want to move from loose wool to a firm structure in record time. It is a thick, robust needle with large barbs that move a significant volume of fiber with every punch.
Use this when you are creating the base of a sculpture or felting heavy-duty materials like rug wool. It is essentially the "size 10 needle" of the felting world—perfect for bulky projects where speed is the priority over finesse.
Be warned: this needle will leave large holes if you use it on anything other than a very thick, dense base. It is strictly for the initial stages of construction, not for any work that will be visible on the final surface.
Felting Needles USA 36 Gauge: Versatile Pick
If you could only buy one needle for your entire collection, a standard 36 gauge from Felting Needles USA is a safe and reliable choice. It handles a wide variety of wool types, from medium-coarse to fine, with moderate success.
This is the "all-purpose" needle that bridges the gap between construction and mid-level detailing. It’s consistent, durable, and readily available, making it the backbone of many professional felter’s tool rolls.
While it won’t be the perfect tool for extreme detail or heavy-duty structural work, it is the best "middle-ground" option. Keep a few of these on hand, as they are the ones you will reach for most frequently during your daily practice.
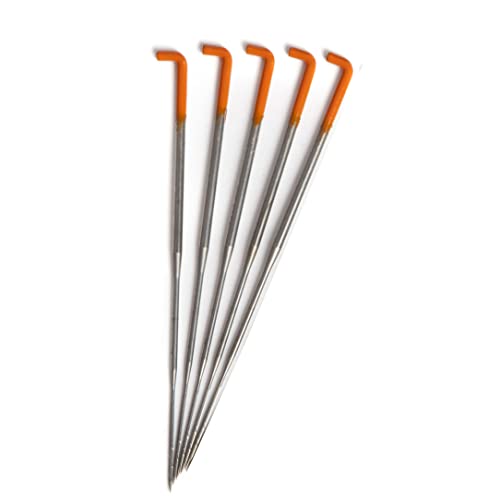
Understanding Needle Gauges and Fiber Density

In felting, the gauge number works inversely: the higher the number, the thinner the needle. A 32 gauge is significantly thicker than a 42 gauge.
Fiber density is the primary factor in choosing your gauge. Coarse, long-staple wools require thicker needles to pull the fibers into the core, while fine, short-staple wools require thinner needles to prevent breakage and surface damage.
- Low Gauge (32-36): High volume, fast construction, coarse fibers.
- High Gauge (40-42): Low volume, surface smoothing, fine fibers.
Always consider the "ply" or the loft of your fiber. A very airy, loosely spun roving will felt differently than a tight, dense batt, and your needle choice should reflect that density.
How to Match Needle Sizes to Your Project Type
Matching your needle to the project is similar to matching yarn weight to a knitting pattern. You wouldn’t use bulky yarn for a delicate sock, and you shouldn’t use a 32-gauge needle for a delicate facial feature.
Start your project with a lower gauge needle to establish the shape and density. As the project becomes firmer and you move toward the surface, graduate to higher gauge needles to refine the texture.
If you are working with synthetic fibers or blends, be aware that these often require a slightly finer needle to avoid creating large, permanent holes. Always test your needle on a small scrap of fiber before committing to your main project.
Essential Tips for Maintaining Felting Needles
Needles are essentially tiny, barbed metal wires, and they are prone to breaking if handled incorrectly. The most common cause of breakage is "prying" or bending the needle while it is still buried deep inside the wool.
- Always enter and exit the wool at the same angle.
- Keep a clean workspace to avoid snagging your needles on debris.
- Store needles in a dry, cool place to prevent rust, which increases friction and leads to breakage.
If you feel significant resistance, do not force the needle. Pull it out, reposition, and try again. A gentle, rhythmic motion is far more effective than aggressive, forceful stabbing.
Mastering the nuances of felting needle gauges will elevate your work from hobbyist crafts to refined fiber art. By selecting the right tool for each stage of your project, you ensure structural integrity and a beautiful, smooth finish. Remember that your choice of needle should always be dictated by the fiber type and the specific goal of your current task. Happy felting, and may your fibers always lock exactly where you intend them to.