7 Best Charm Findings For Beginner Jewelry Makers
Start your crafting journey with these 7 best charm findings for beginner jewelry makers. Read our guide to choose the right pieces and elevate your designs.
Jewelry making shares an intimate connection with fiber arts, as both disciplines require a keen eye for tension, scale, and material integrity. Just as choosing the wrong needle material can ruin the drape of a delicate lace shawl, selecting the incorrect finding can compromise the longevity of a handmade accessory. Mastering the hardware is the secret to moving from simple stringing to professional-grade metalwork. Here are seven essential findings that provide a reliable foundation for any budding artisan.
Beadaholique Jump Ring Variety Pack: Best Starter


Jump rings are the fundamental building blocks of jewelry assembly, functioning much like the cast-on edge of a knitting project. A variety pack is essential because a jump ring that is too large will leave unsightly gaps, while one that is too small will restrict movement.
Having a range of gauges and diameters on hand prevents the frustration of mid-project stalling. Start with a multi-size set to determine which gauge complements the weight of the charms being attached.
When working with heavy pendants, opt for a thicker gauge to prevent the ring from pulling open under tension. For delicate work, thinner rings allow for better drape.
Cousin DIY Lobster Clasps: Most Versatile Clasp
A secure closure is as critical as weaving in ends on a sweater; without it, the entire piece is at risk of being lost. Lobster clasps offer a spring-loaded mechanism that provides a reassuring click upon closing.
These are the industry standard for their balance of ease-of-use and reliability. They perform well on necklaces, bracelets, and even as modular additions to stitch markers for knitters who appreciate functional flair.
Always check the internal spring tension before installation. A clasp that feels “gritty” or stiff out of the package will likely fail early, much like a cheap plastic needle that snags yarn.
The Beadsmith Head & Eye Pin Mix: For Bead Charms
Head pins and eye pins serve as the skeletal structure for hanging individual beads or charms. Use a head pin to create a “drop” by threading a bead on and looping the wire at the top.
Eye pins, which feature a pre-formed loop at one end, are ideal for connecting multiple charms in a sequence. Think of this as creating a cable repeat—the eye pins link one unit to the next, building a cohesive chain.
Practice consistent looping techniques to ensure uniformity. Uneven loops can make a piece look amateurish, just as inconsistent tension creates an uneven fabric.
Anezus French Hook Ear Wires: Easiest Earrings
French hook ear wires are the go-to for simple, elegant drop earrings. Their curved shape provides a natural weight distribution that keeps the earring secure without the need for complex locking mechanisms.
These are particularly useful for those who want to turn charms or beads into finished accessories in minutes. The open loop at the bottom allows for rapid assembly, much like using a pre-wound bobbin for a quick repair.
Add a pair of rubber or silicone stoppers to these hooks if the wearer is prone to losing earrings. This small, inexpensive addition acts as an insurance policy for the time spent crafting.
Paxcoo Glue-On Bails: No-Tools-Needed Pendants
Sometimes, a focal piece like a cabochon or a flat-backed charm needs a suspension point without drilling. Glue-on bails offer a simple solution by providing a dedicated loop on the back of the object.
Success here relies entirely on the quality of the adhesive used. A high-strength, jewelry-grade epoxy is mandatory, as basic hobby glue will eventually brittle and break under regular wear.
Clean the surface of the object with alcohol before bonding to ensure maximum adhesion. Think of it like pre-washing your yarn; skipping the preparation phase almost always leads to a poor final result.
Outus Split Rings: For Ultra-Secure Connections
Split rings operate like a miniature keychain loop, providing a double-wrap of wire that effectively prevents accidental opening. They are the strongest choice for charm bracelets that see a lot of physical movement.
If a project involves high-friction areas—like a charm attached to a zipper pull or a frequently handled bracelet—the split ring is superior to a standard jump ring. It eliminates the gap where a jump ring might eventually pull apart.
The trade-off is that they are slightly more cumbersome to install. Use specialized split-ring pliers to avoid marring the metal finish or damaging the surrounding components.
UNICRAFTALE Hinged Ring Pendants: Group Charms
Hinged rings are designed for versatility, allowing the maker to add or remove charms without dismantling the entire necklace. These function as a “live” connection point, similar to a locking stitch marker in knitting.
They are excellent for charm-heavy designs where the aesthetic might change based on the wearer’s mood. The hinged mechanism must be durable to ensure it doesn’t pop open during daily wear.
Choose high-quality stainless steel or plated brass for these, as the mechanical stress on the hinge is significant. Avoid thin, cheap alloys that will lose their shape after a few cycles.
How to Properly Open and Close a Jump Ring
Never pull a jump ring apart like a wishbone, as this distorts the circle and weakens the metal’s structural integrity. Instead, use two pairs of pliers to grip the ends and twist them toward each other.
Align the ends so they meet perfectly flush to ensure the ring is secure. A gap in a jump ring is the most common reason for lost charms; treat this closing step with the same care used when grafting a bind-off edge.
If the ring does not spring back into a perfect circle, the metal has likely been over-stressed. It is better to discard a compromised ring than to risk the loss of a precious charm.
Choosing Your Finding Metal: Plated vs. Sterling
Metals fall into two main categories: plated, which offers an affordable range of finishes, and sterling silver, which offers lasting quality. Plated findings are perfect for practice pieces or fashion jewelry that does not require long-term wear.
Sterling silver is the better investment for heirloom-quality pieces, though it requires occasional polishing to prevent tarnish. Consider the wearer’s skin sensitivity; nickel-based platings are a common cause of irritation.
When in doubt, lead with high-quality base metals or sterling to avoid the “wear-off” effect where the silver color rubs away to reveal copper underneath. Prioritize materials that will age as gracefully as the yarn chosen for a project.
Must-Have Tools for Beginner Jewelry Assembly
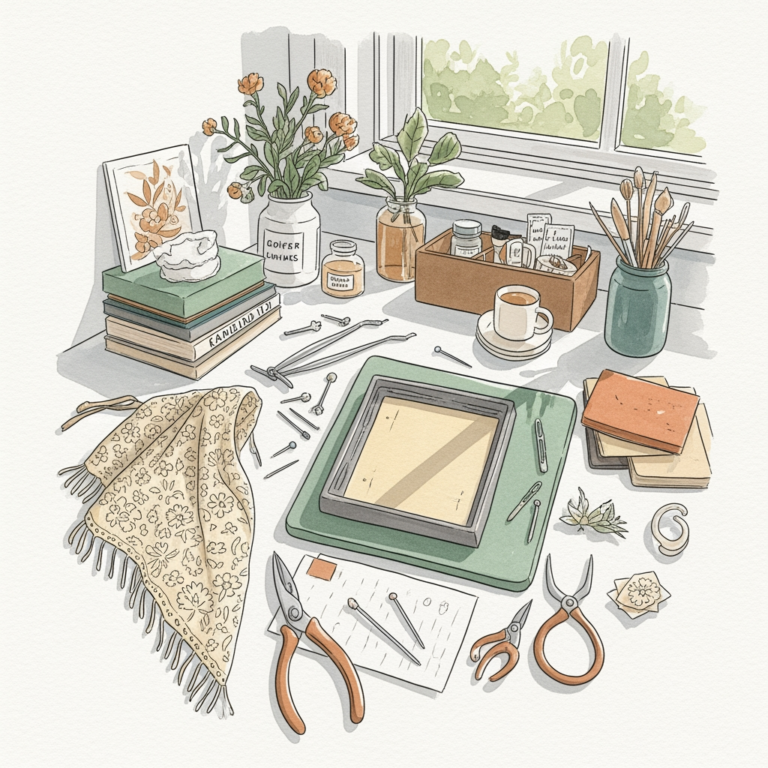
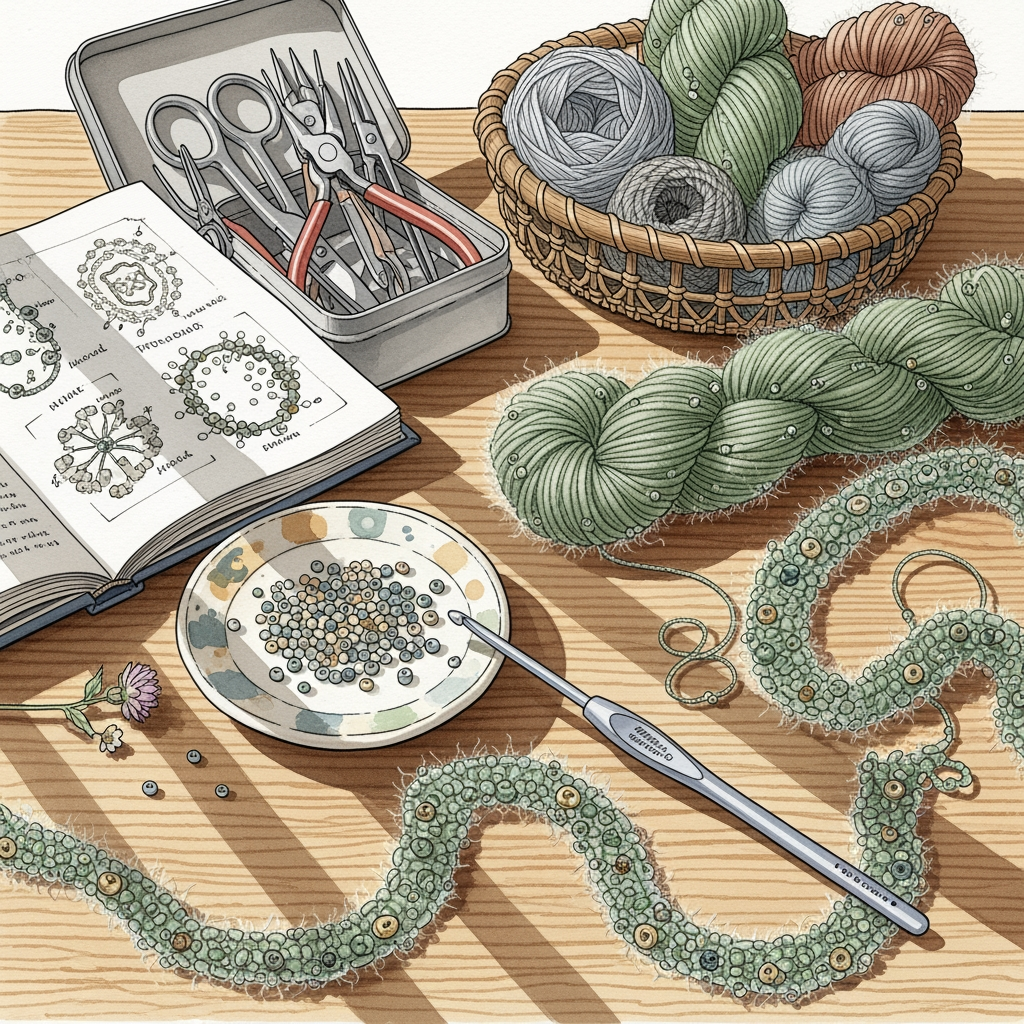
A basic kit should include chain-nose pliers for gripping, round-nose pliers for looping, and a flush-cutter for wire management. These three tools are the equivalent of a good set of needles and a tapestry needle—they do the heavy lifting.
Look for pliers with comfortable, ergonomic grips, especially if working on long sessions. Just like gripping needles too tightly can lead to hand fatigue, poor-quality tools can make jewelry assembly a chore rather than a pleasure.
Keep the work surface organized and well-lit to prevent losing tiny findings. A dedicated tray with compartments keeps components from rolling away, saving time and preventing frustration during the assembly process.
By selecting the right findings and using proper techniques, any beginner can create professional-grade jewelry that stands the test of time. Focus on building a collection of quality basics rather than a volume of cheap, temporary supplies. With practice, the manipulation of metal will become as intuitive as picking up a pair of knitting needles.